
-
Table of contents
- Step 1 – Splitting the trunk
- Step 2 – Removing bark
- Step 3 – Aligning the bottom
- Step 4 – Capping the ends
- Step 5 – Sanding
- Step 6 – Drilling the hole for the bulb holder
- Step 7 – Oiling and inserting the bulb holder
-
List of materials
- Tree trunk, approximately 25 cm long
- Light fitting with cable and bulb
-
Tools & machines
- Log splitter / axe / froe
- Hammer and chisel
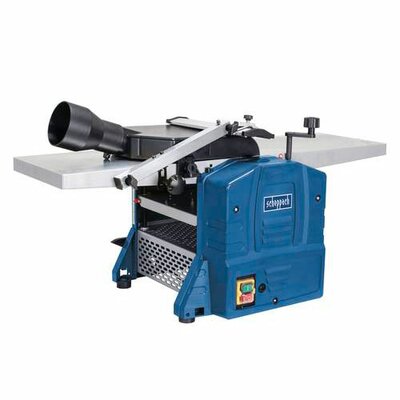
- Jointer (here HMS1070)
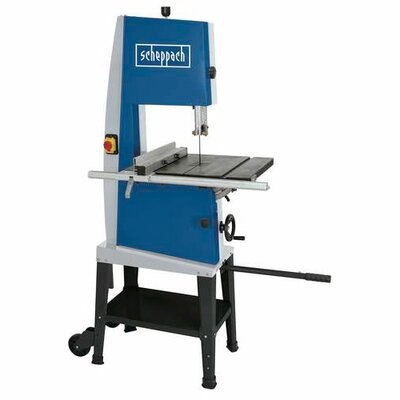
- Band saw (here HBS261)
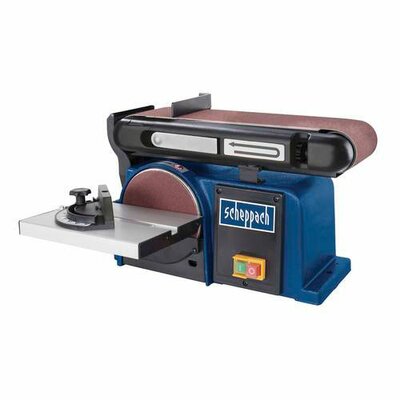
- Belt sander (BTS900)
- Forstner drill bit
- Step 1 – Splitting the trunk
- Step 2 – Removing bark
- Step 3 – Aligning the bottom
- Step 4 – Capping the ends
- Step 5 – Sanding
- Step 6 – Drilling the hole for the bulb holder
- Step 7 – Oiling and inserting the bulb holder

One piece of the tree trunk was split once down the middle. The length of both halves is around 25 cm. You can see that the surface of the split side is quite uneven.

I use a hammer and chisel to remove the bar from one of the 2 tree trunks.


The split surface is guided over the jointer (the HMS1070 here) until a flat surface exists. This surface later becomes the bottom of the lamp.


I use the band saw (the HBS261) to cut the two ends of the piece of wood so that I can obtain a smooth and nice edge. Thanks to the guide rail on the band saw, it is easy to remove just a small piece of the wood.

I then use the BTS900 belt sander to sand and round all corners and edges once again. I also remove the remaining bark.

I now use the Forstner drill bit to drill holes for the bulb holder and the cables in the trunk. Pay attention to the size of the selected bulb holder here.


Use a high quality hard wax oil to protect the wooden lamp perfectly. Insert and attach the bulb holder after drying.
scheppach
Ponceuse à courroie et à disque
scheppach
Bandsaw
scheppach
Planer / Thicknesser