
-
Table of contents
- Preparation
- Step 1 – Transferring the template
- Step 2 – Sawing
- Step 3 – Sawing the supporting boards
- Step 4 – Sanding
- Step 5 – Painting
-
Materials list
- approx. 1 m2 Multiplex 15 mm
- Paint, child-safe
- Figures (make yourself or buy)
- Printed out template
-
Tools & machines
- Drill and countersink
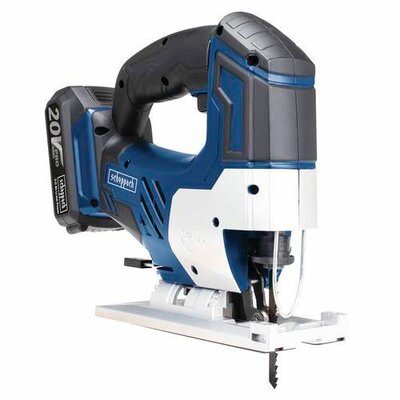
- Circular table saw, jigsaw
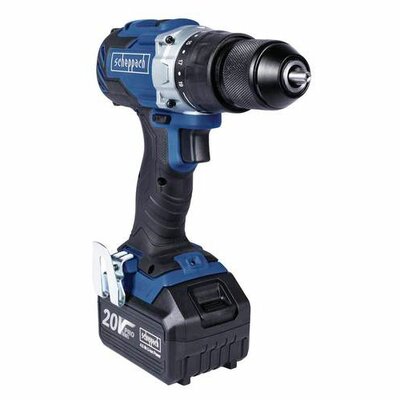
- Cordless screwdriver
- Router, rounding cutter
- Sandpaper, sander
- Clamps
- Painting accessories
-
Protective gear
- Safety goggles
- Gloves
- Work clothing
- Hearing protection
- Preparation
- Step 1 – Transferring the template
- Step 2 – Sawing
- Step 3 – Sawing the supporting boards
- Step 4 – Sanding
- Step 5 – Painting

First think about how big your activity arch should be. In my case, the following dimensions turned out to be ideal and child-safe:
- Height 650 mm
- Width 880 mm
- Depth 400 mm

The very first thing to do is to take our template and to transfer it to the multiplex plate. Small tip: many advertising agencies will print the template cheaply. Alternatively, a copy shop will also generally do this.


After everything has been transferred over, we can try to saw everything as accurately as possible. My choice here was the jigsaw and it worked really well. Patience and precision really pay off here, as the better we are here, the less sanding work we have to do. We recommend clamping the plate tight, as this makes sawing much easier.

We can use the circular table saw to saw the support boards. These are 400 x 80 x 15 mm. The activity arch is set up using a push-fit fitting. You can therefore clear it away and transport it really easily. The push-fit fitting is 40 mm deep, both in the support boards and the activity arch. Of course, it’s positioned in the middle.

Once we have sawn everything to size, we can start sanding. I worked up from 120 to 600. Both manually and automatically. As this is for small children or children in general, there must not be any edges. In this case, a router and the corresponding rounding cutter are ideal. Round everything off once so that the risk of injury goes down to virtually zero. I also drilled the holes and countersunk them at this point. There is space for 5 figures here.


We can now start to apply the first coat of paint. Ensure that the paint is suitable for toys. I did a total of 3 coats. If you want, you can also use a roller here but I did it with a brush.
scheppach
jigsaw
scheppach
Battery screwdriver