

-
Table of contents
- Preparation
- Step 1 – creating a template
- Step 2 – sawing the tree
- Step 3 – creating the platform
- Step 4 – the final touches
- Step 5 – assembly
- Step 6 – done
-
Material
- 6 mm and 18 mm plywood
- Bauble
-
Tools/machines required
- Drill, counterbore
- Circular table saw
- Cordless screwdriver
- Rotary sander, files
- Abrasive paper
- Scroll saw (scheppach Deco-XL)
- Files, chisel
- Square, pencil
-
Protective equipment needed
- Safety goggles
- Gloves
- Work clothing
- Hearing protection
- Preparation
- Step 1 – creating a template
- Step 2 – sawing the tree
- Step 3 – creating the platform
- Step 4 – the final touches
- Step 5 – assembly
- Step 6 – done

In this article, I will show you how you can make great Christmas decorations yourself. The first question concerns the measurements. I’m going with the following:
Height: 38 cm
Width: 28 cm
Depth: 19 cm
The material I’m using is 6 mm plywood for the tree and 18 mm plywood for the platform. But you can vary that. If you have material left over of other measurements, simply adjust the size of the tree.

First, we’ll draw a template on paper or print one out and transfer it to the timber. As an alternative, it can also be stuck on but I prefer drawing it on because the glue doesn’t always come off easily.

When you’re sawing, you have to be patient and calm. The more accurate this work is, the less rework is needed. A scroll saw is great for precise work, and the Deco XL’s lamp and fan provide you with a clear look at your workpiece.


When the tree has been sawn, continue with the platform. I’m using 18 mm plywood. I cut it to 11 cm x 9 cm using a circular table saw. I then note the position where the cut-out will go. I first remove most material by drilling it out. Then, I rework the rest using a chisel and files so the tree will fit perfectly. Now, we’ll create a chamfered edge on the platform, in my case at 45 degrees. I use the router for that. The platform then becomes less bulky.

We’ve got all the required parts ready now, meaning: it’s time for the final touches. For this, I use a combination of machine and manual sanding. The OSM600 is perfect for this.
I have worked my way up to a grain size of 320. The tree is all manual work though.


Everything has now been sanded and feels nice to the touch. Now is the time for the finish. I’m using timber wax that I’ve made myself. This gives the workpiece an elegant look. I dry off the excess wax with a cloth. Using wood glue or instant adhesive, fix the tree in the cut-out.
Finally, drill or cut a hole where you will hang the bauble later.
It’s finished. Our self-made Christmas decoration is ready. Nicely decorated and in the right setting, it’s a real eye-catcher.

scheppach
scrol saw
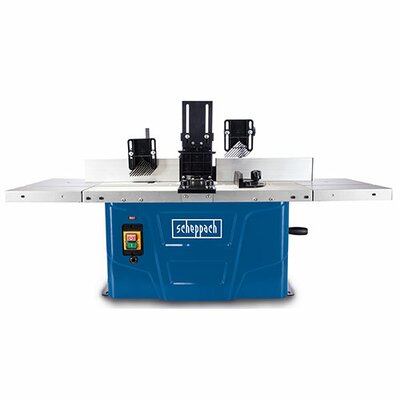
scheppach
Table milling machine
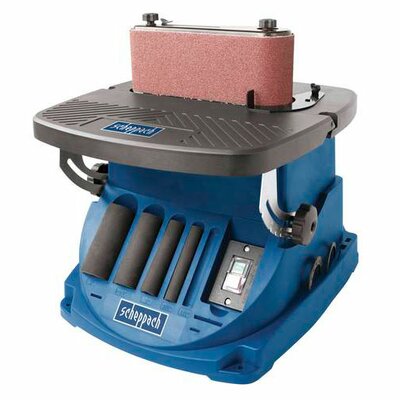
scheppach
Belt & Spindle Sander Sander

scheppach
Battery screwdriver