

-
Table of contents
- Step 1 – sawing the sides and base
- Step 2 – sawing angles
- Step 3 – sanding & assembling
- Step 4 – oiling
-
List of materials
- Timber (oak)
- Bauble
- Hook, string
-
Tools/machines
- Drill
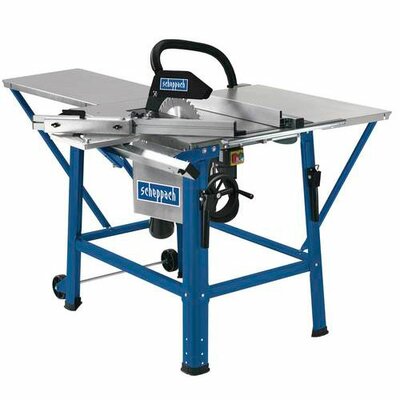
- Circular table saw
- Cordless screwdriver
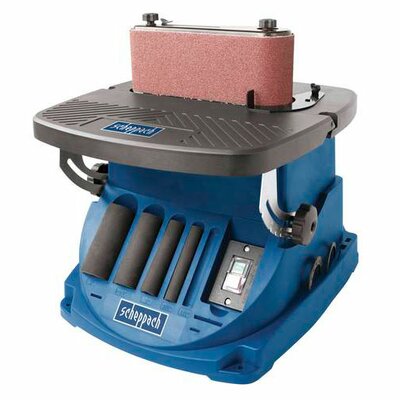
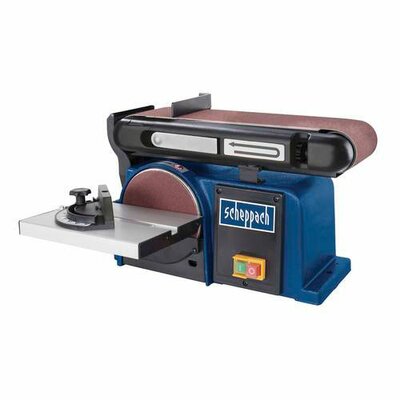
- Belt sander (scheppach OSM600)
- Abrasive paper
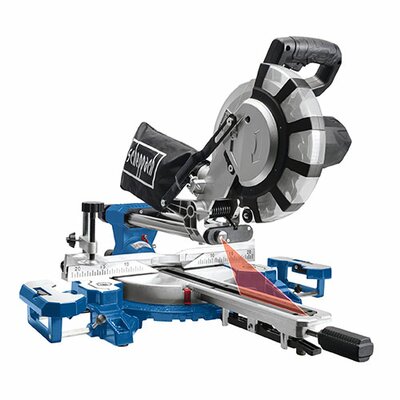
- Mitre saw (scheppach HM140L)
- Bevel, folding ruler, pencil
-
Protective equipment
- Safety goggles
- Gloves
- Work clothing
- Hearing protection
- Step 1 – sawing the sides and base
- Step 2 – sawing angles
- Step 3 – sanding & assembling
- Step 4 – oiling
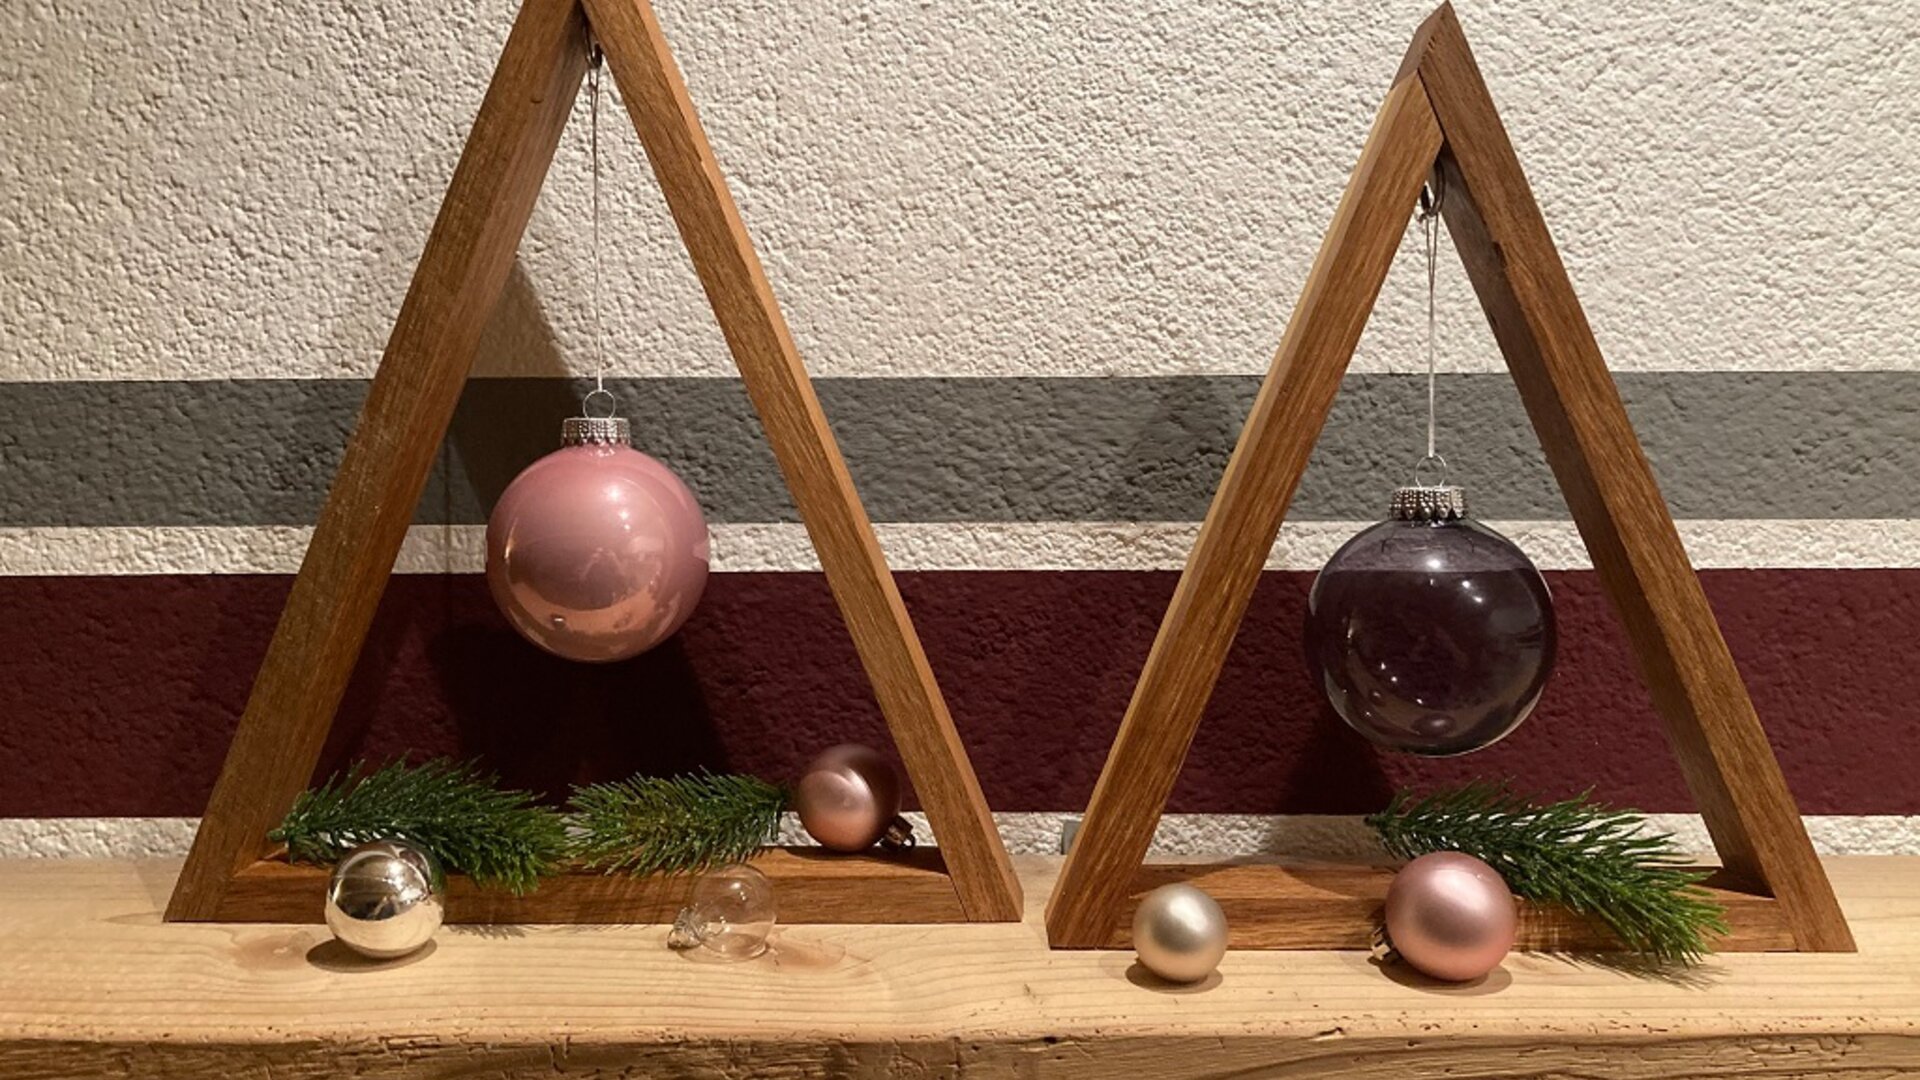
Base the measurements on your requirements or on the material that you may have left over and want to use for this project. In my case, I went for the following measurements:
Height 37 cm (or 30 cm for the second triangle)
Width 30 cm (or 24 cm for the second triangle)
Depth 3.5 cm (for both)
I’m using oak timber that I sawed out of a larger piece. Of course, you can vary that. Just use what you like or what you’ve got around.
Everything ready? Then let’s start!
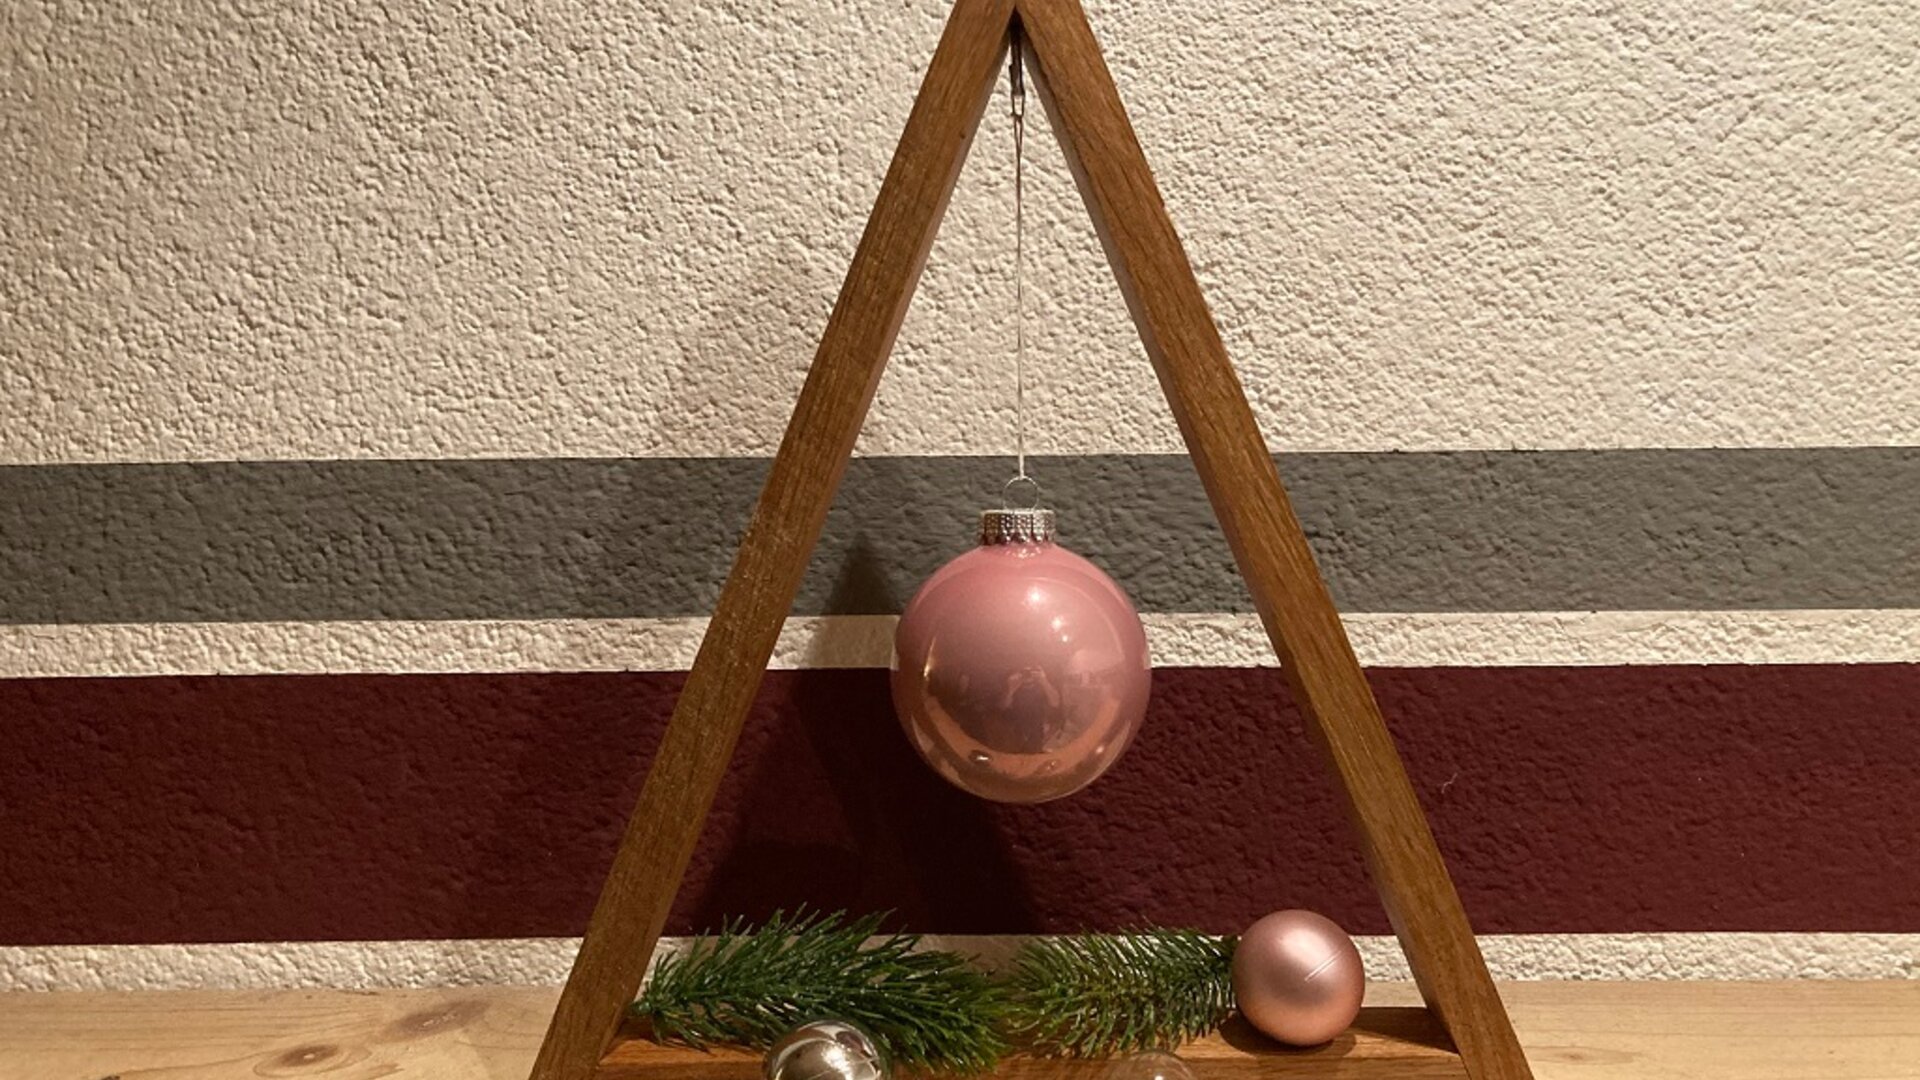


First of all, we’ll saw the sides and the base to size. The best tool for this is a circular table saw. Please make sure that you’re using a fence for thin pieces. Then we’ll continue with the angles we want to saw. We have a triangle here with a total of 180 degrees: right and left will each be 67.5 degrees and 45 degrees at the top.

Now we can saw the angles. A mitre saw is perfect for this. I’m using the HM140L so I can get the angles exactly right. And remember: work carefully and deliberately.


For the sanding, I’m using the OSM600 as well as abrasive paper. I didn’t round off the edges because I preferred that look. But here, too, you can give free rein to your imagination. Assembly follows the sanding. For this, I used glue and a pneumatic nail gun, making the joints as safe as houses. Use instant adhesive to attach a small hook to hang the bauble.


It will look great when you oil/wax it. This will really bring out the grain. And finally: hang the bauble. Done. A beautiful eye-catcher and, of course, self-made is always better.
scheppach
table saw
scheppach
Belt & Spindle Sander Sander
scheppach
Ponceuse à courroie et à disque
scheppach
Slide Compound Mitre Saw