
-
Table of contents
- Step 1 – sawing the timber to size
- Step 2 – sanding
- Step 3 – drilling
- Step 4 – surface treatment
- Step 5 – done
-
Material for a bunny
- Template printed out
- 1 piece of waste timber, about 140 x 100 x 18 mm
- 2 x ribbons for the bow
- Wood finish (food-safe)
-
Tools / machines
- 30 mm Forstner bit
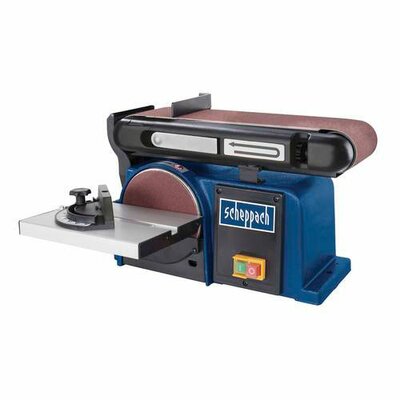
- Sanding machine
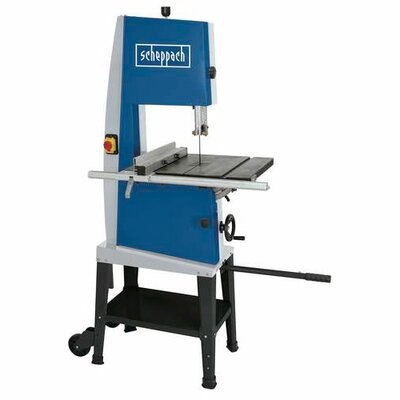
- Band saw
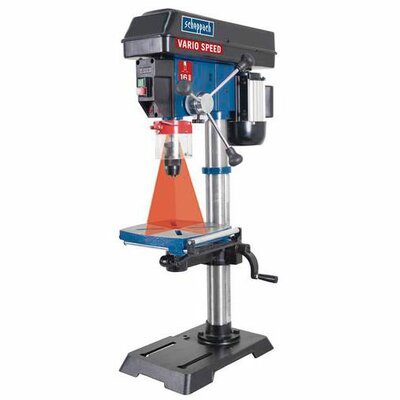
- Bench drill press
- Abrasive paper
-
Protective equipment
- Safety goggles
- Work clothing
- Hearing protection
- Step 1 – sawing the timber to size
- Step 2 – sanding
- Step 3 – drilling
- Step 4 – surface treatment
- Step 5 – done


First, we need to print out the template. You can download it here.
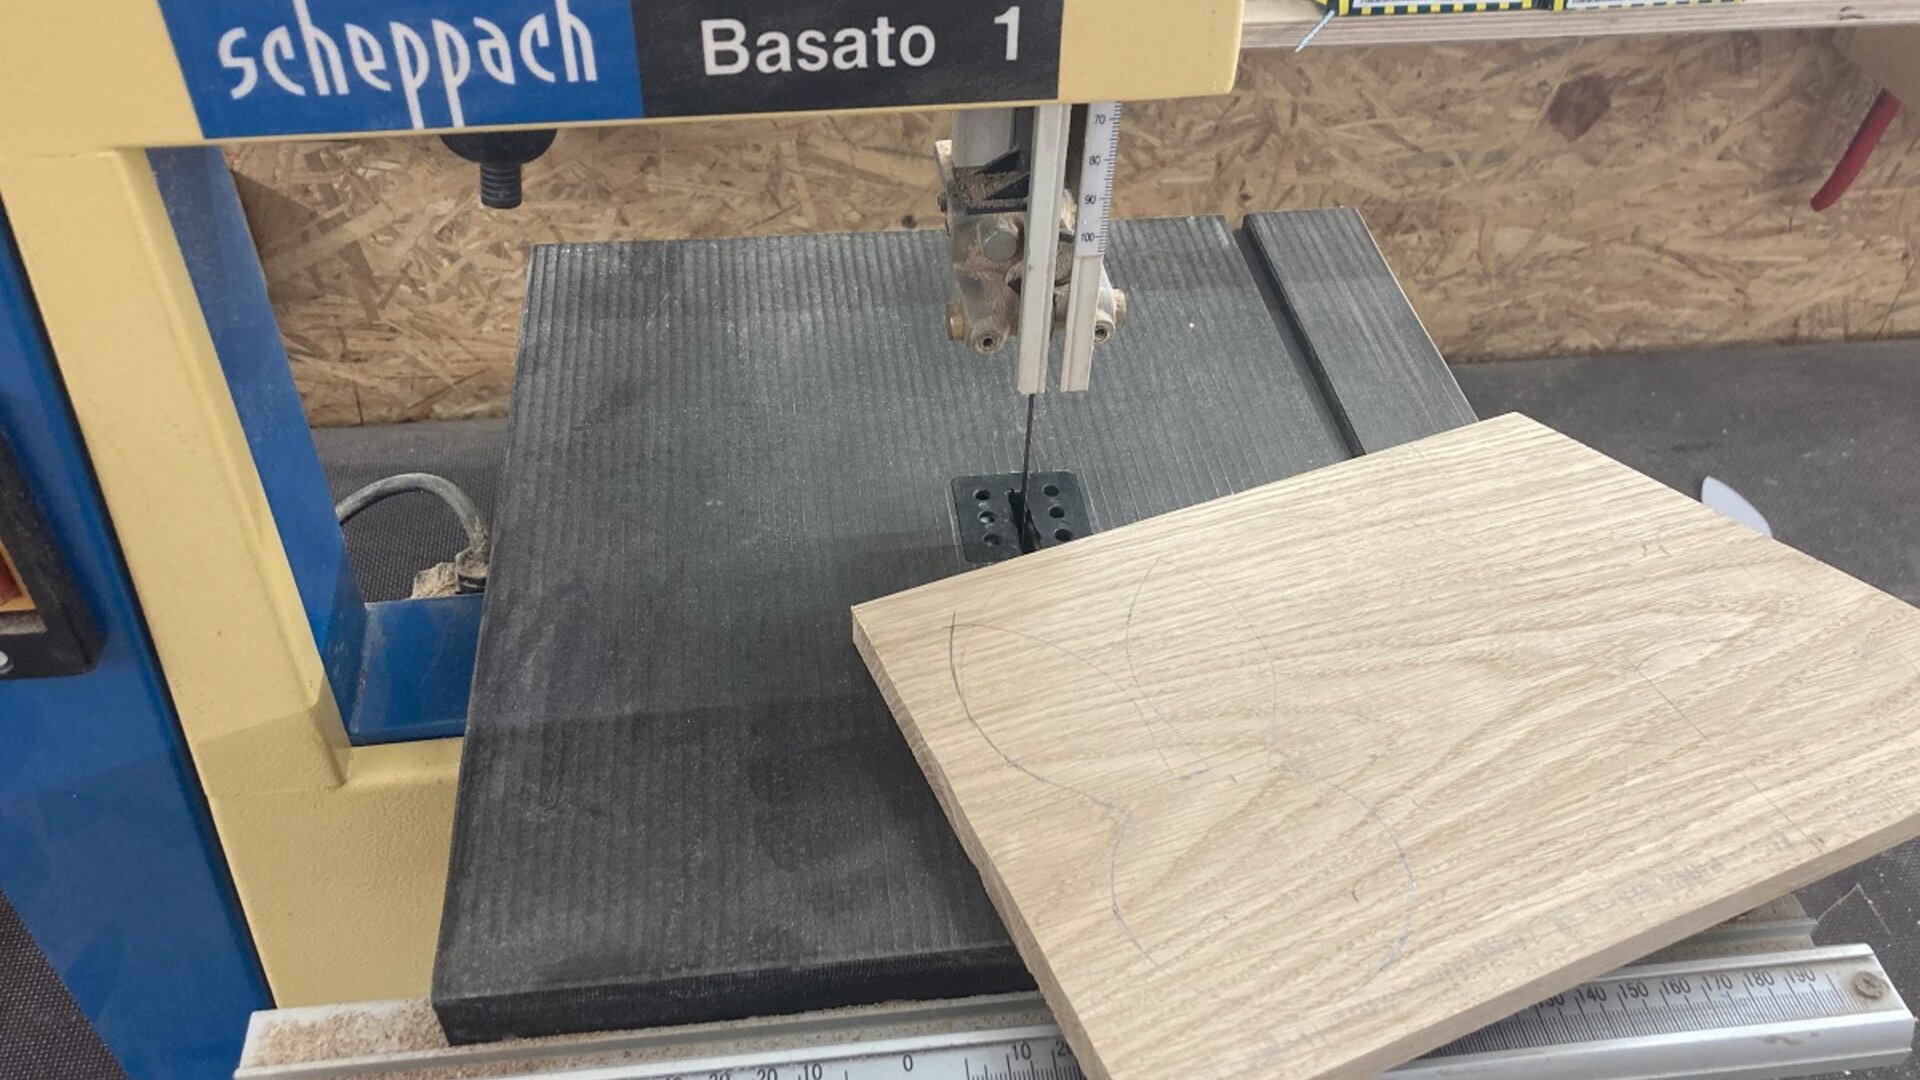
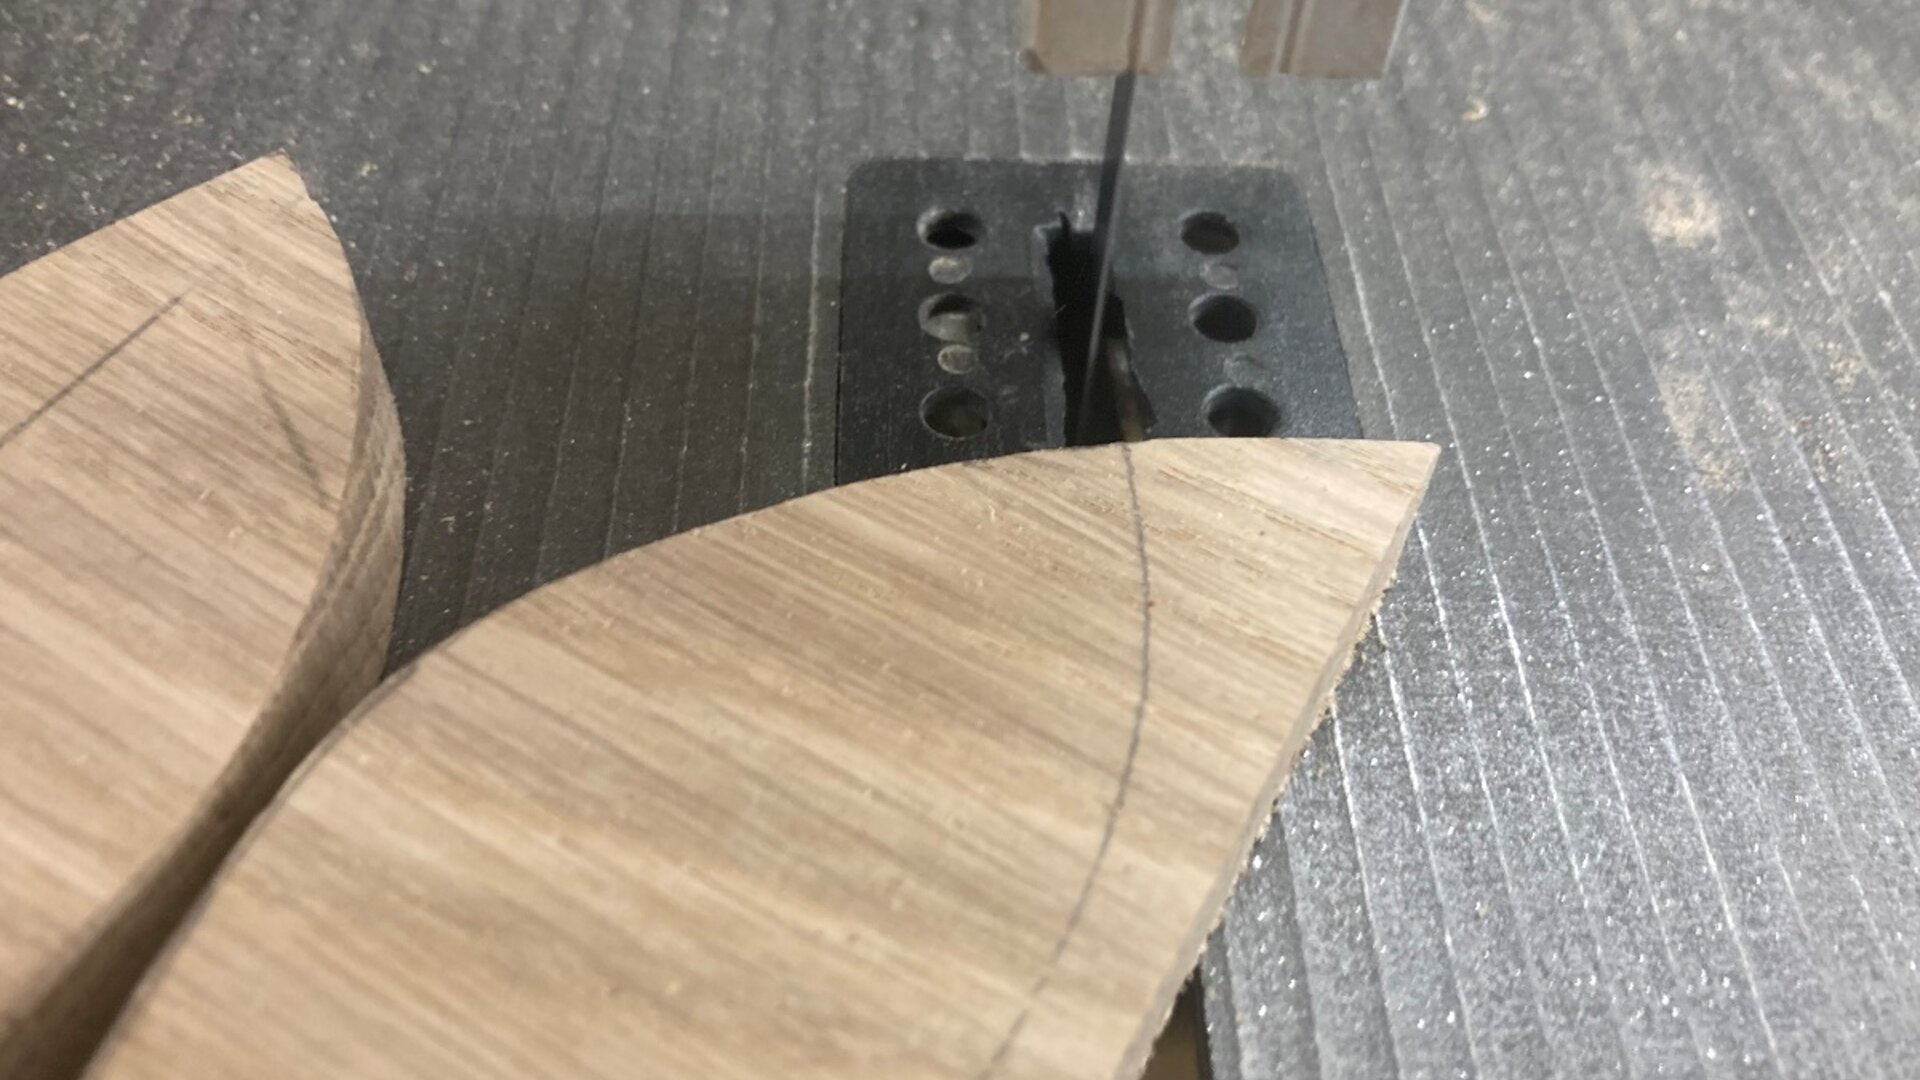
Cut it out once, then, using a pencil, transfer it to the piece of timber as many times as you like. Afterwards, cut the outline with a band saw. The following applies: it’s better to take your time and work carefully so you save yourself the effort of reworking later.

Once you have cut out the shapes, sanding is next, ideally with a belt sander. Do the finer details by hand. I manually sanded up to a grain size of 600. The egg cups feel great after that.


The most important step is next: drilling the hole for the egg. Depending on the size of the eggs, choose a Forstner bit of 30 mm, or 35 mm for very large eggs. In this step, we require a bench drill press. The hole should have a depth of 0.8 cm so the egg can stand up in it.

Use a food-safe wood finish for treating the surface. I’m using the timber wax I’ve made myself - the crafting butter - which creates a beautiful stain and water-resistant layer and lends the work piece a semi-matt gloss.

Now tie a pretty bow around the ears, matching the timber and the rest of the table decorations, and the Easter egg cup you made yourself is ready.
Enjoy following along to the these instructions and Happy Easter to you and your loved ones!
scheppach
Bandsaw
scheppach
Ponceuse à courroie et à disque
scheppach
Bench drill