

-
Table of contents
- Step 1 – sawing the pen blank to size
- Step 2 – drilling
- Step 3 – glueing in the sleeves
- Step 4 – wood-turning
- Step 5 – assembling
-
List of materials
- 1 x pen blank (e.g. walnut)
- 1 x ball-point pen model kit (from the internet)
- Spacer ring for the mandrel (depends on the model kit)
- Wood finish
-
Machines/tools
- 1 x 7 mm wood drill
- Mandrel
- Band saw
- Bench drill press
- Vice
- Wood-turning lathe, wood-turning chisel
- Abrasive paper with different grain sizes (150 - 600)
- Superglue
-
Protective equipment
- Safety goggles
- Work clothing
- Hearing protection
- Step 1 – sawing the pen blank to size
- Step 2 – drilling
- Step 3 – glueing in the sleeves
- Step 4 – wood-turning
- Step 5 – assembling

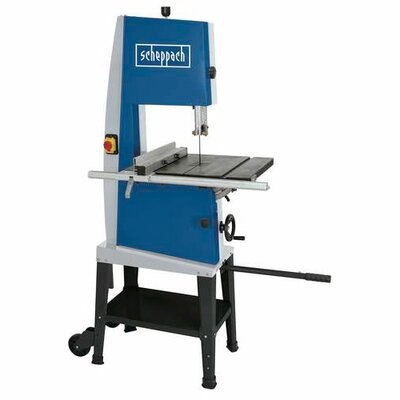
Once we have chosen the timber and the model kit, we will cut the pen blank to size. This one is about 12 cm long and 2 x 2 cm wide and deep. We cut two sections with the exact length of the sleeve, 51.8 mm in this case. I am using my band saw for this. Mark the direction of the grain with a line. This will make it easier to assemble the pen later. If the cut is not completely precise, the protrusion can be sanded down or removed with a special drill.
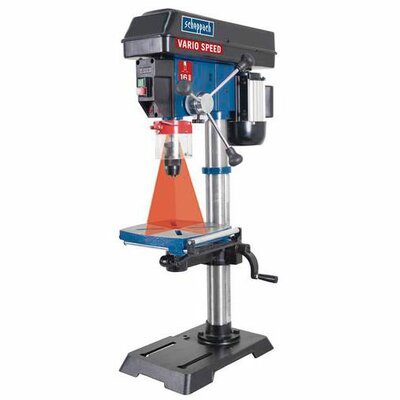
Once we have cut the blank, we can drill the two sections. We find the centre using the diagonal. The sleeve diameter specifies that we use a 7 mm wood drill. This step is easiest using the bench drill press and vice. I’m using the DP18Vario which drills the holes precisely and reliably.


We can now glue in the sleeves. We do this as follows: Using abrasive paper, we roughen the sleeves and apply superglue. We then insert the sleeves into the hole we just drilled. I use the activator afterwards which allows me to continue working quickly.


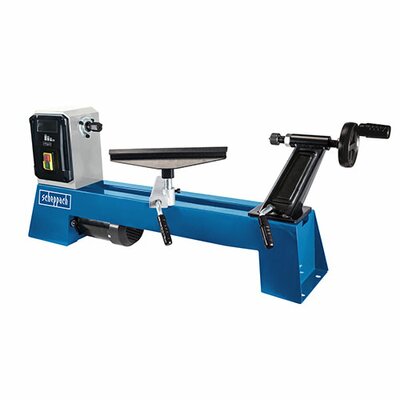
Once the adhesive has set, we can clamp the two pen blanks and the spacer rings for the model kit with the mandrel. This is where the line from the grain direction comes in handy. It helps to match the two parts visually. Once the mandrel has been secured, we can start to wood-turn. First, from the inside to the outside, we roughen the blank into a round shape using a roughing-out gouge. When this step has been completed, you can give free rein to your creativity. Thick, thin, bulbous, straight... the final shape of the ball-point pen is completely up to you. I am using the roughing-out gouge and the chisel for wood-turning my pen. Additional wood-turning chisels are not required; even the roughing-out gouge itself would do the trick. Once you have created the shape you want, we can start sanding with the machine in operation. I use grain sizes from 150 to 600. For the final finish, I use the timber wax I have made myself - the crafting butter.


Using a wood-turning lathe or a pen press, we can assemble the individual parts. This needs to be done very carefully.
We did it! We created an elegant, self-made ball-point pen from a piece of timber. It’s a true masterpiece!
scheppach
Bench drill
scheppach
Bandsaw
scheppach
Wood Turning Lathe