-
Table of contents
- Step 1 - first cut
- Step 2 - diagonal cut
- Step 3 - sawing doorways
- Step 4 - screwing everything together
- Step 5 - positioning
-
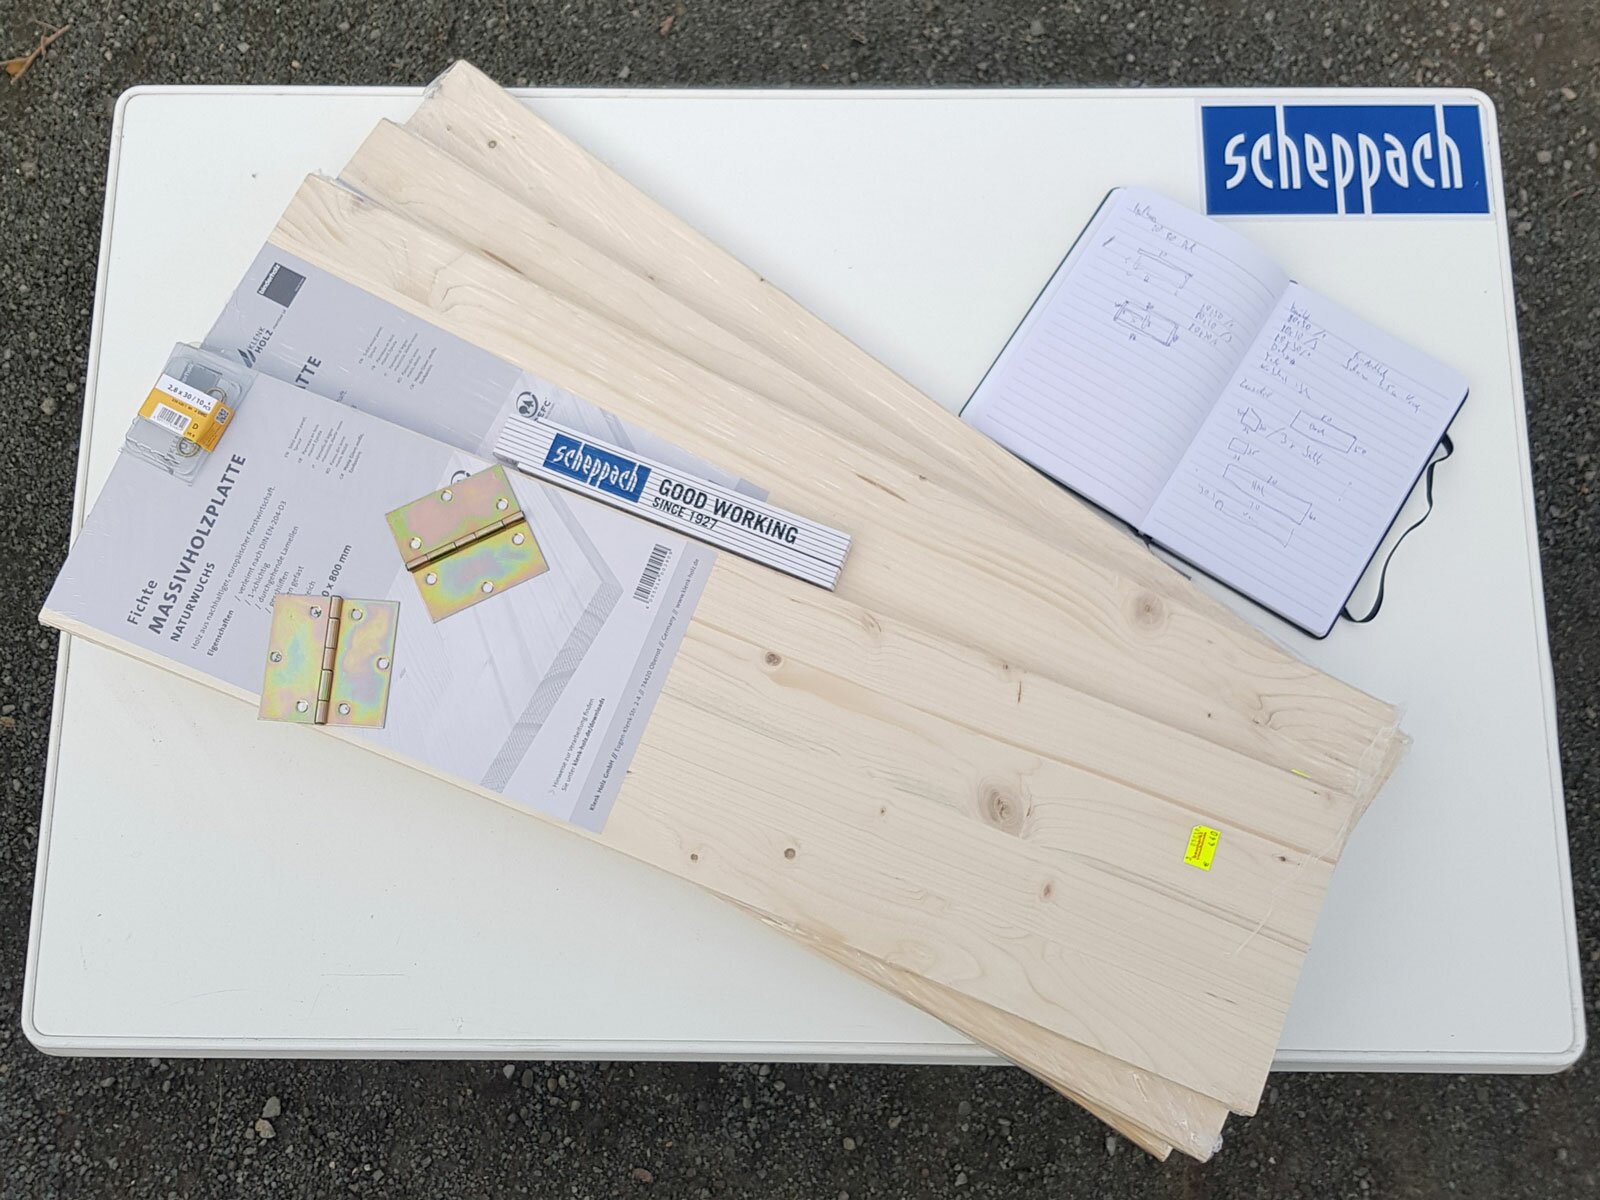
List of materials
- 3 edge-glued panels, 30 cm x 80 cm
- 1 edge-glued panel, 20 cm x 80 cm
- 1 edge-glued panel, 50 cm x 80 cm
- 4 screw-in eye hooks (to hang the anti-rat flap)
- 2 flap hinges with a leaf size of about 4 cm on both sides
- 1 pack of screws, length about 4 cm, for the timber sections
- Screws, length about 2 cm, for the hinges
The edge-glued panels have standard dimensions so you should be able to buy them in any DIY store. In this case, we decided on 18 mm spruce.
-
Tools
- Jigsaw
- Cordless screwdriver
- Wood drill bit, 1 mm diameter thinner than the wood screws
- Drill bits matching the screw sizes
- Folding ruler
- Pencil
- Sanding material
-
Important information
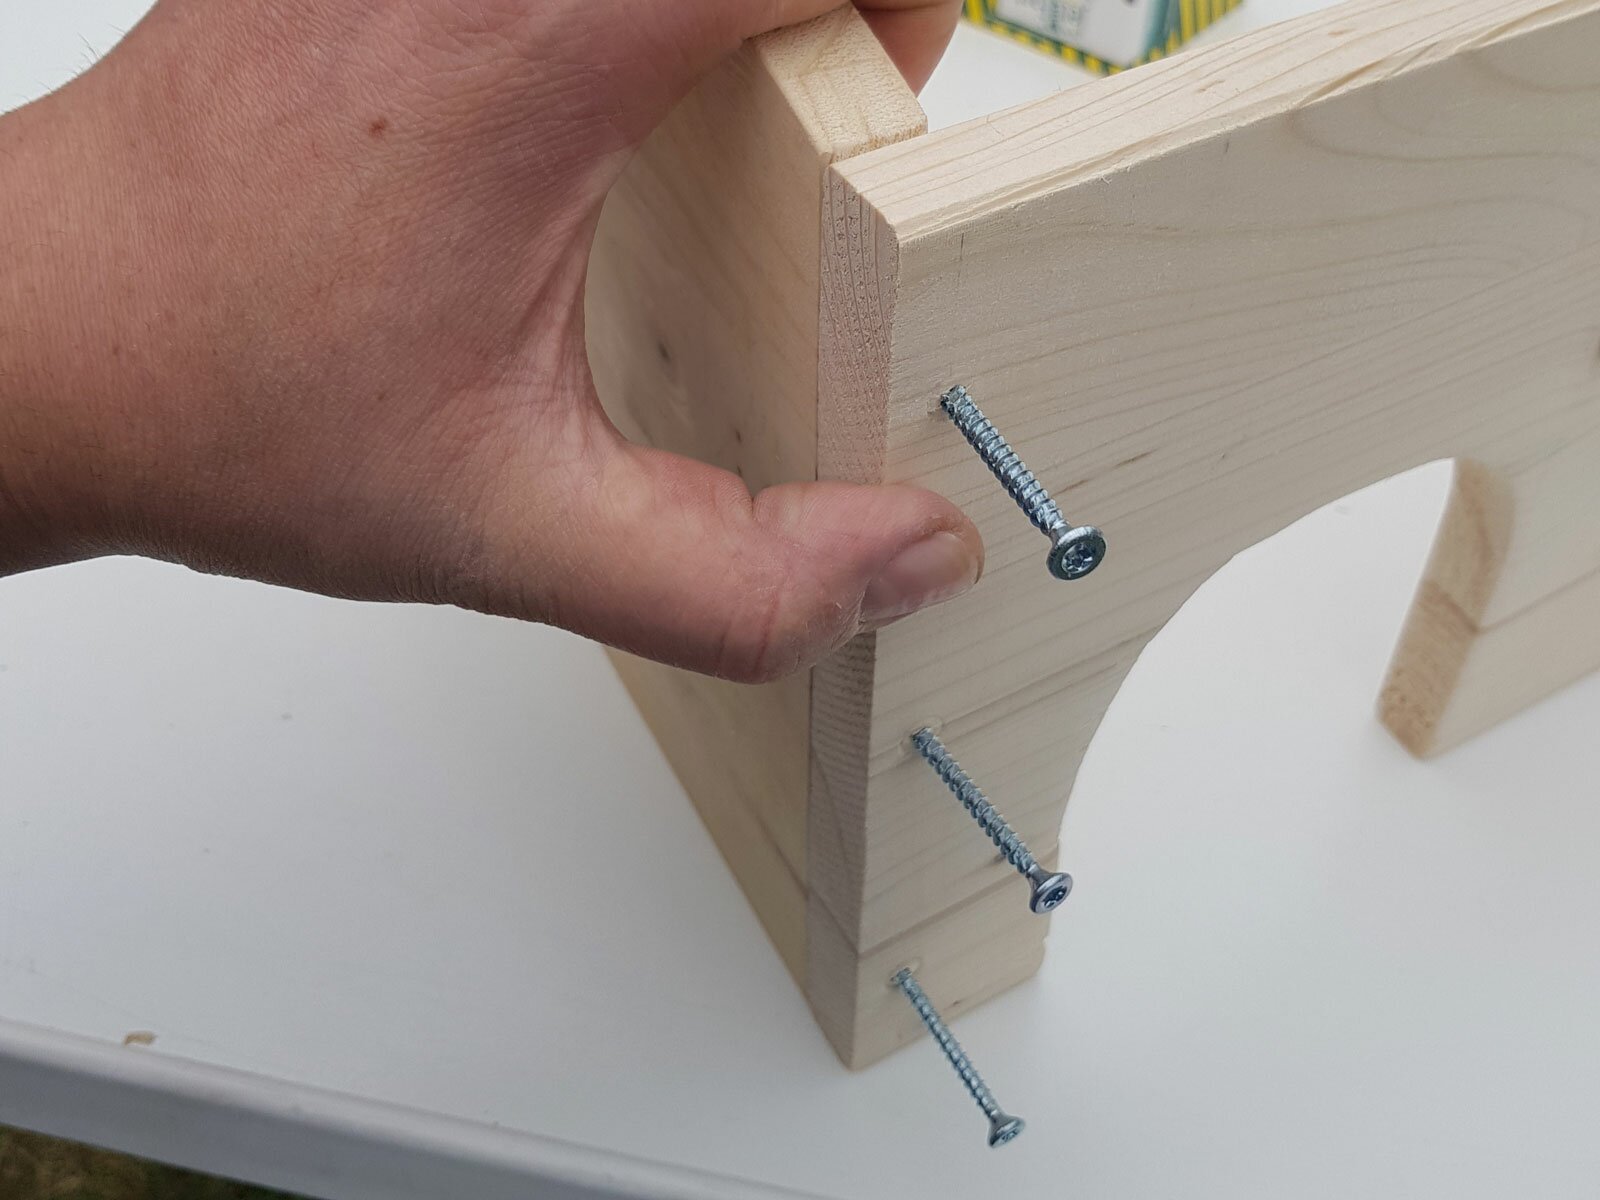
Special protective equipment is not required but common sense is assumed. Timber can splinter. Drilling should never take place on your good kitchen table or your lap. Screws that you insert into one side of the timber, will come out of the other side.
- Step 1 - first cut
- Step 2 - diagonal cut
- Step 3 - sawing doorways
- Step 4 - screwing everything together
- Step 5 - positioning
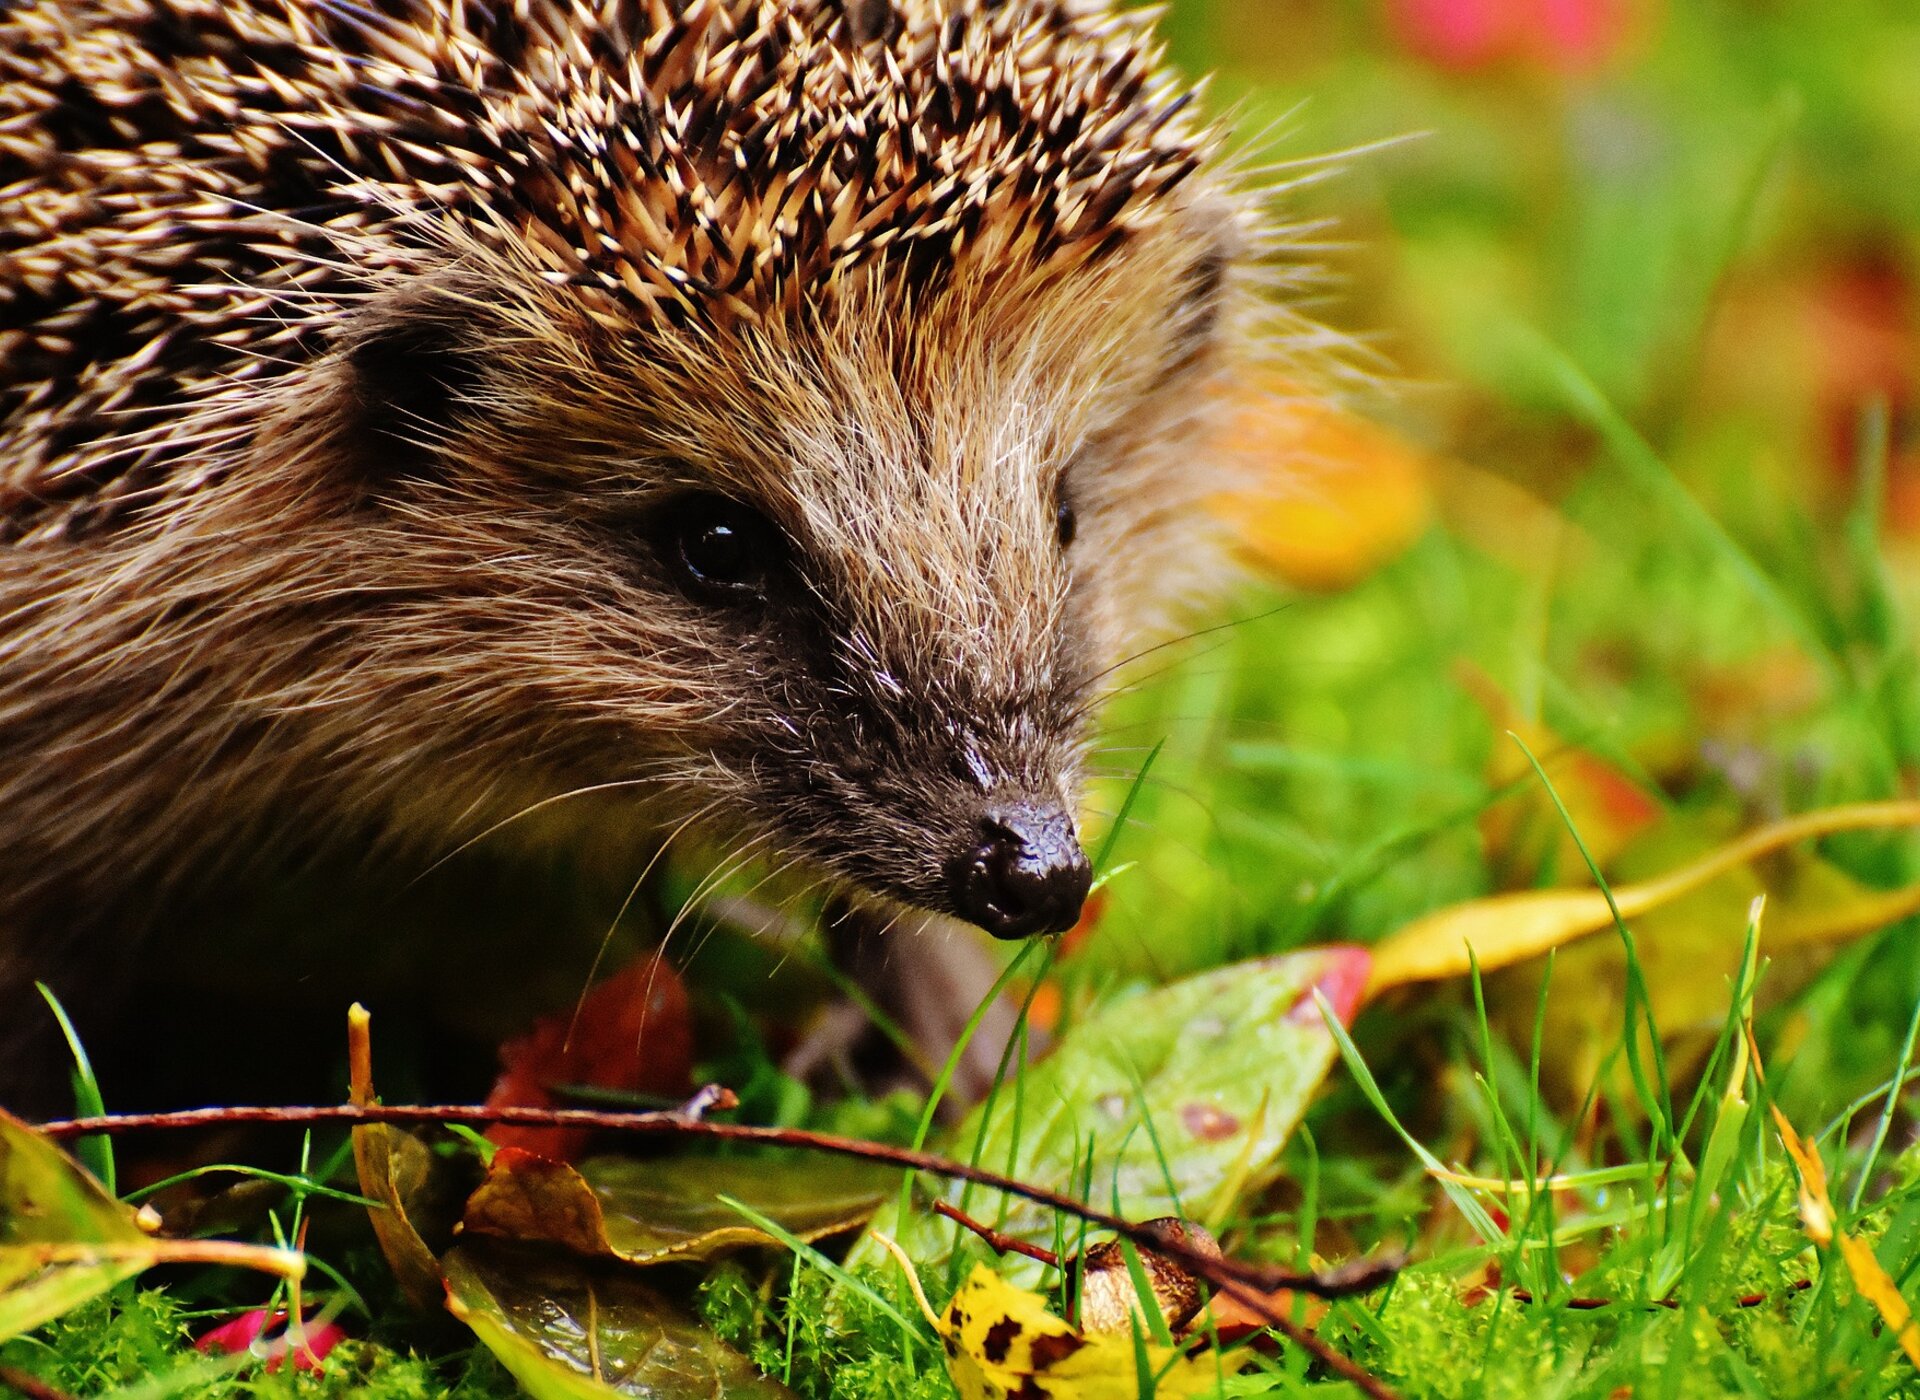
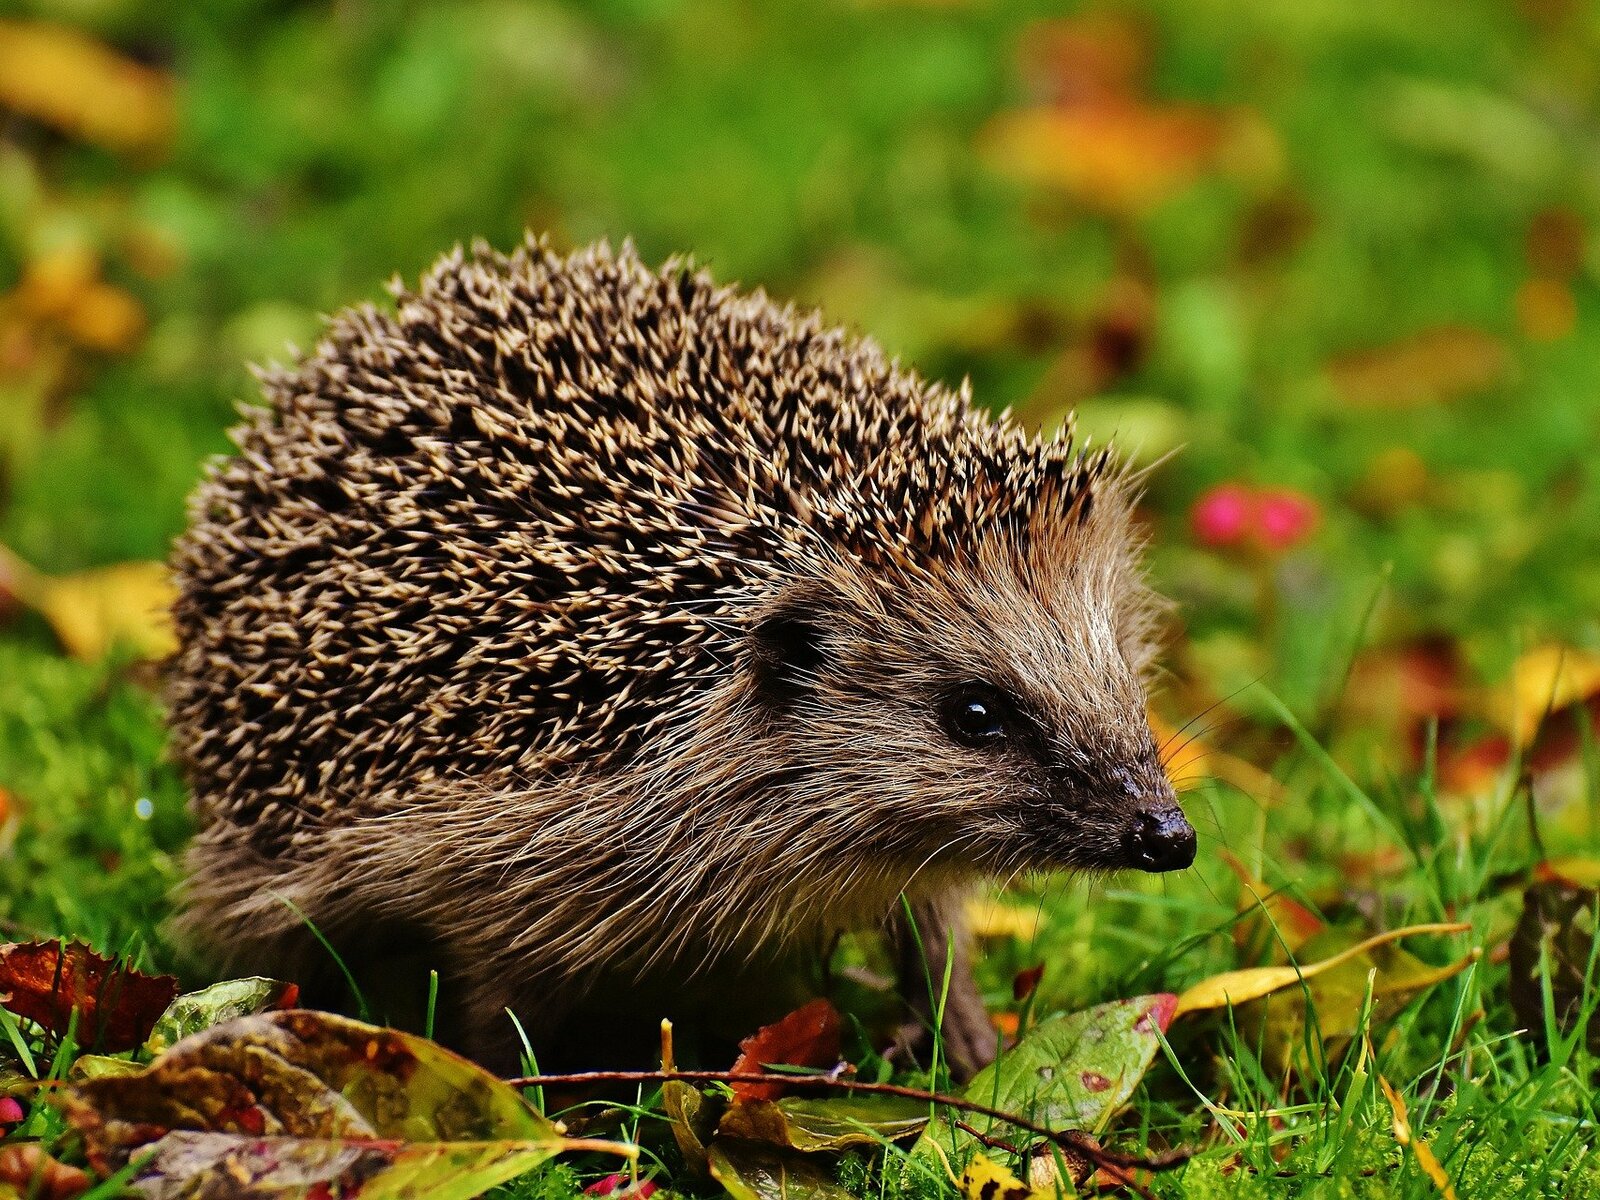
Hedgehogs hibernate from the middle of November. Until then, they need to build up enough fat reserves from food and find appropriate shelter. We have developed these DIY instructions to help our prickly garden assistants.
Our goal was to simplify the building process so that beginners will be able to follow the instructions with standard tools. If you wish, and your ability as well as tool collection allow, the project can be expanded as desired.
From zinc-plated corner joints to particular types of timber, there are many options. The timber should be untreated and should not be painted on the inside.
This house features a warren to keep away predators and an anti-rat flap against larger rodents. The area on the right-hand side of the house should be provided with newspapers and straw so the hedgehog can make its home there.
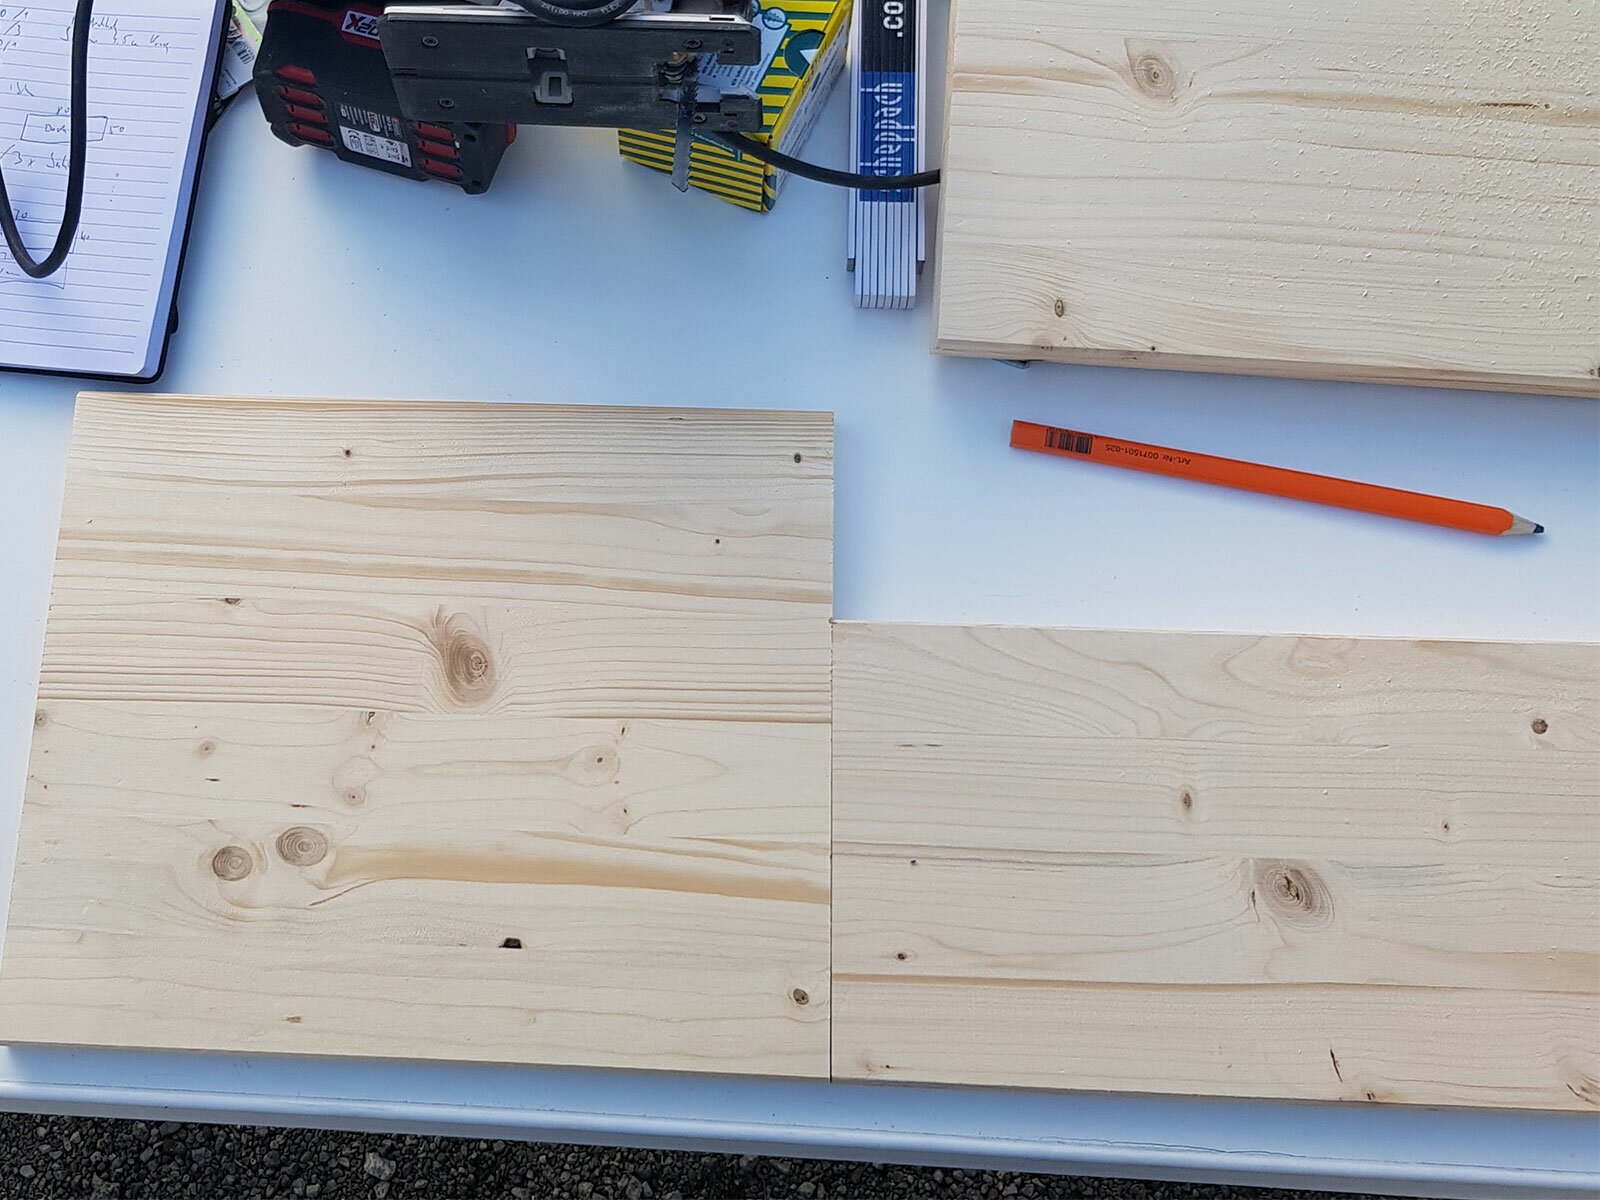
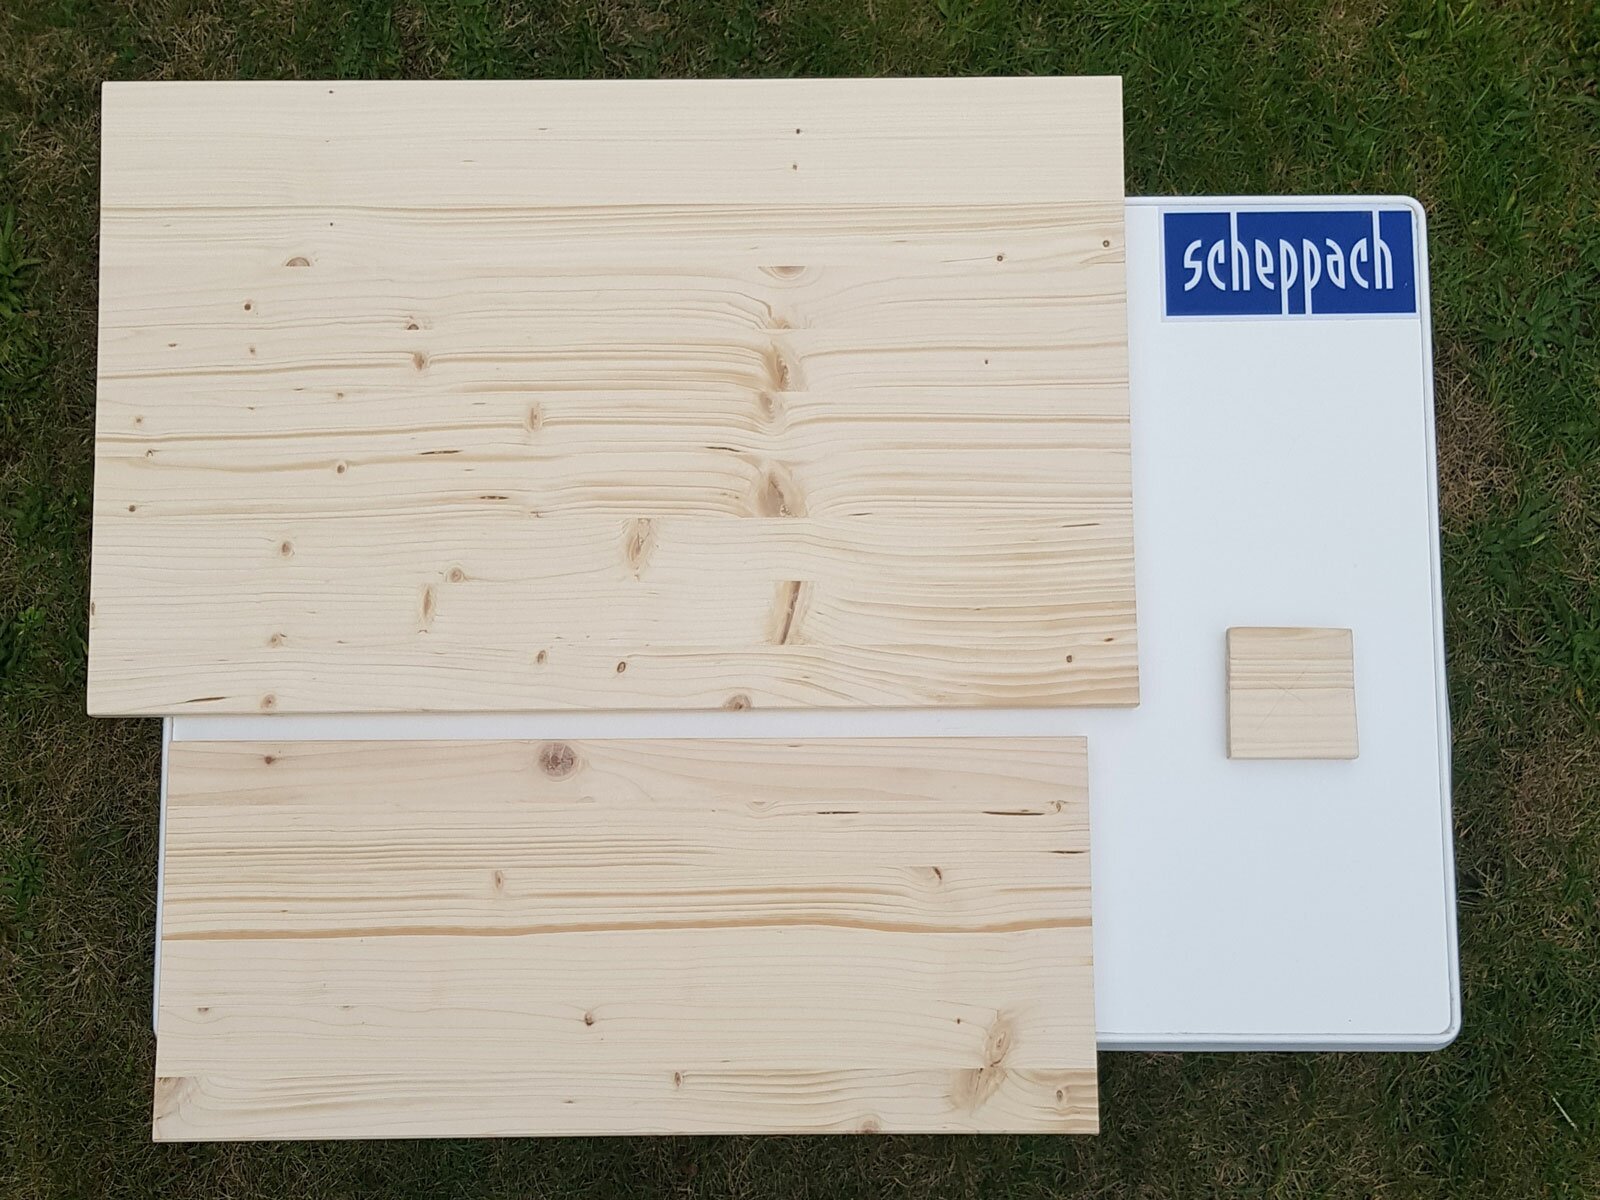
First, roughly cut the edge-glued panels. If required, most DIY stores also offer a cutting service which can save some time. For the building process, we need wooden panels with the following dimensions:
1 edge-glued panel of 50 cm x 80 cm
1 edge-glued panel of 30 cm x 70 cm
1 edge-glued panel of 20 cm x 70 cm
1 edge-glued panel of 36 cm x 23 cm
3 edge-glued panels of 36 cm x 30 cm
A jigsaw is used for the next cut.
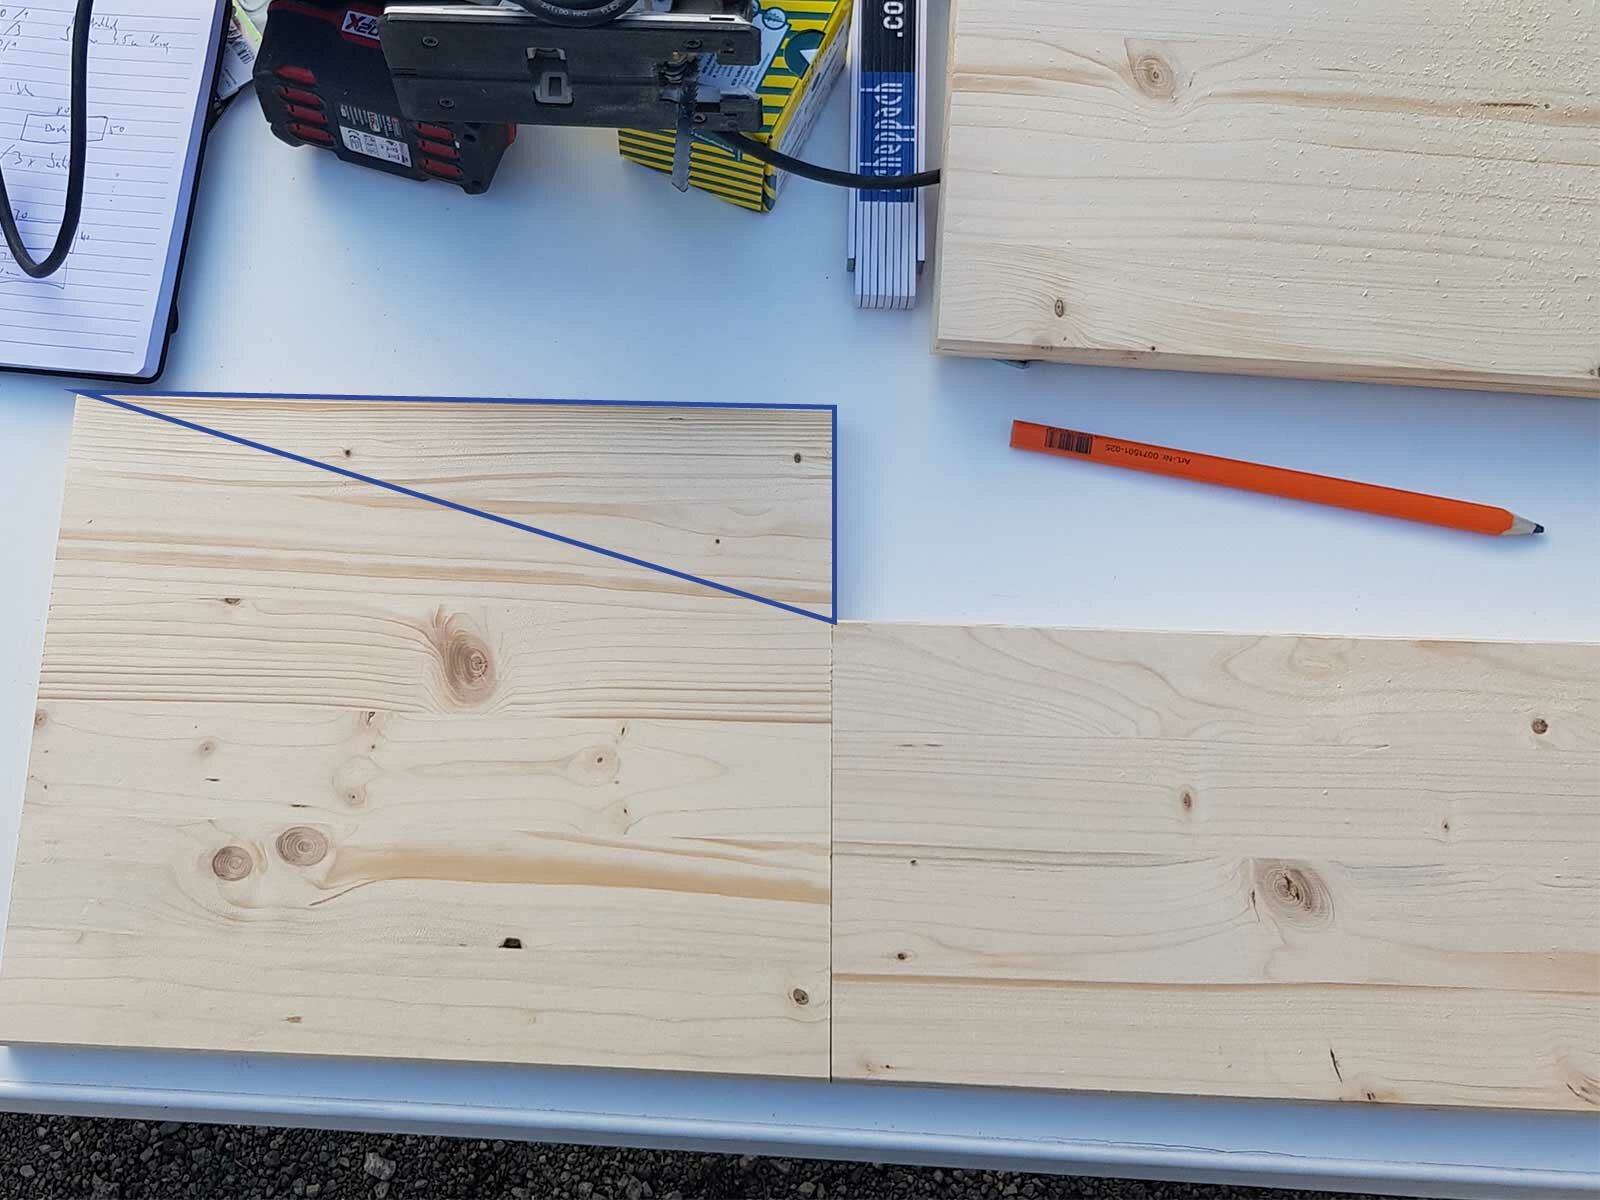
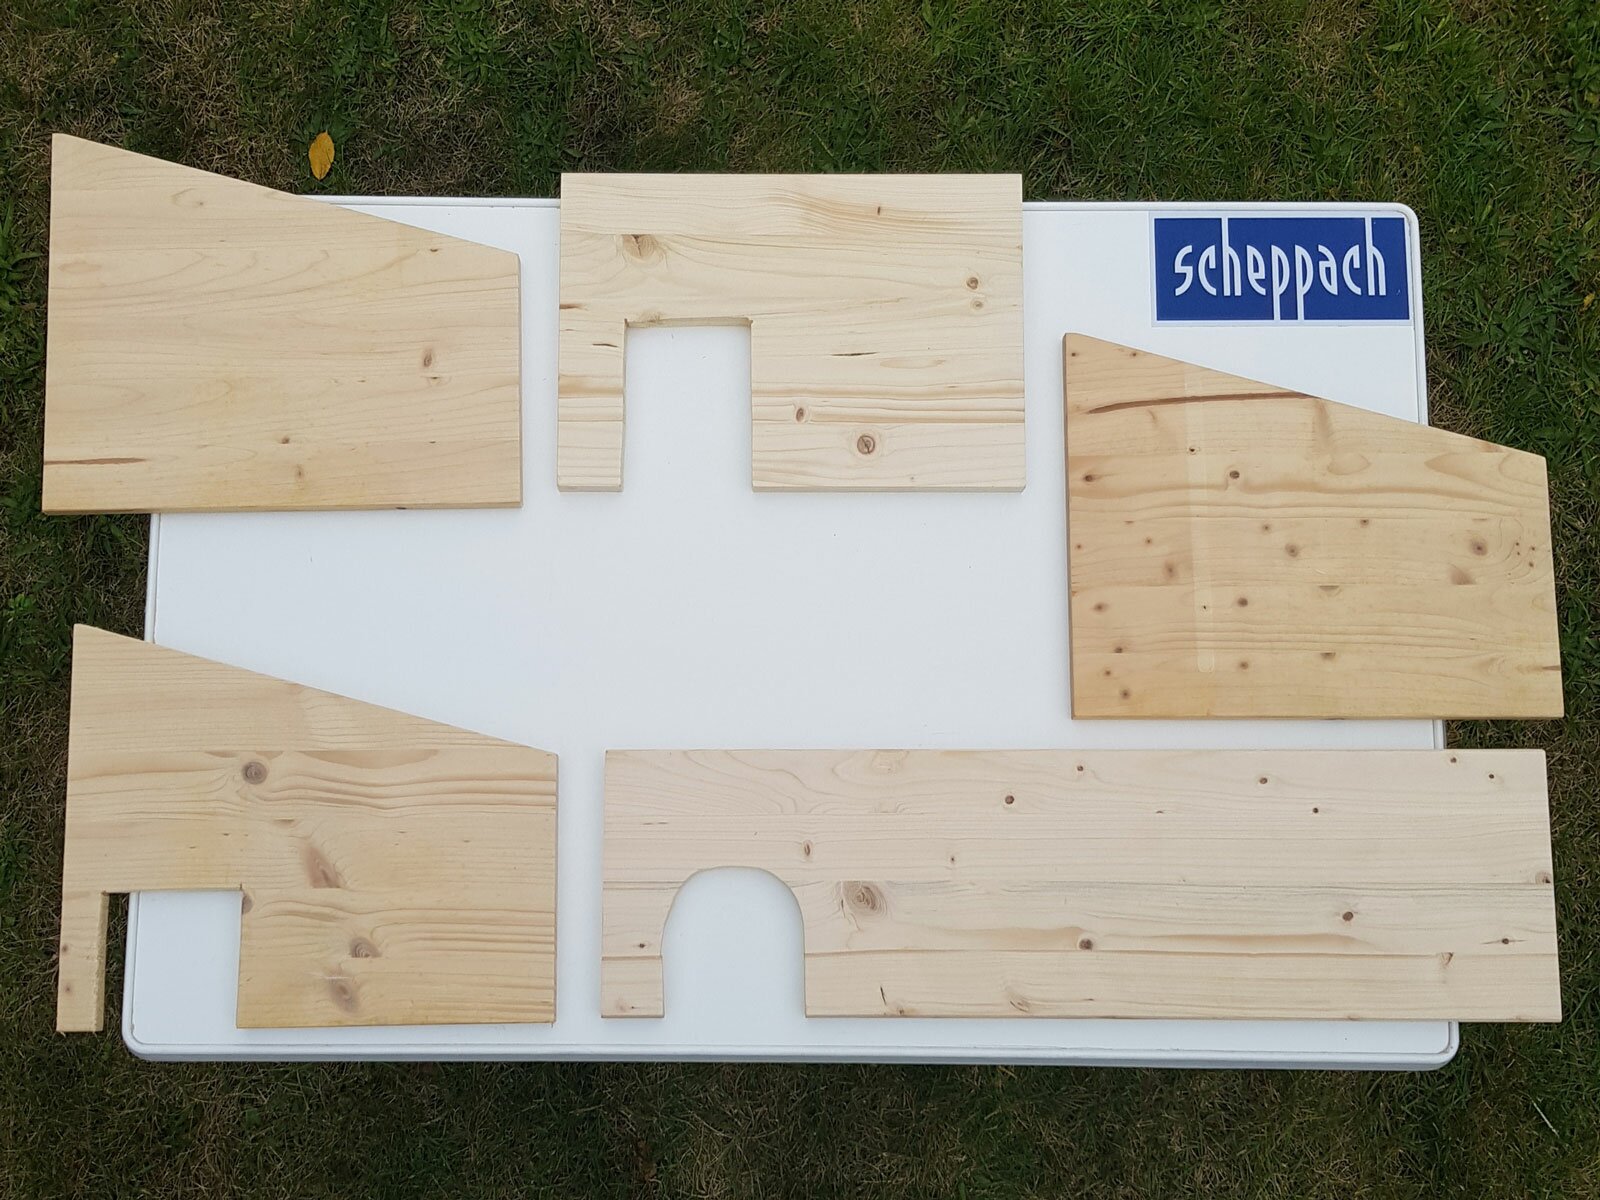
The 3 panels of 36 cm x 30 cm are the side and the middle sections of the completed hedgehog box.
All 3 panels also need to be cut to compensate for the height difference between the front and back wall. Just hold the 20c m panel up to it and mark the area. The triangle created in this way now needs to be sawn out.
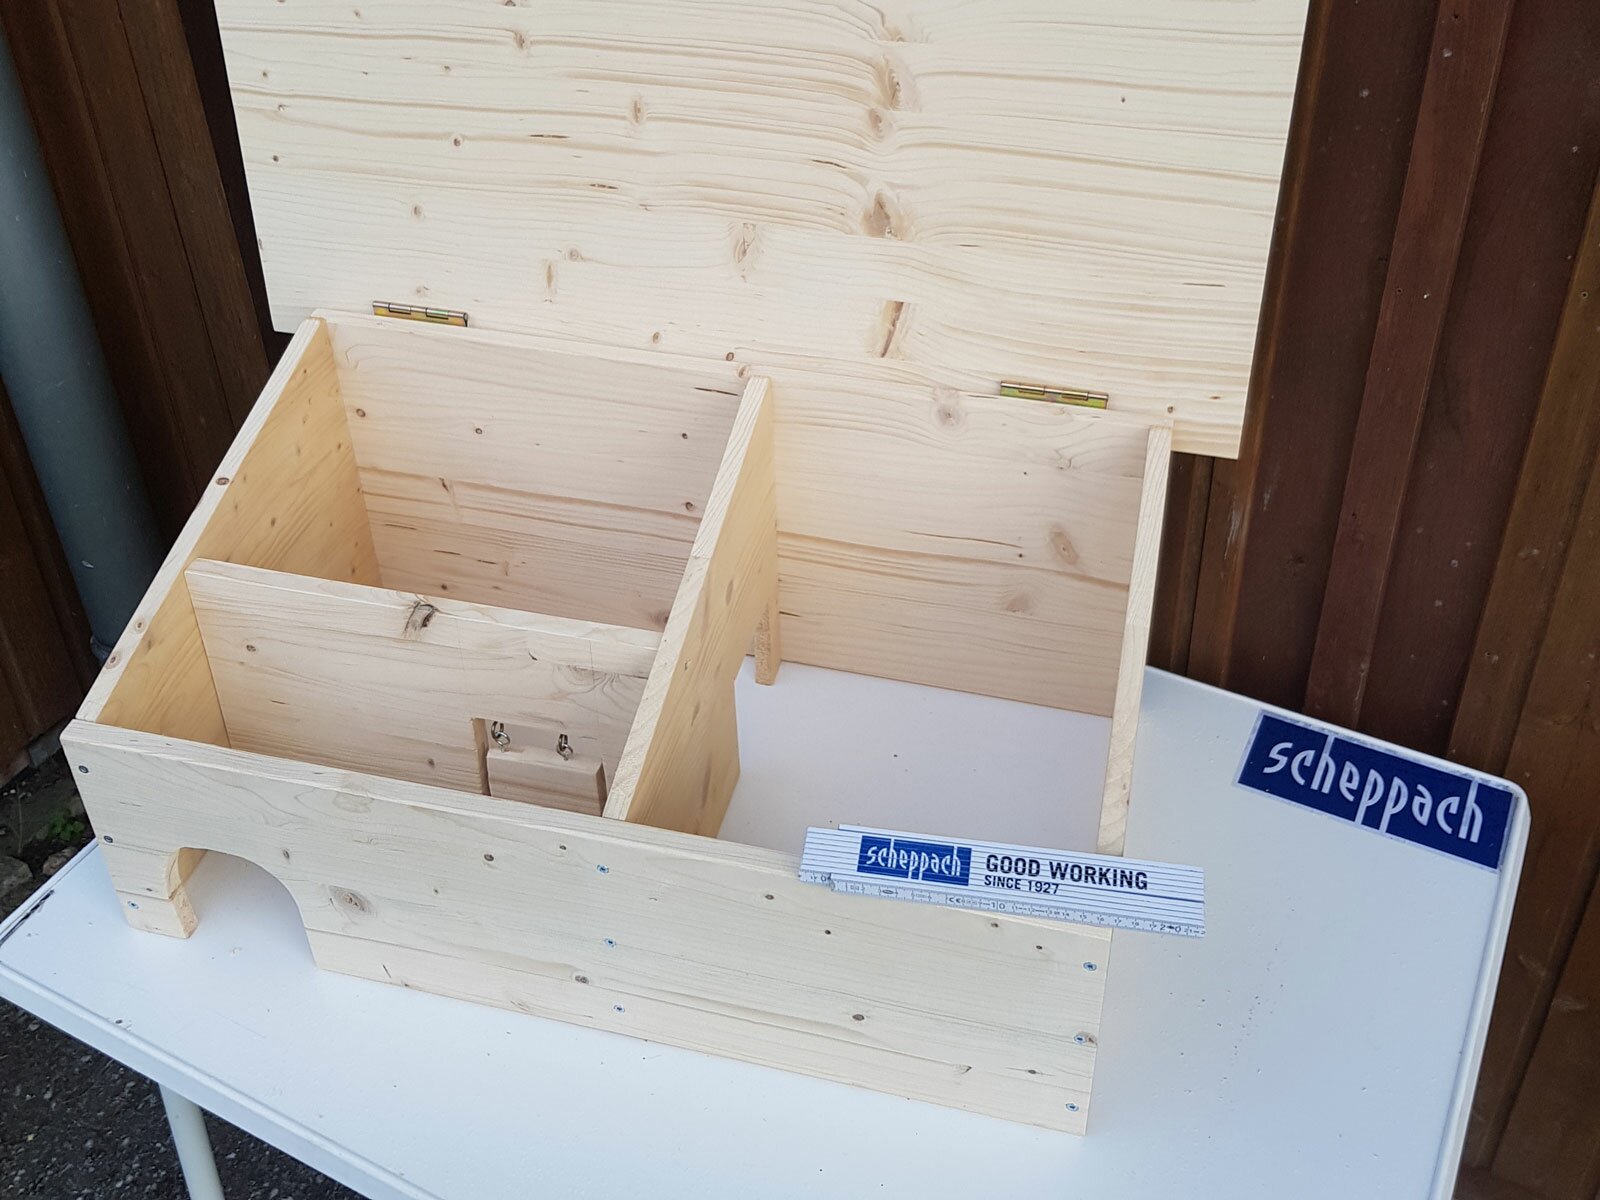
Now create a few doorways with the jigsaw. Please refer to the illustrations for the positions of the doorways.
The edge-glued panel of 20 cm x 70 cm is the front wall of our hedgehog house. The doorway should be about 10 x 10 cm, rounded off at the top for aesthetic reasons.
The central section has a doorway with the same format.
The doorway in the 36 cm x 23 cm panel is 10 x 13 cm. The additional 3 cm for the height is intended for the screw-in eye hooks. Cut the piece of wood you removed to 9 cm x 9 cm and hang it using the eye hooks. This creates an anti-rat flap.
The individual parts now have to be screwed together. In order to prevent the timber from splintering, we recommend you pre-drill it before inserting the screw.
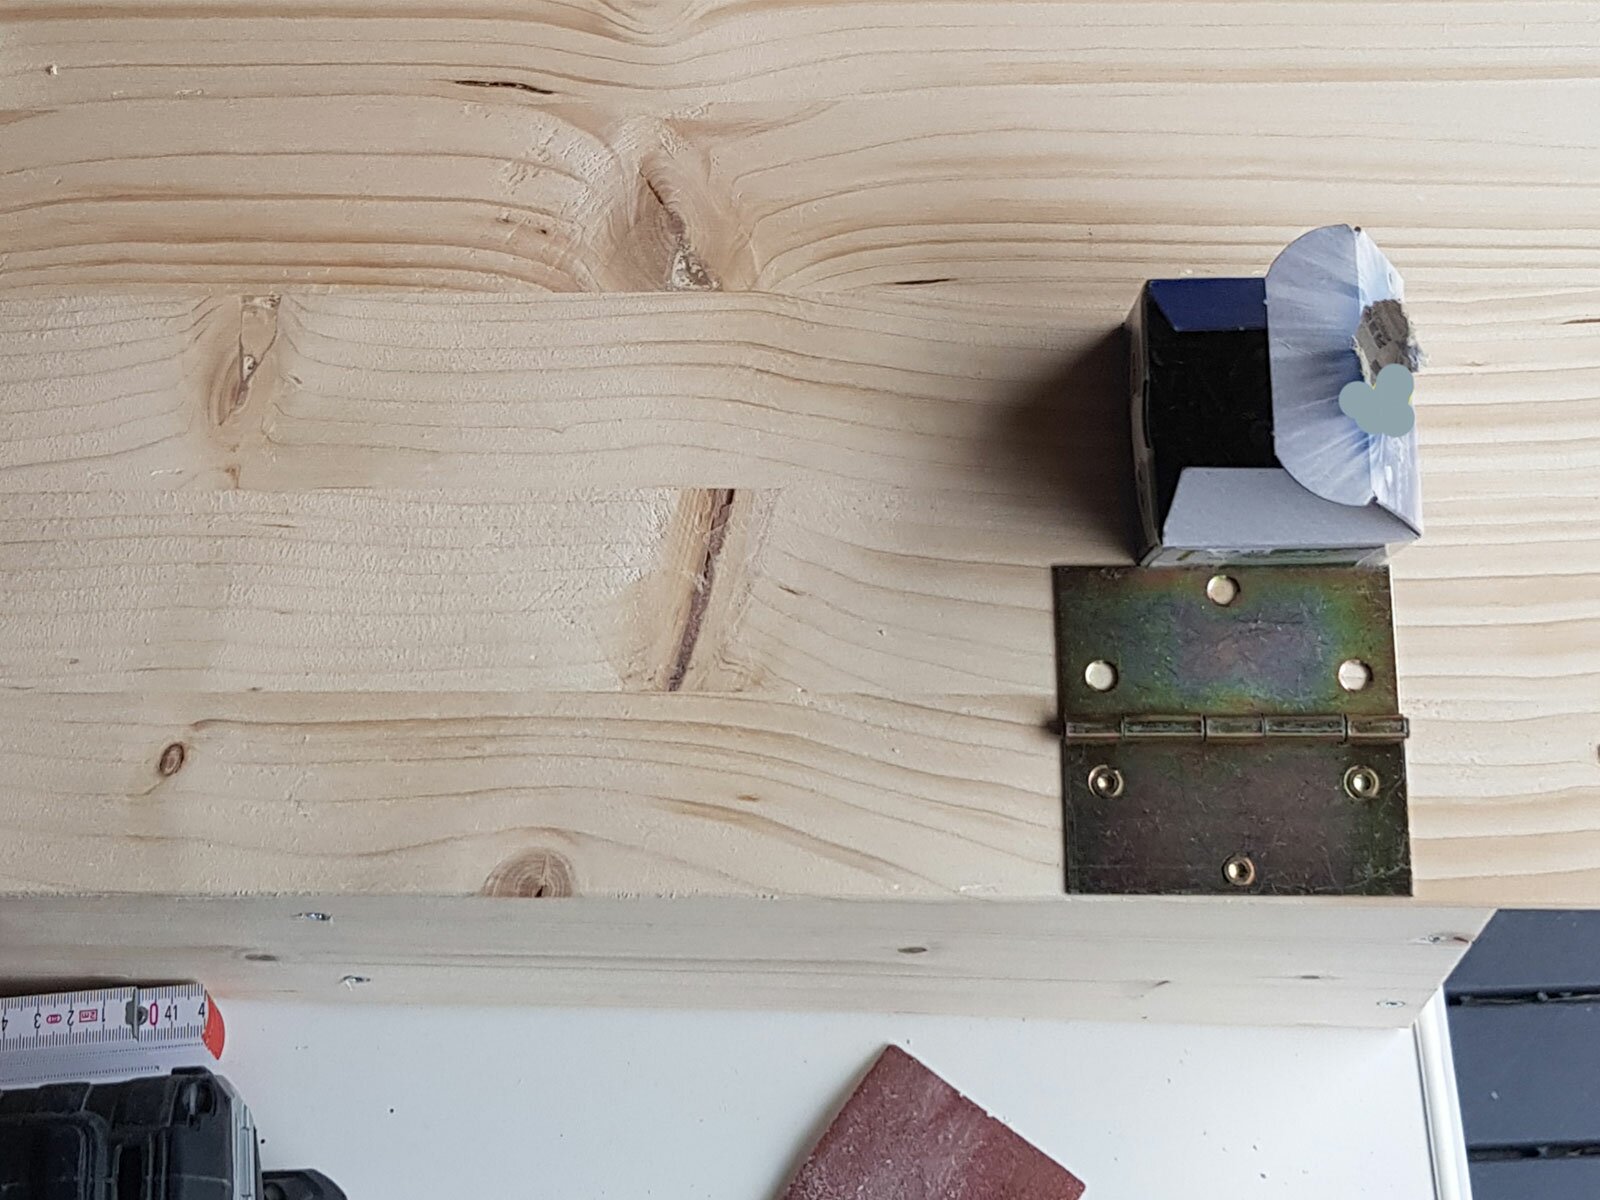
First, fix the front and back wall to the 2 side sections. The distance between the front wall and the partition with anti-rat flap is 12 cm. Now attach the middle section and finally the 2 hinges to the lid.
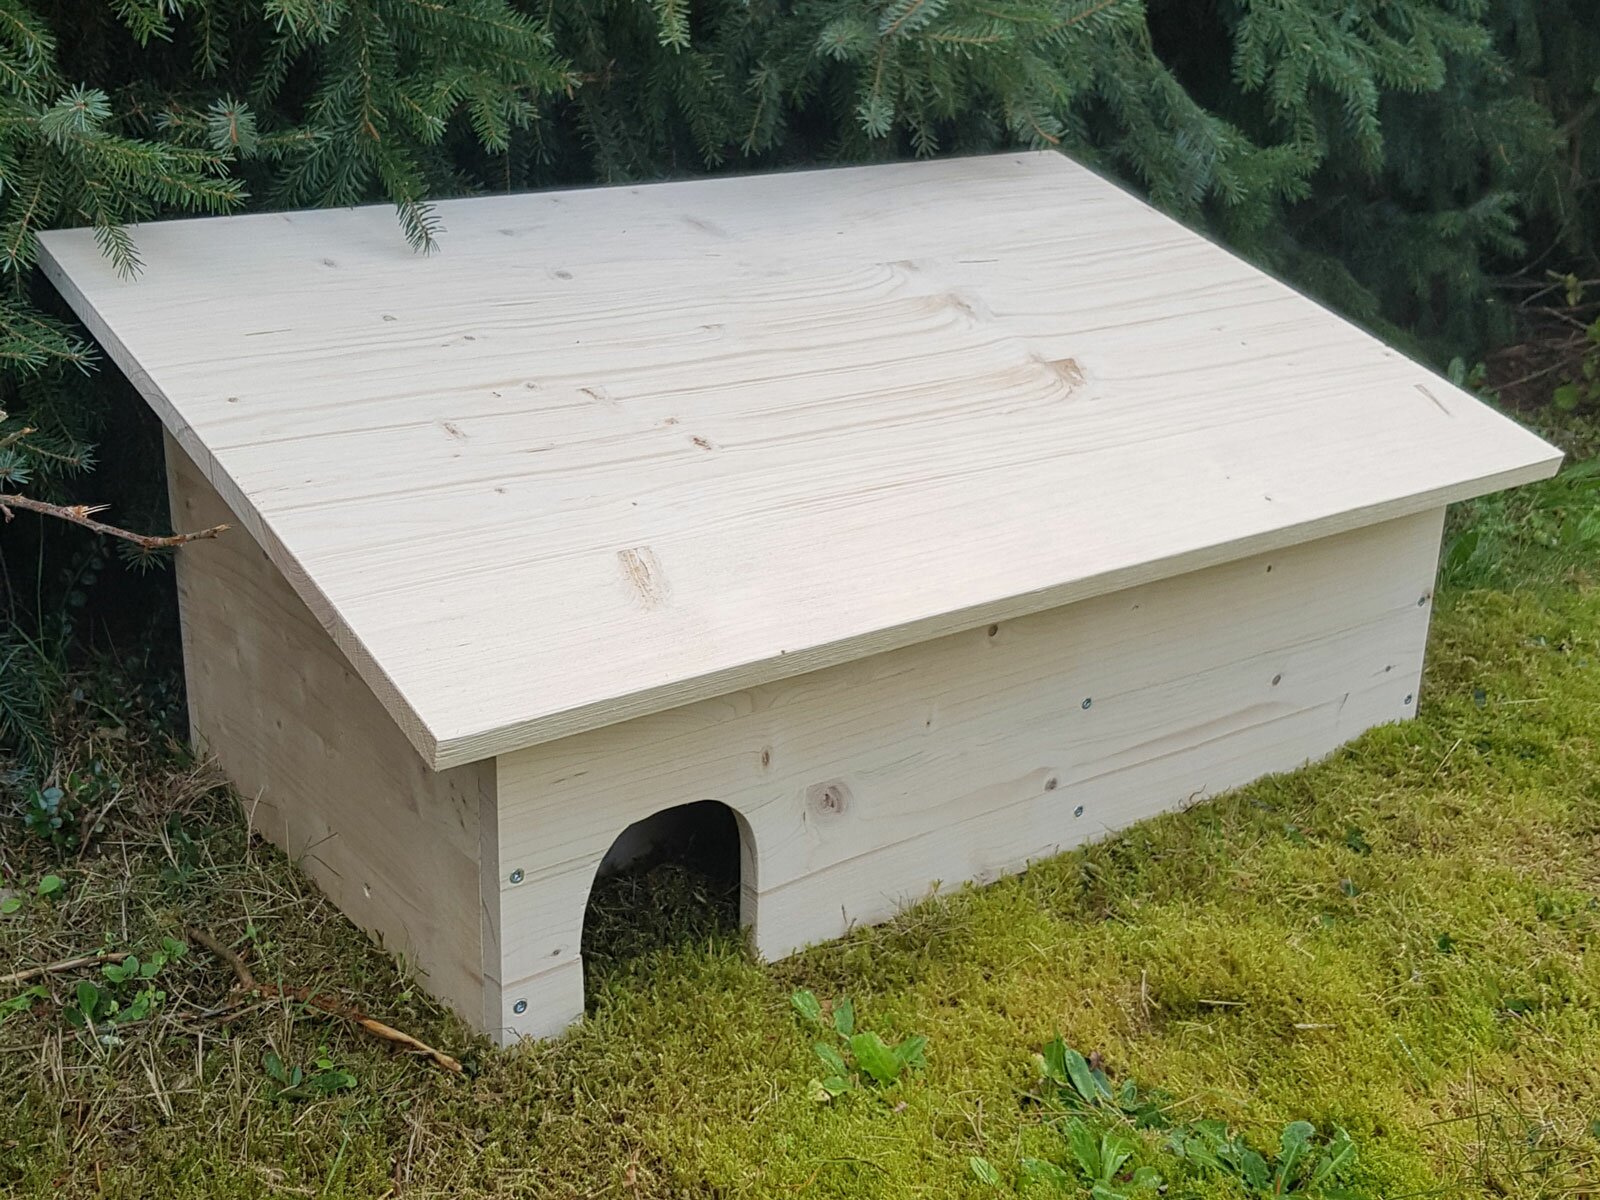
And this is what our finished hedgehog house looks like. Ideally, position it in a protected spot in your garden where you will not disturb the hedgehog during winter with any work you may be doing. The sleeping chamber is filled with leaves and straw so the hedgehog will feel comfortable.
If you like, you can paint the outside of the hedgehog house to protect it from the weather and to integrate it into the garden more effectively. Then you just have to wait for a hedgehog to move in.


