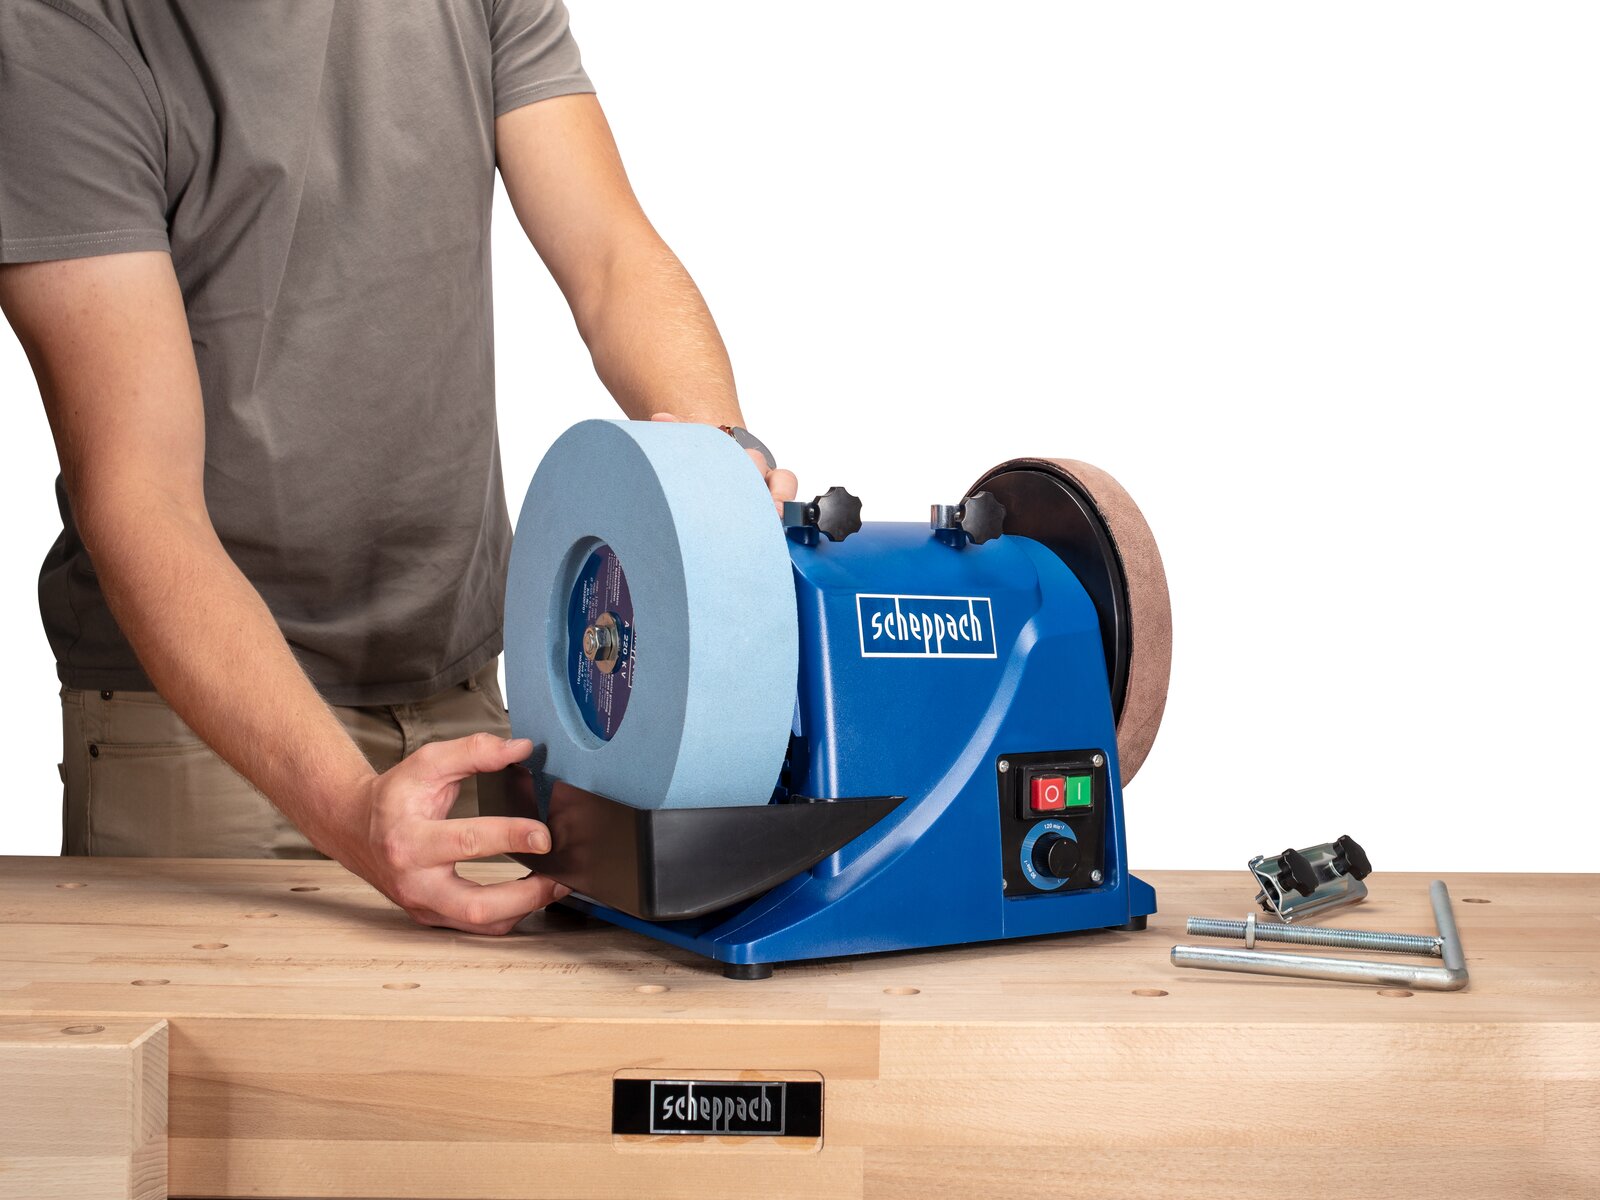
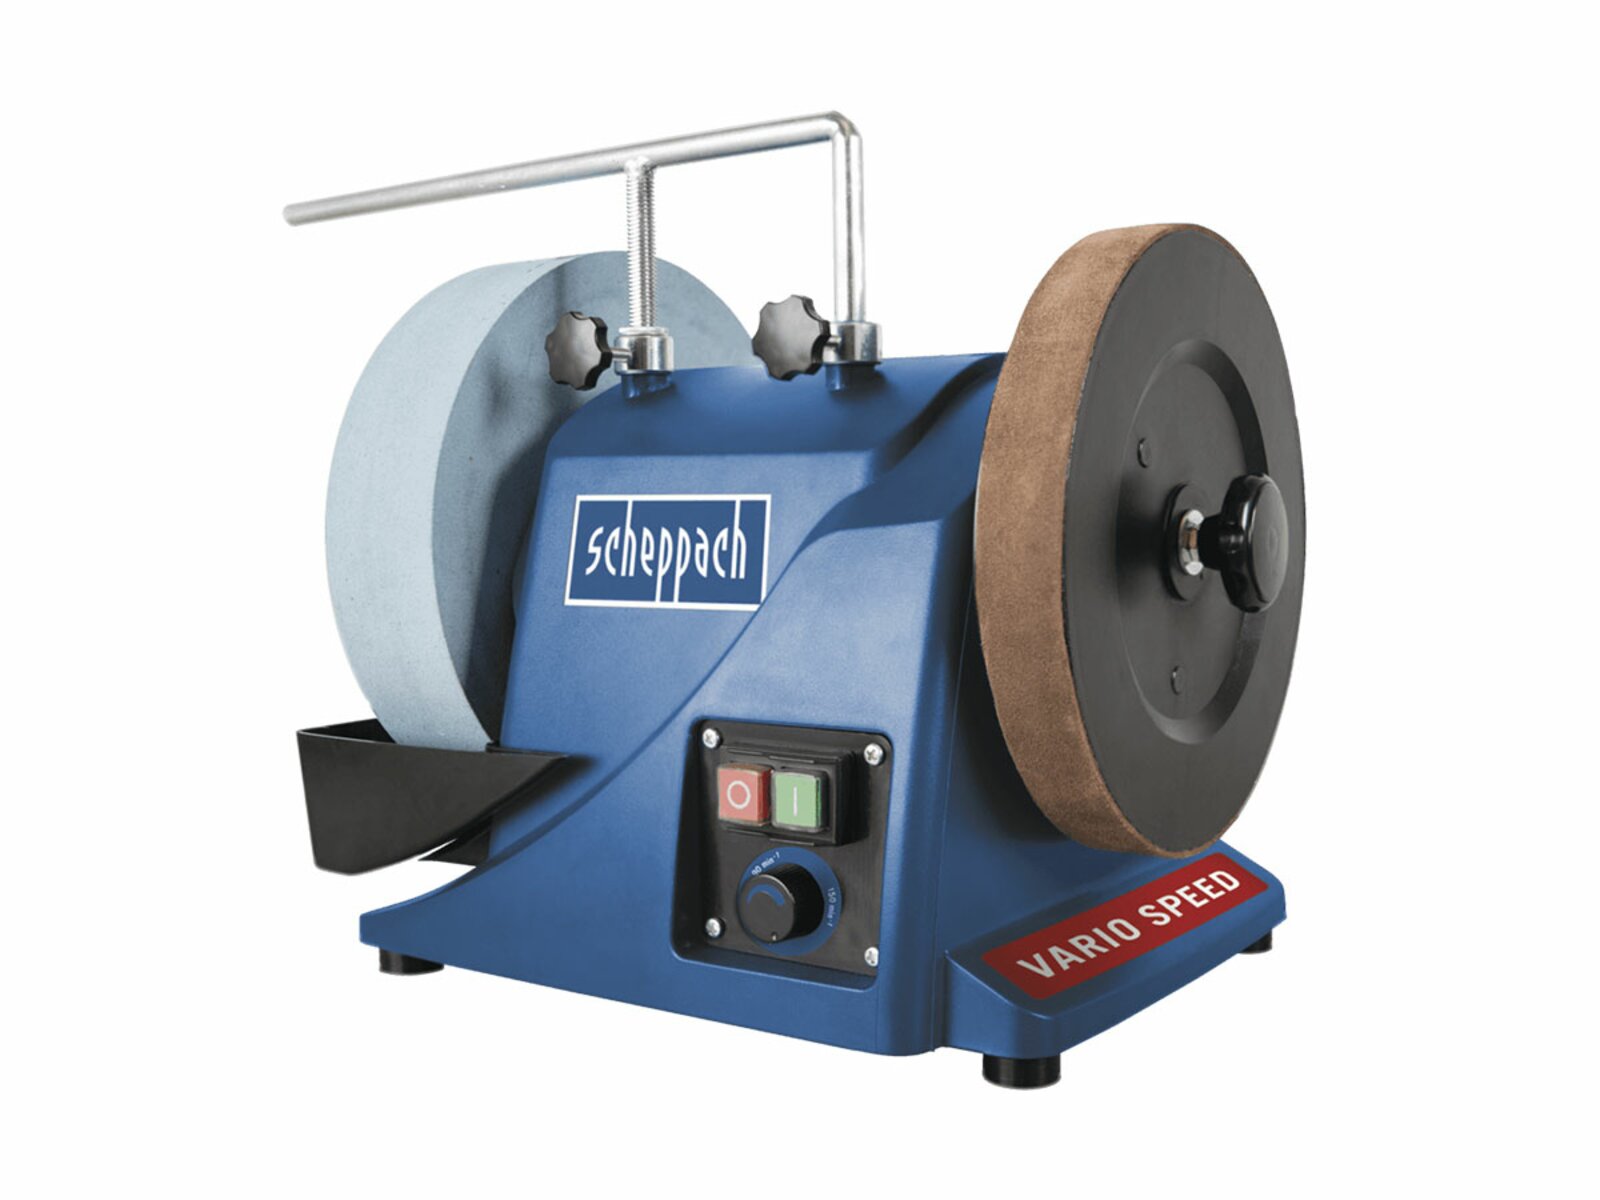
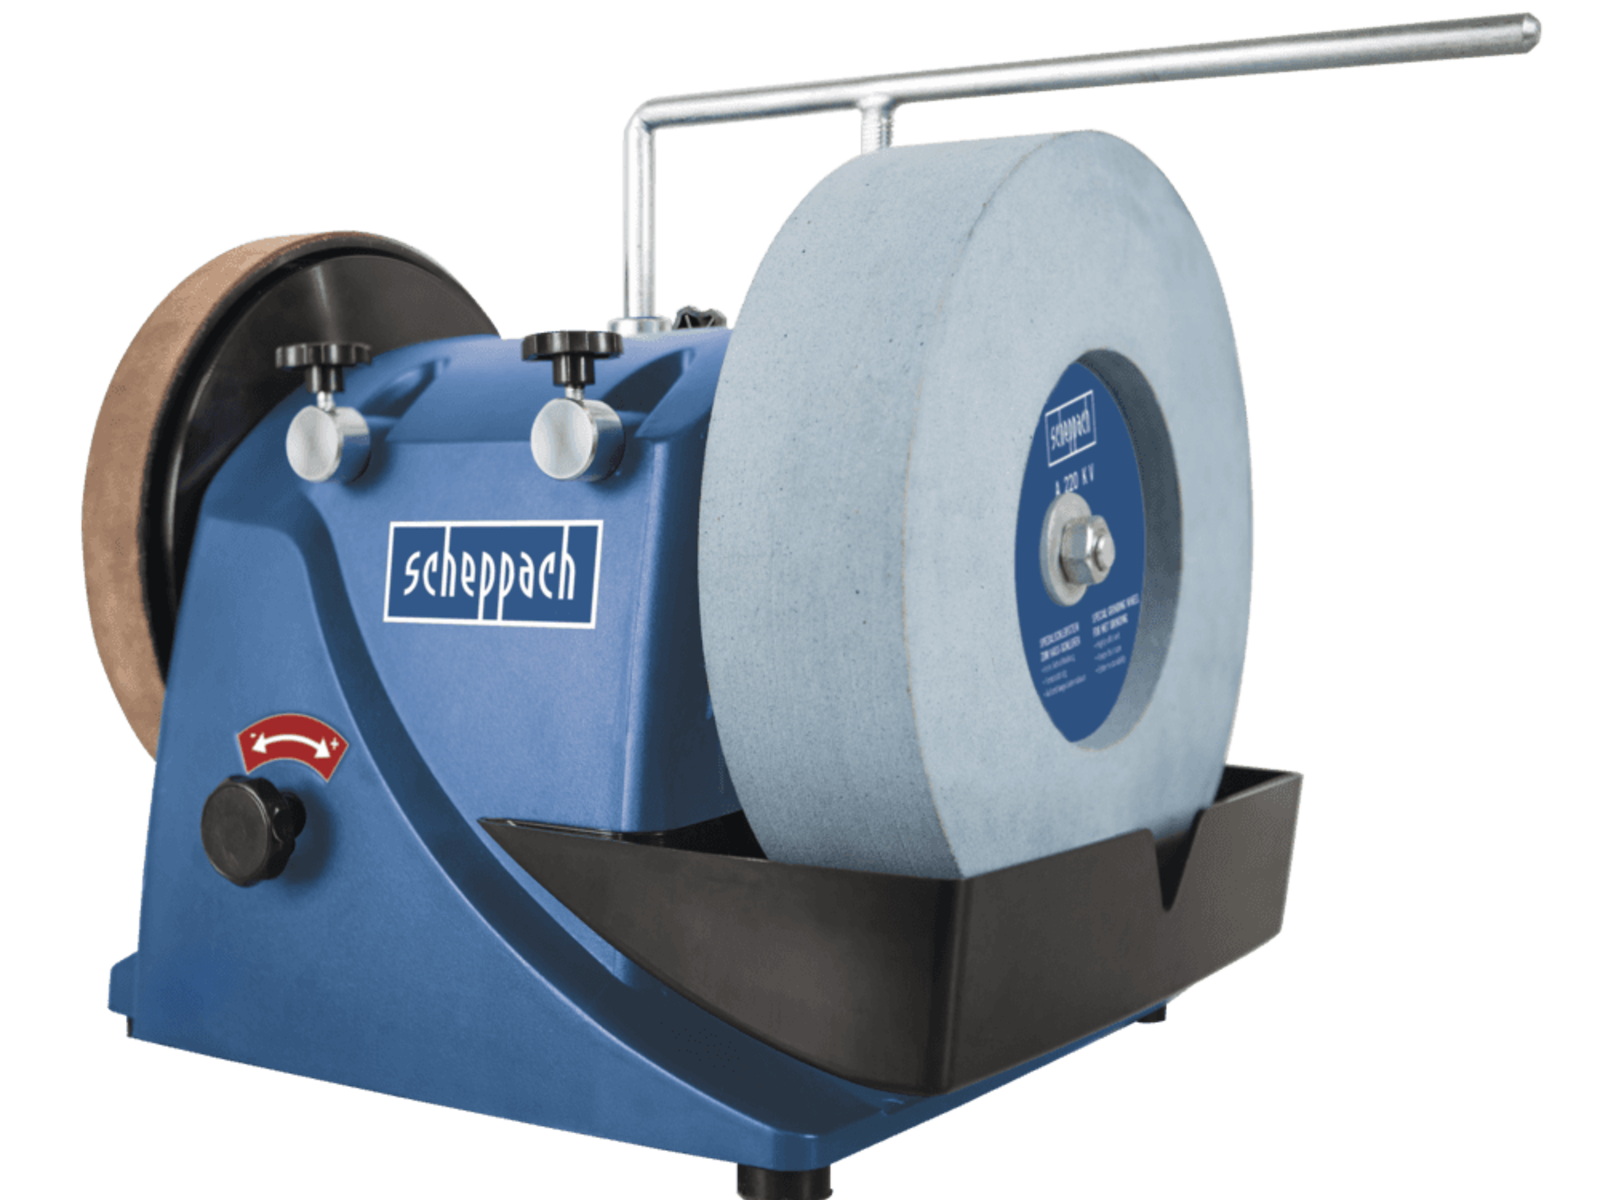
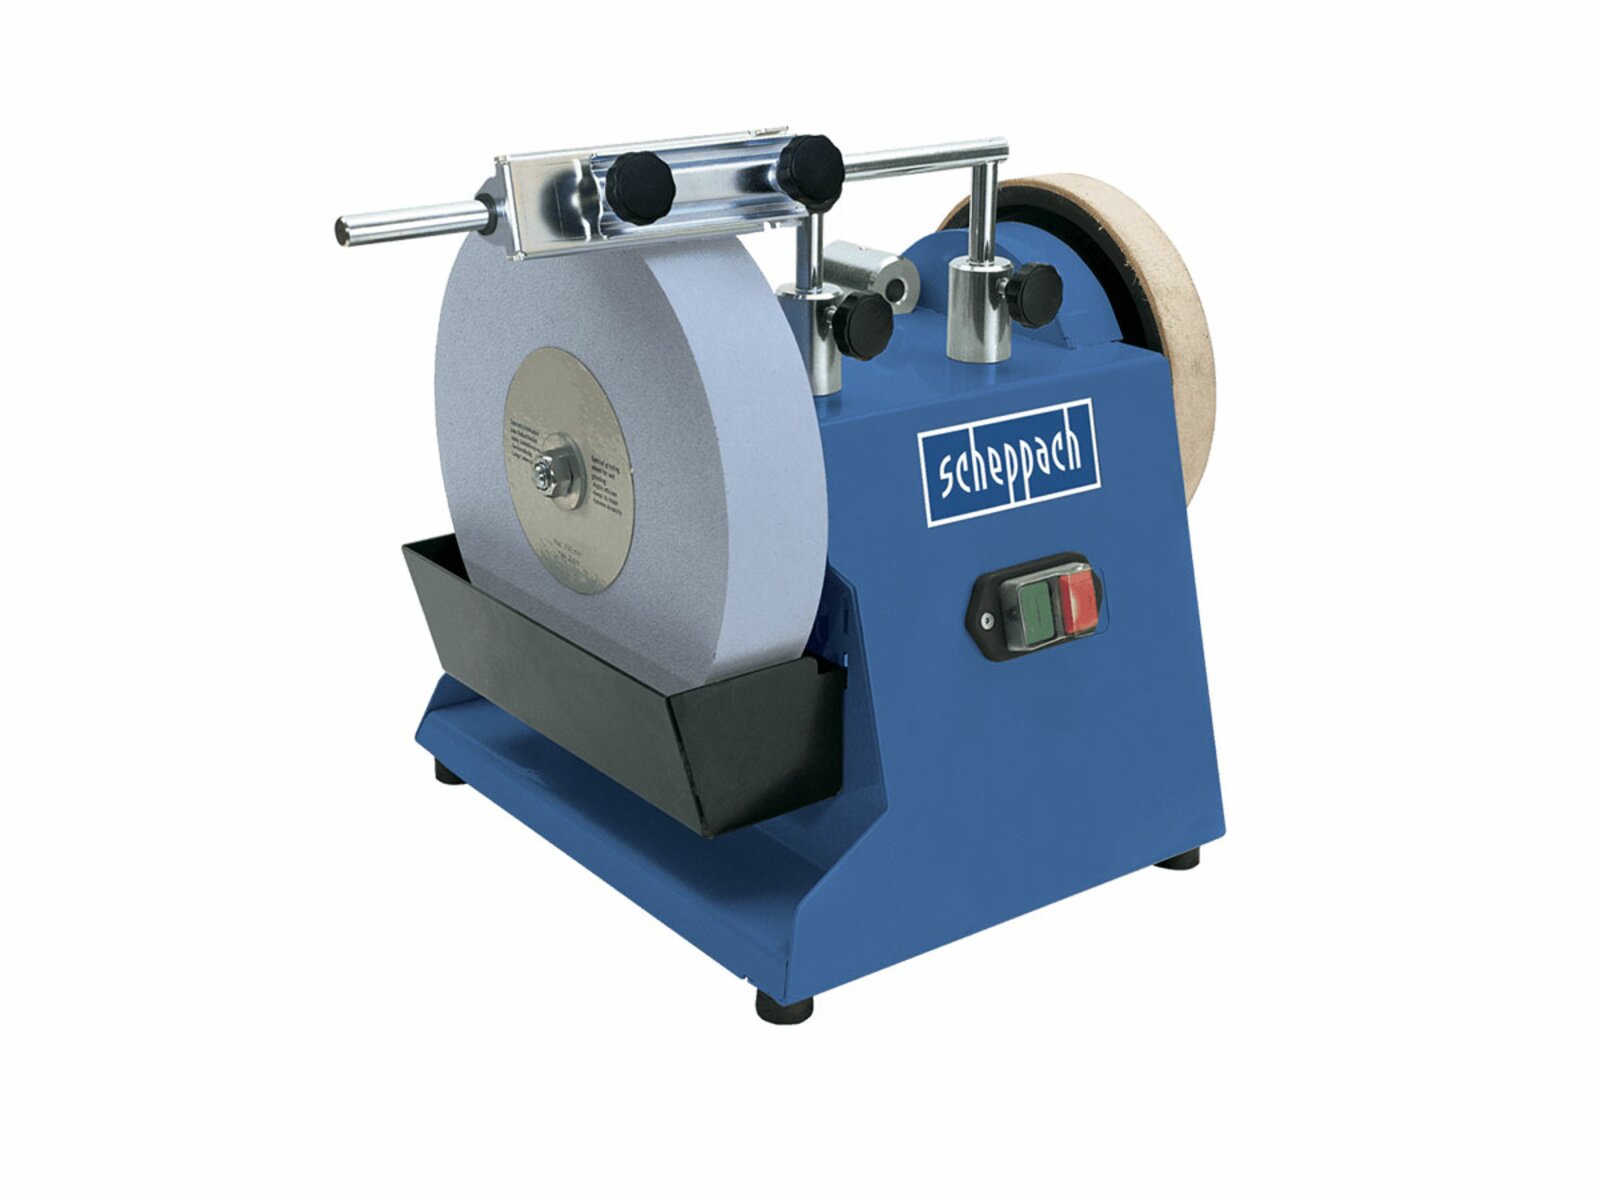
1. Before using the grinding machine for the first time, the aluminium oxide brick must be fitted and the screw tightened carefully. The leather wheel has already been fitted in the factory.
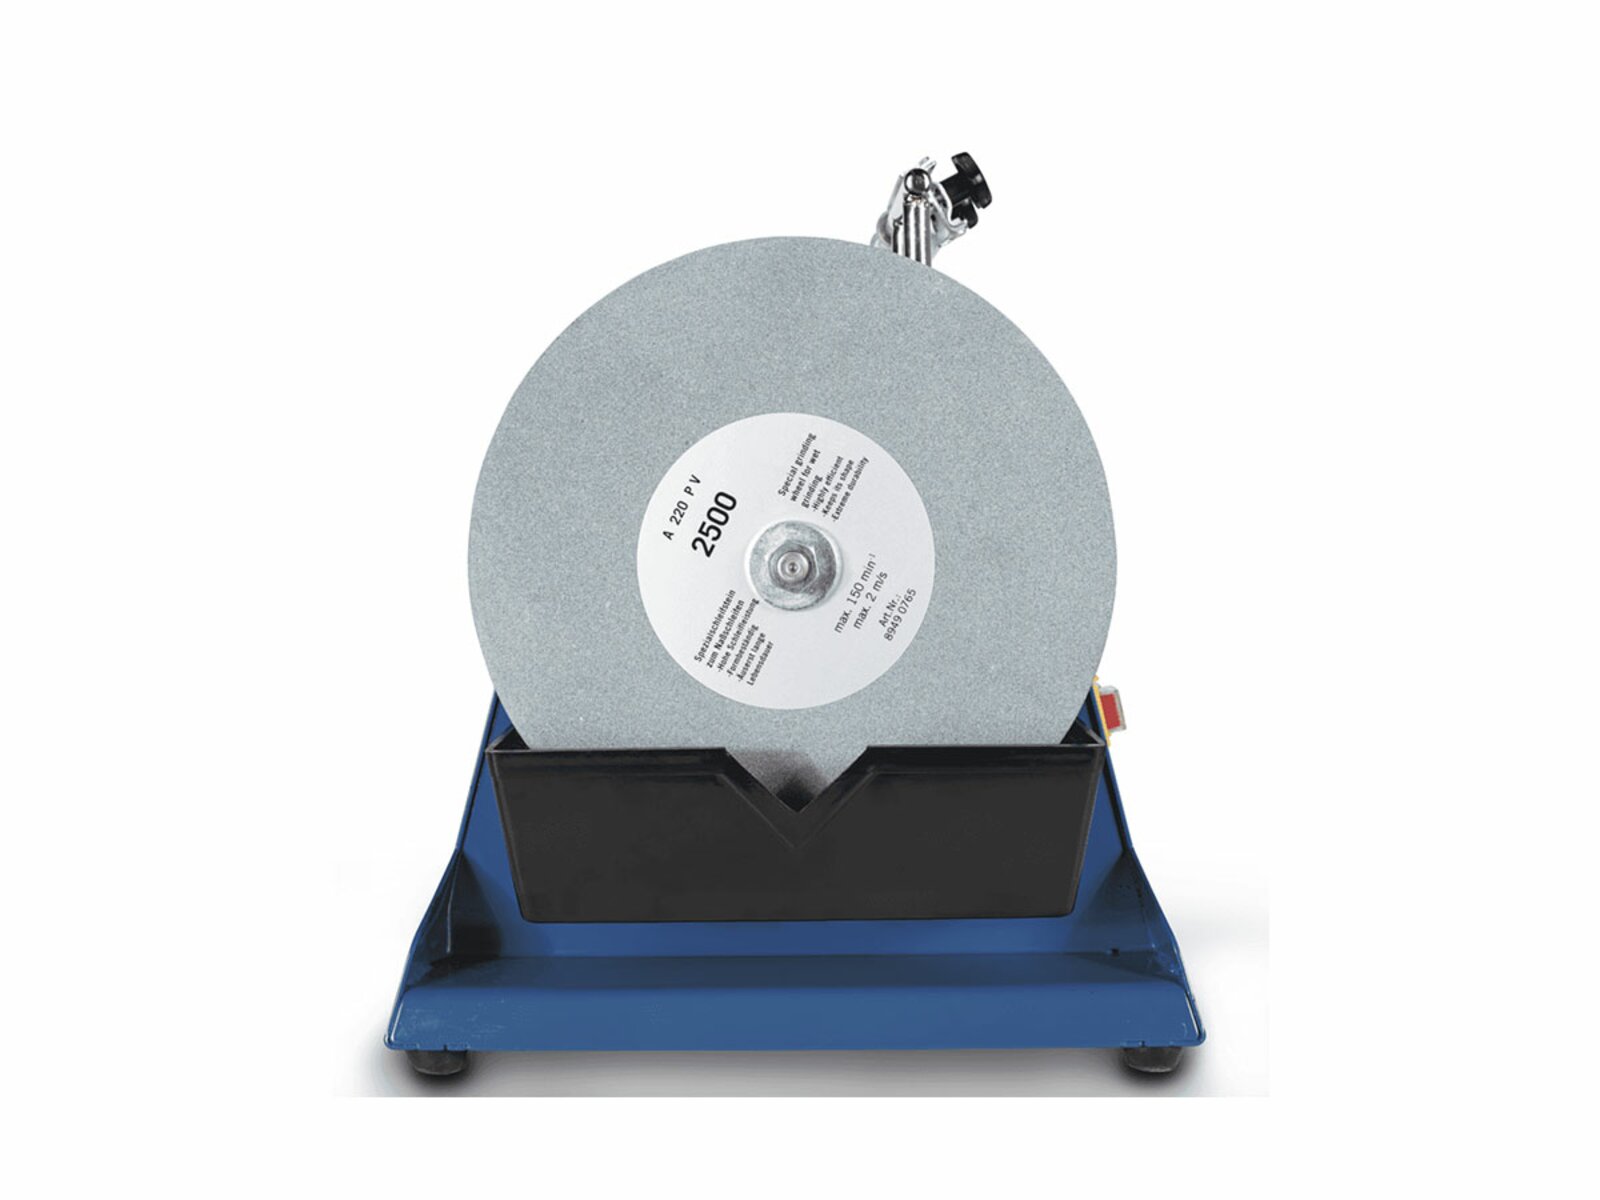
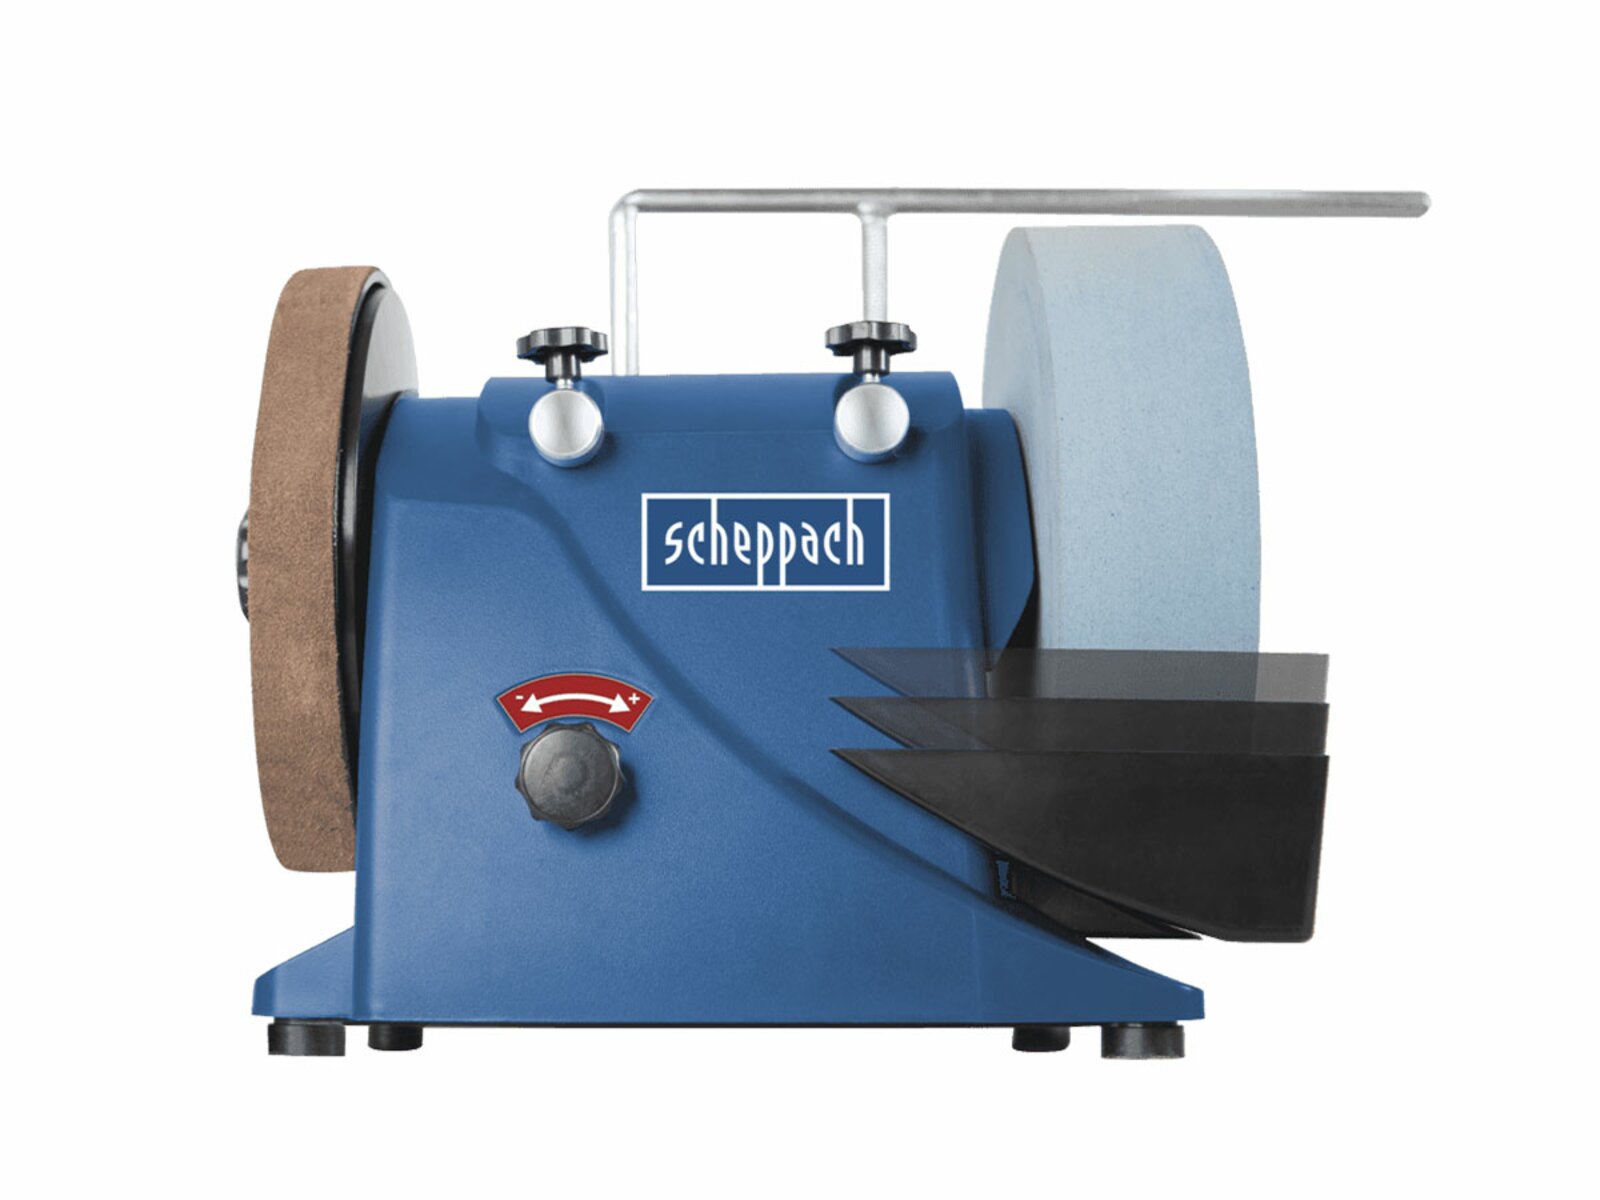
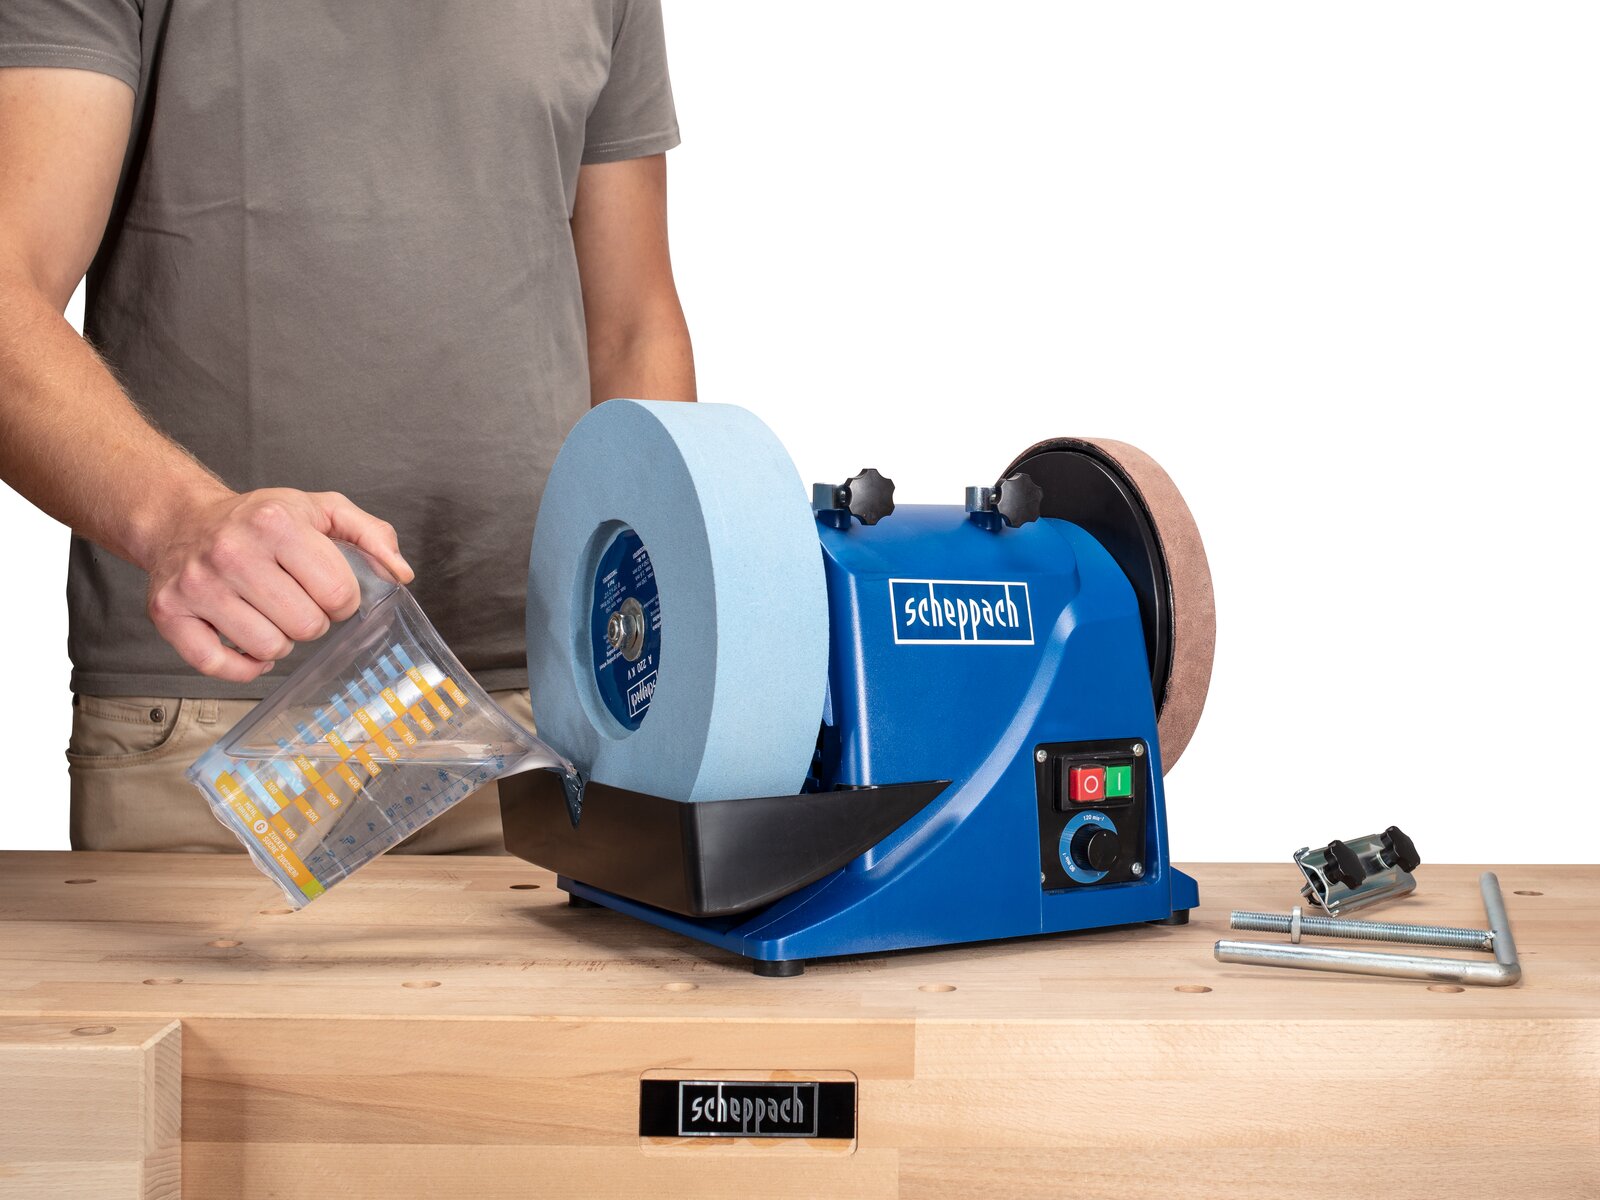
2. Attach the filled water tank. This is right at the bottom on a new disc. If the grindstone’s diameter has been reduced significantly by an extended period in use, the bowl is attached higher up. This ensures that the stone is always used well.
3. Before you start grinding, the stone must be soaked with water. To do this, first allow the machine to run up and continue to top up the water while doing so. Absorption is easy to detect, as the water turns the stone darker.
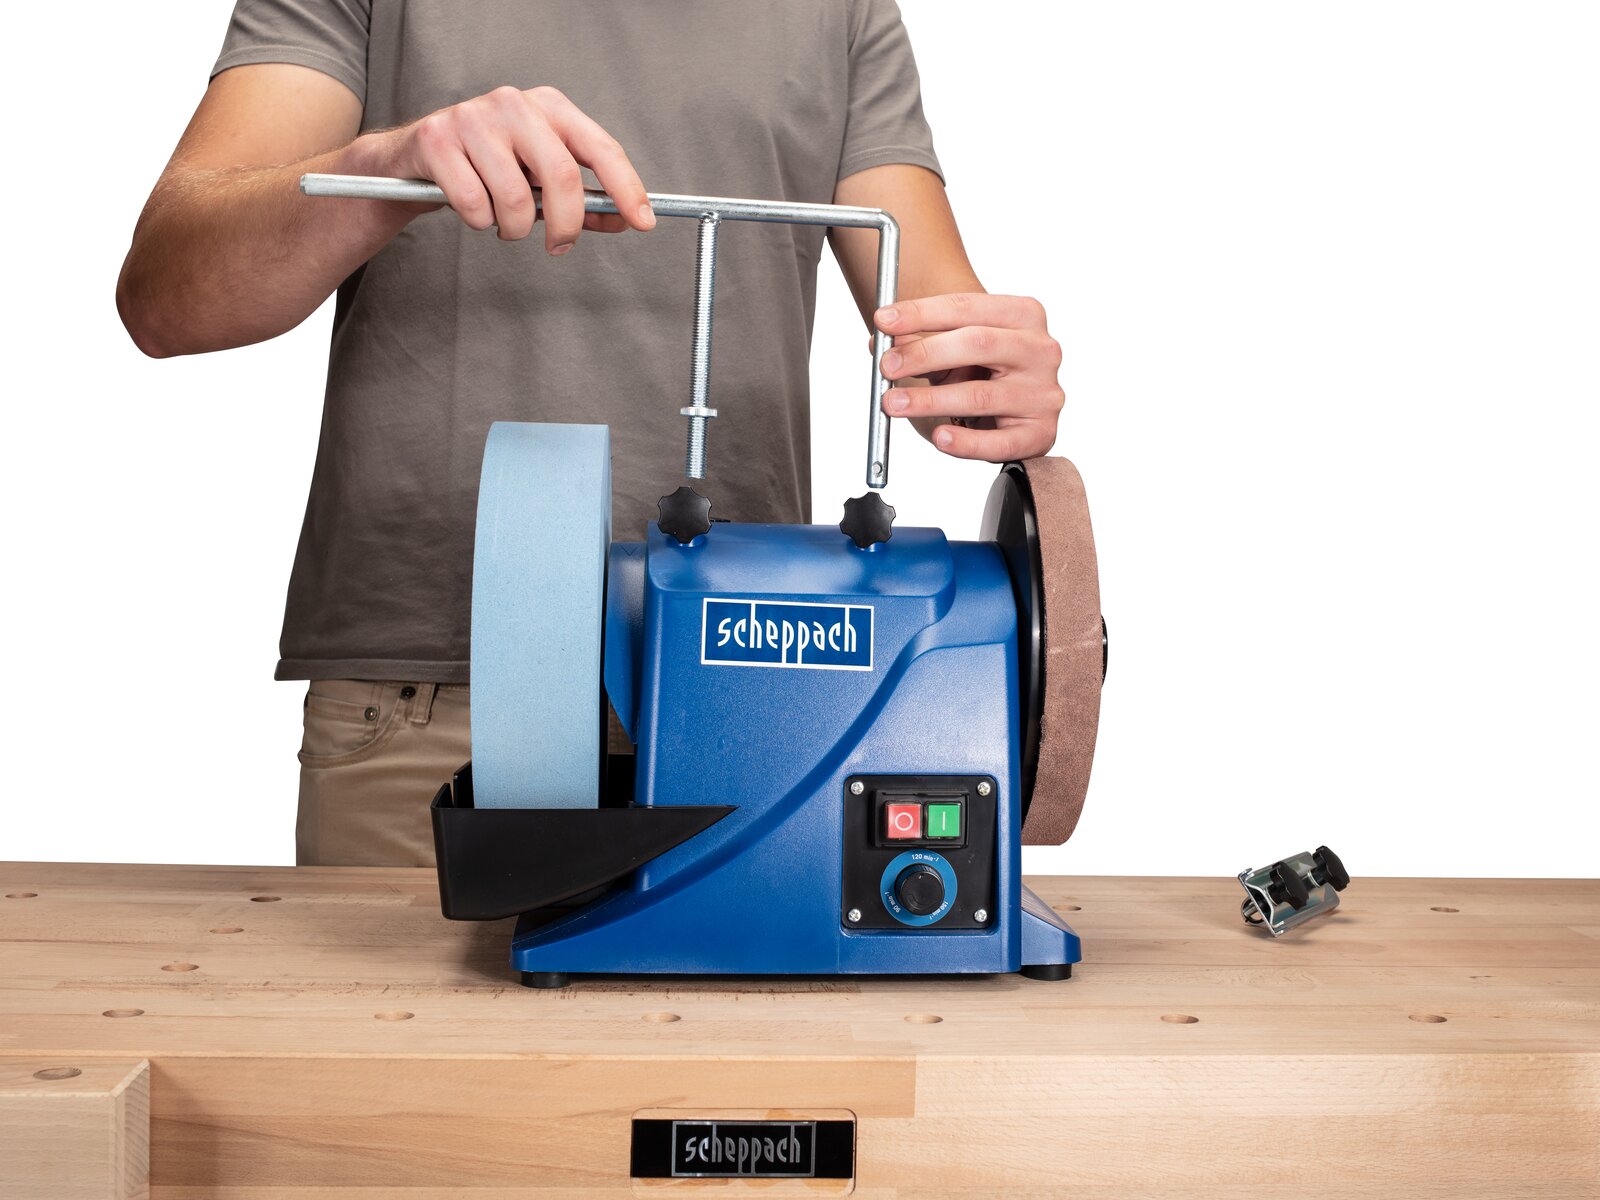
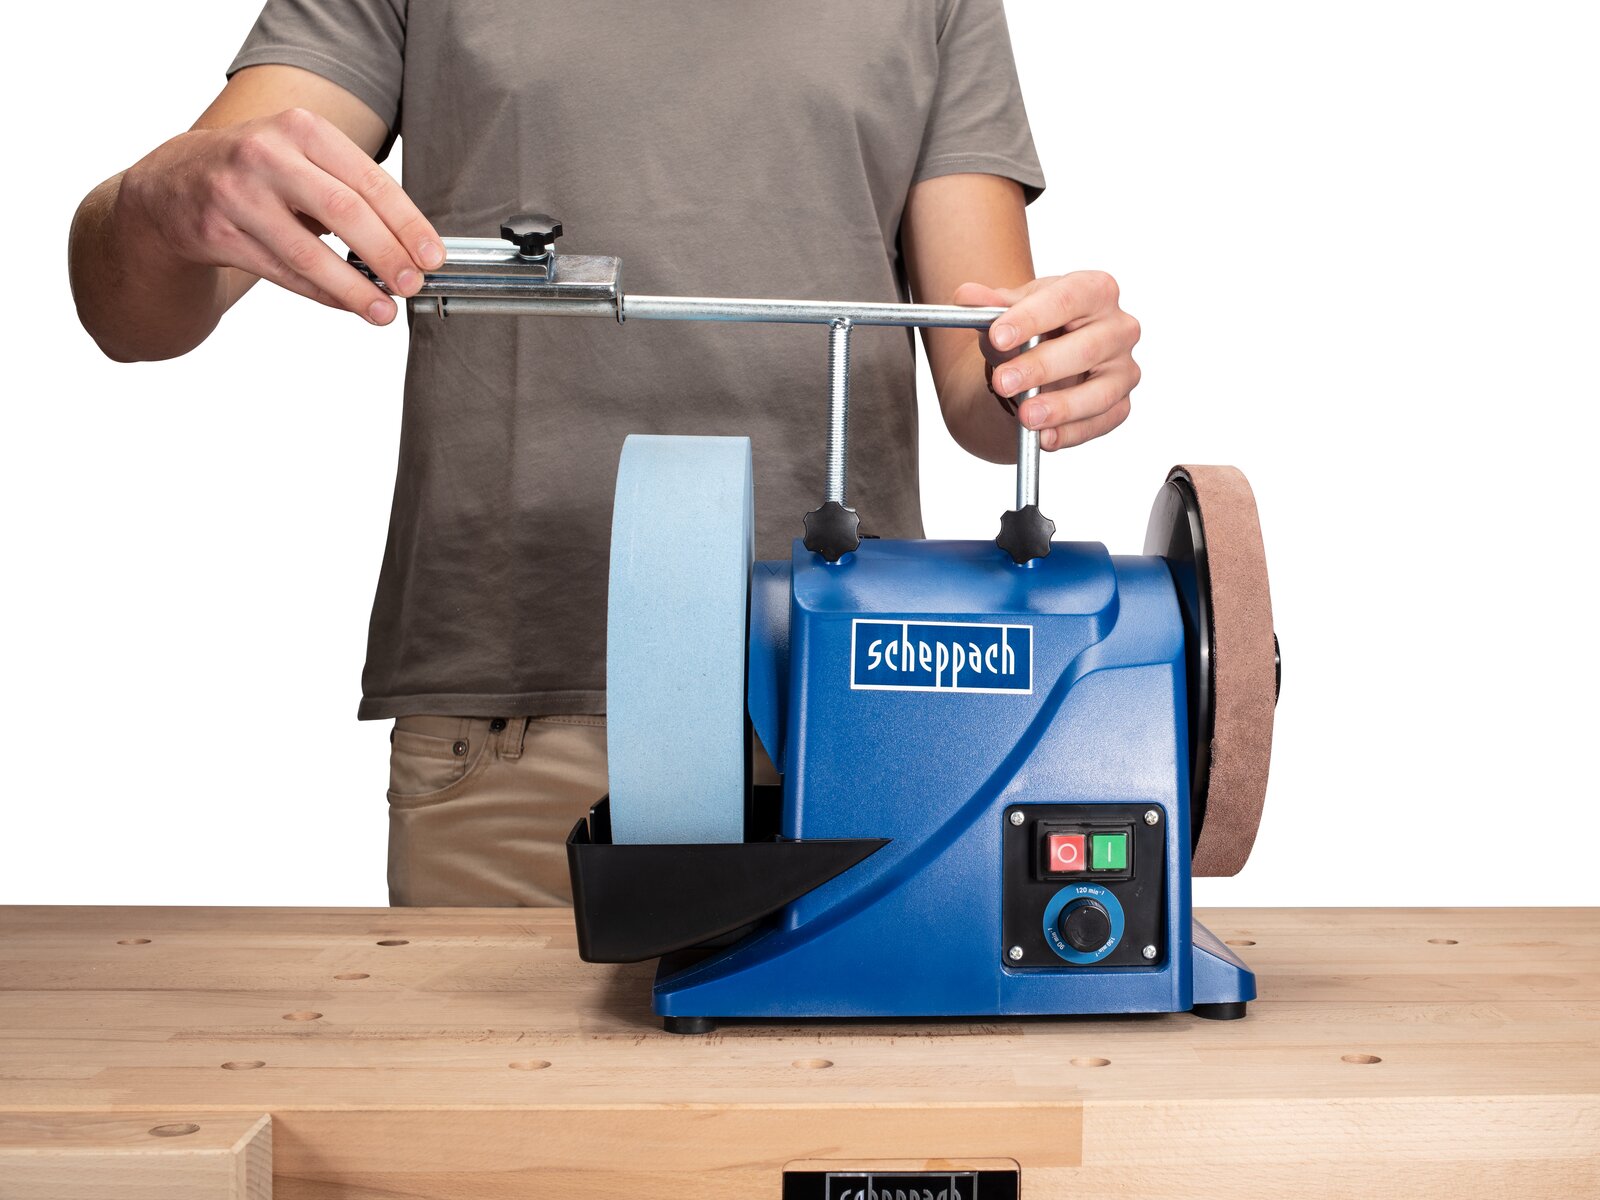
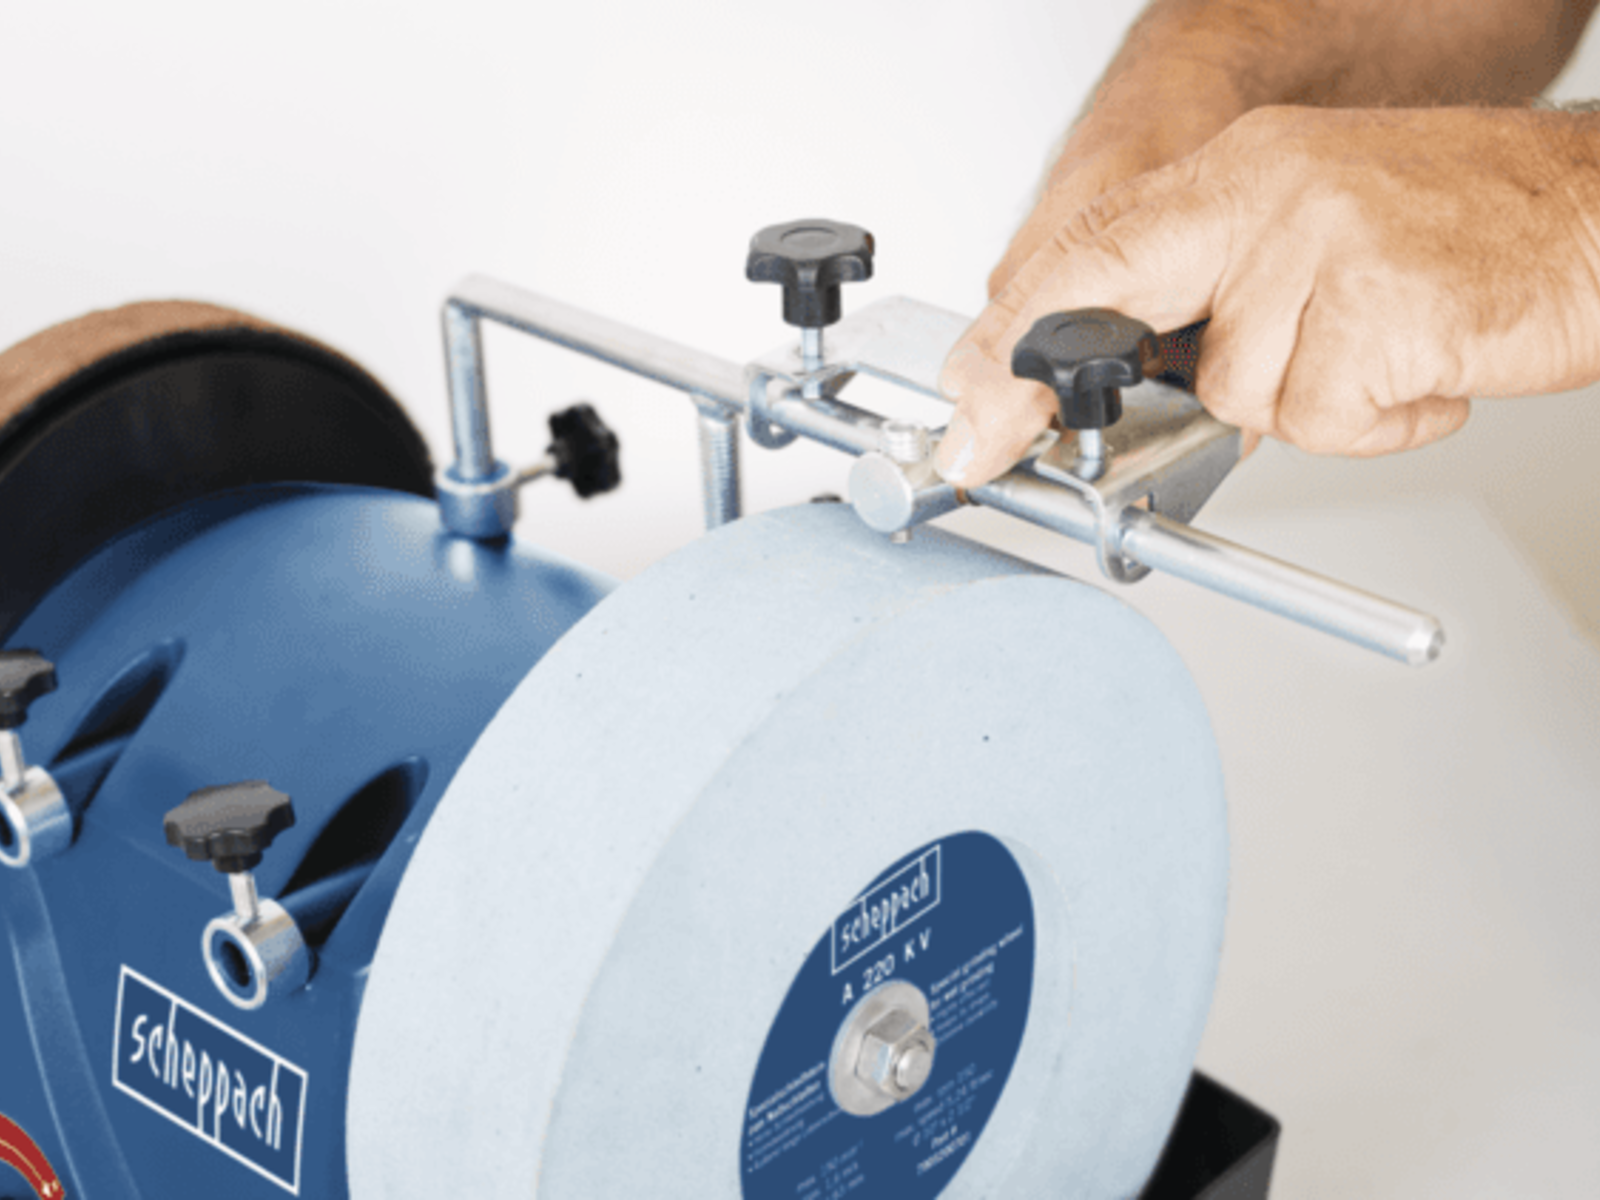
4. Only the universal support that is inserted into the housing retainers is missing. Additional equipment for grinding is attached to this.
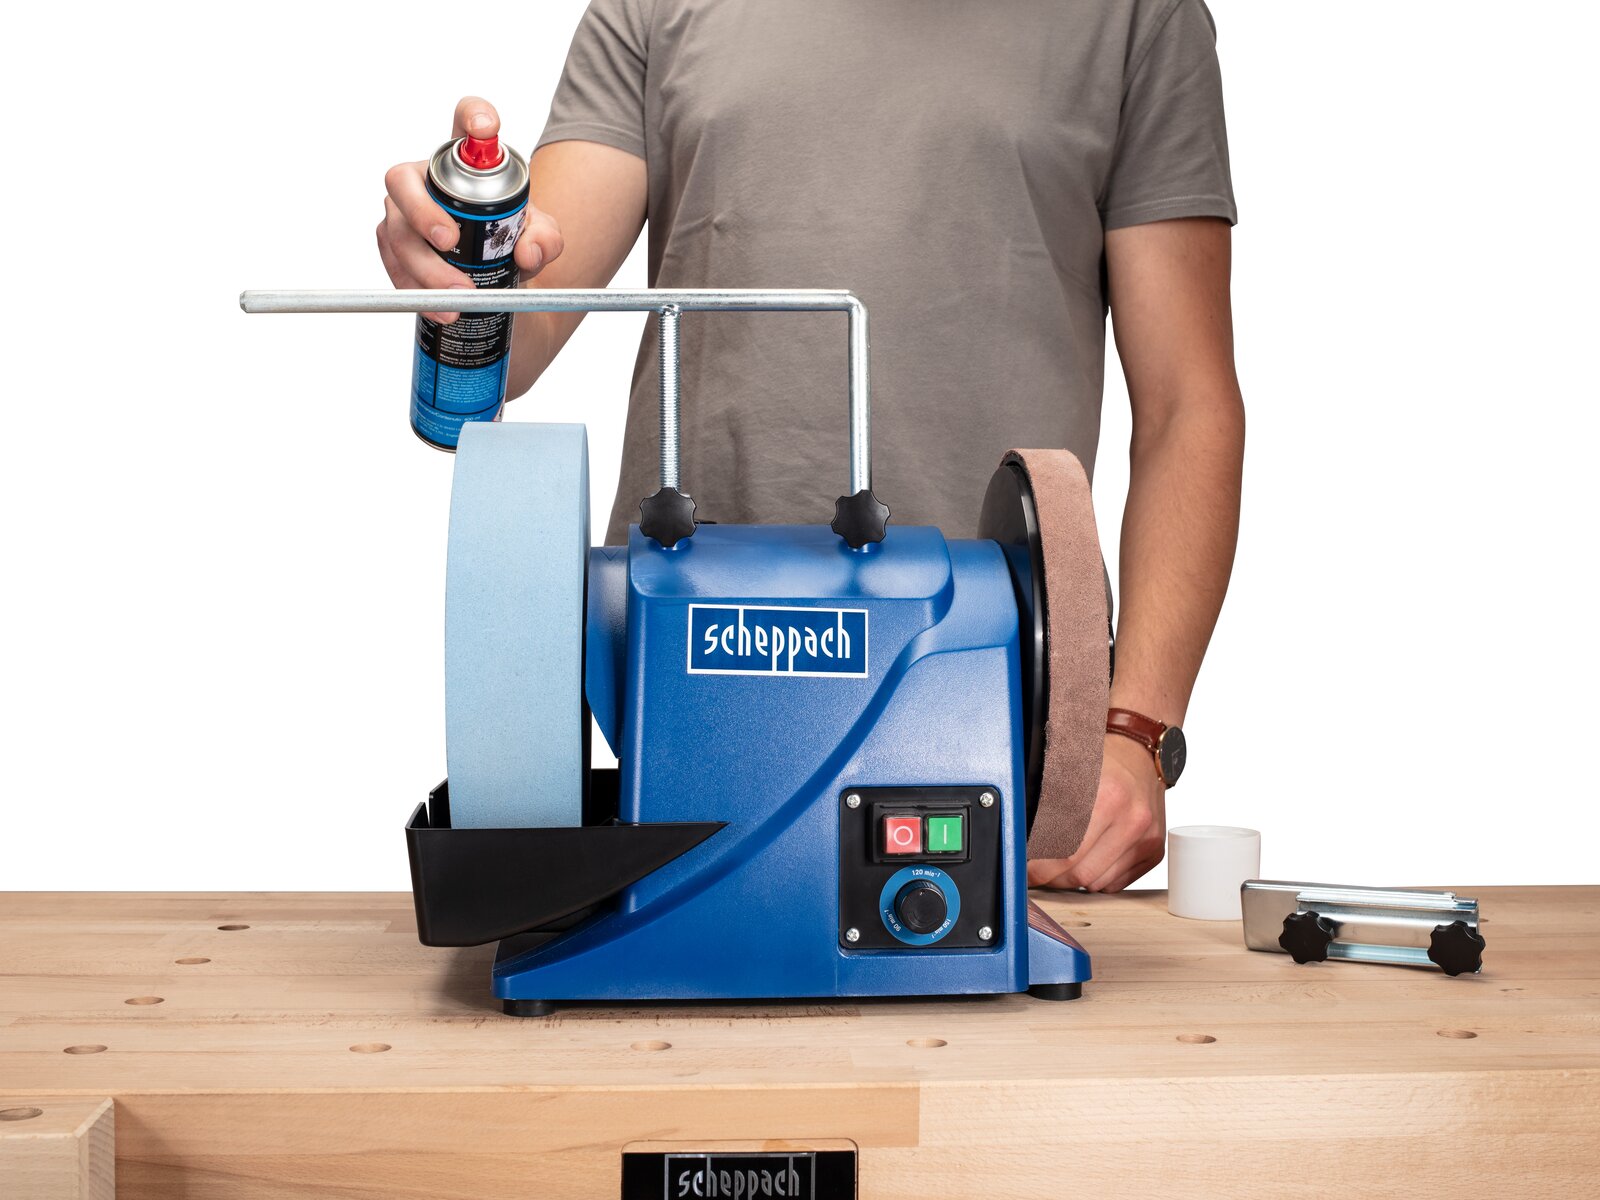
5. In order to ensure that the grinding units later slide well along the rod and therefore make working easier, we recommend using a lubricant spray. Never use oil, as this could impede movement if anything!
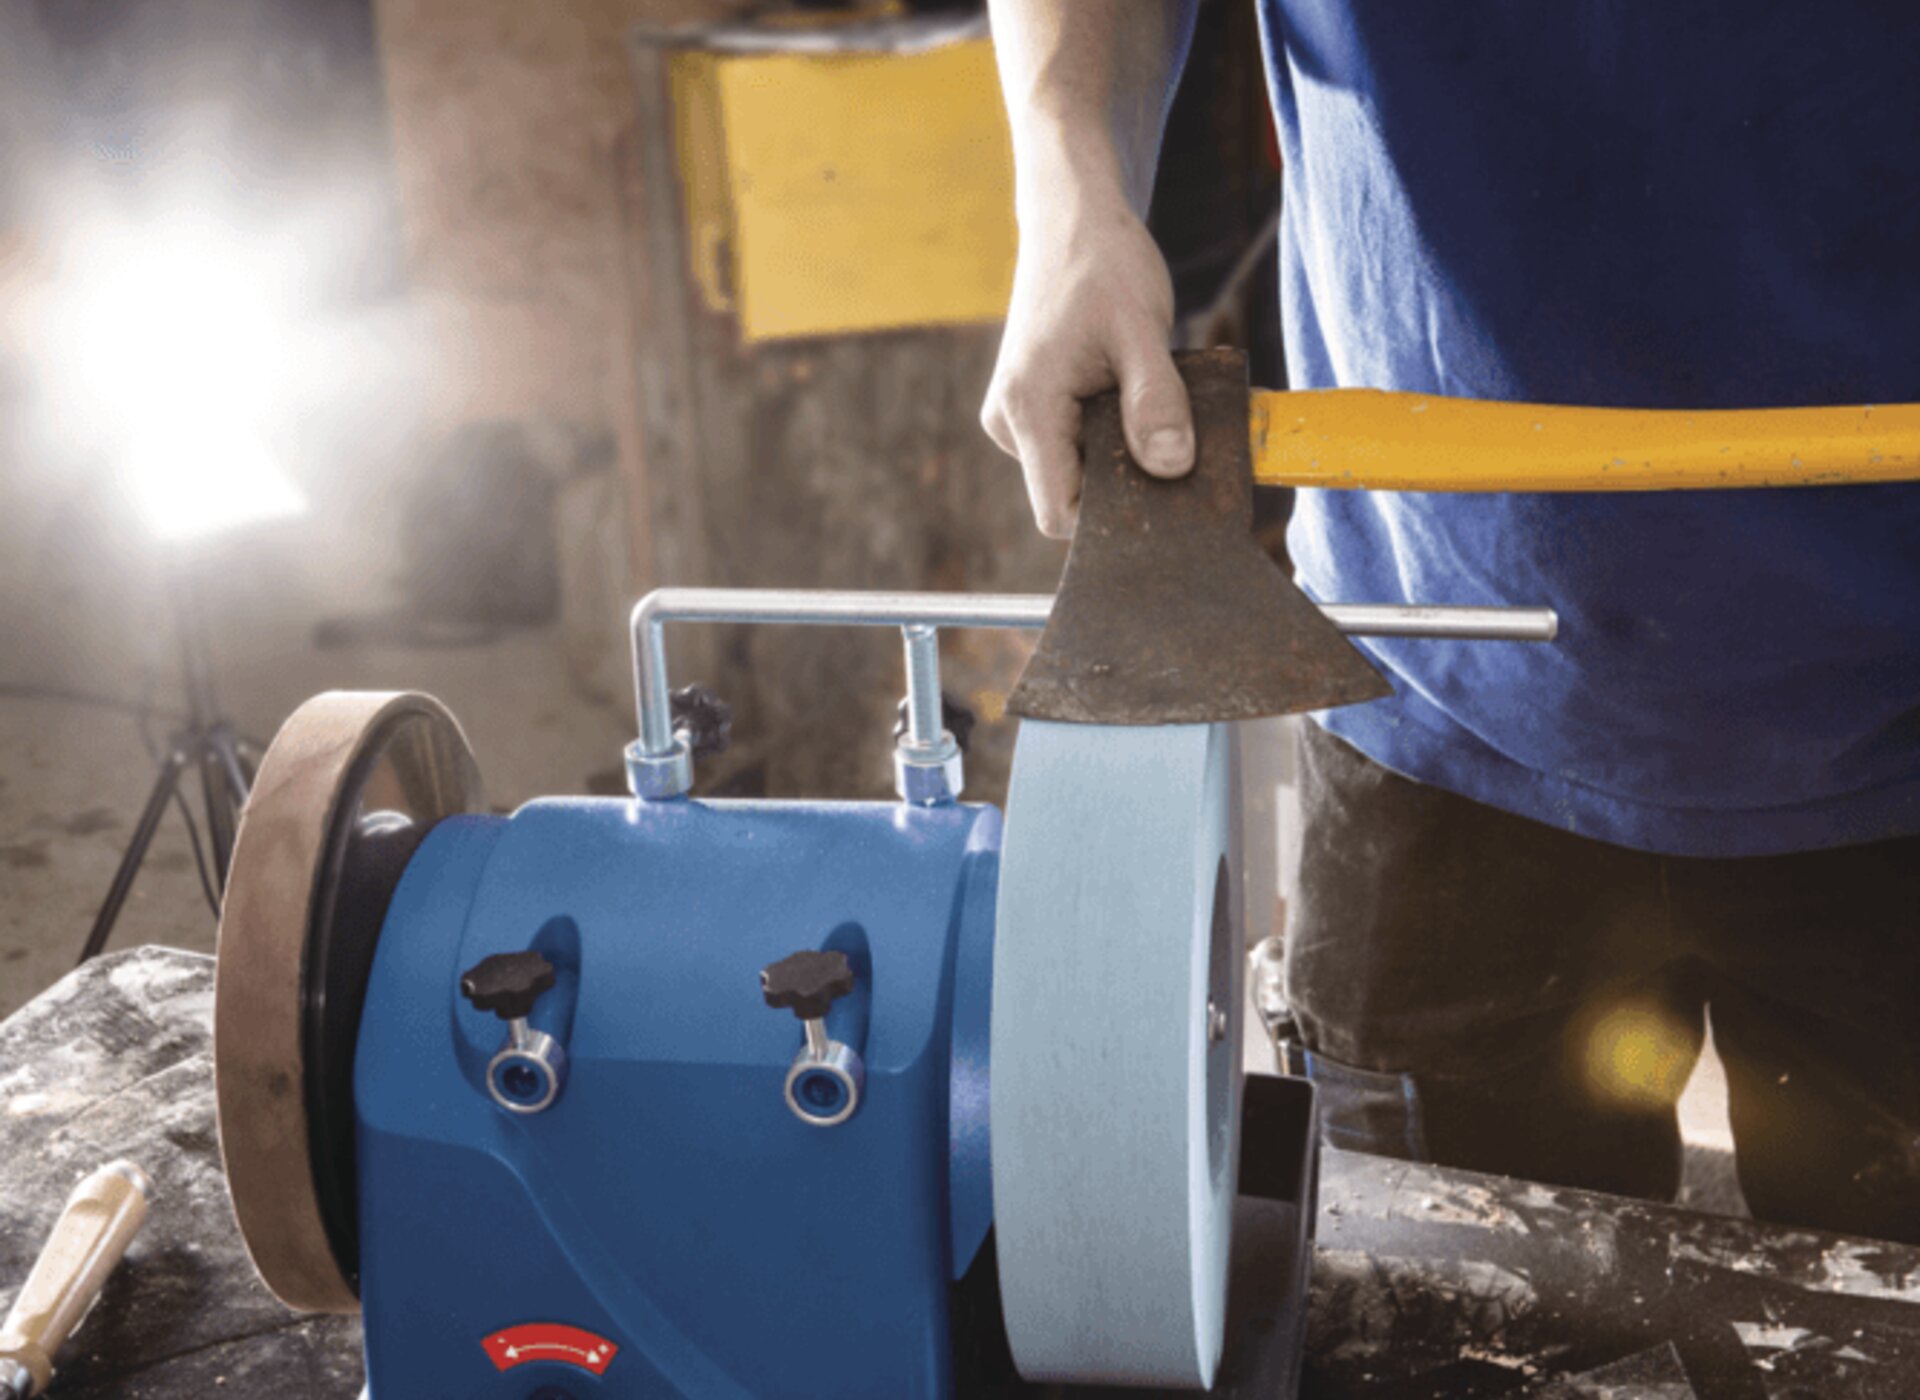
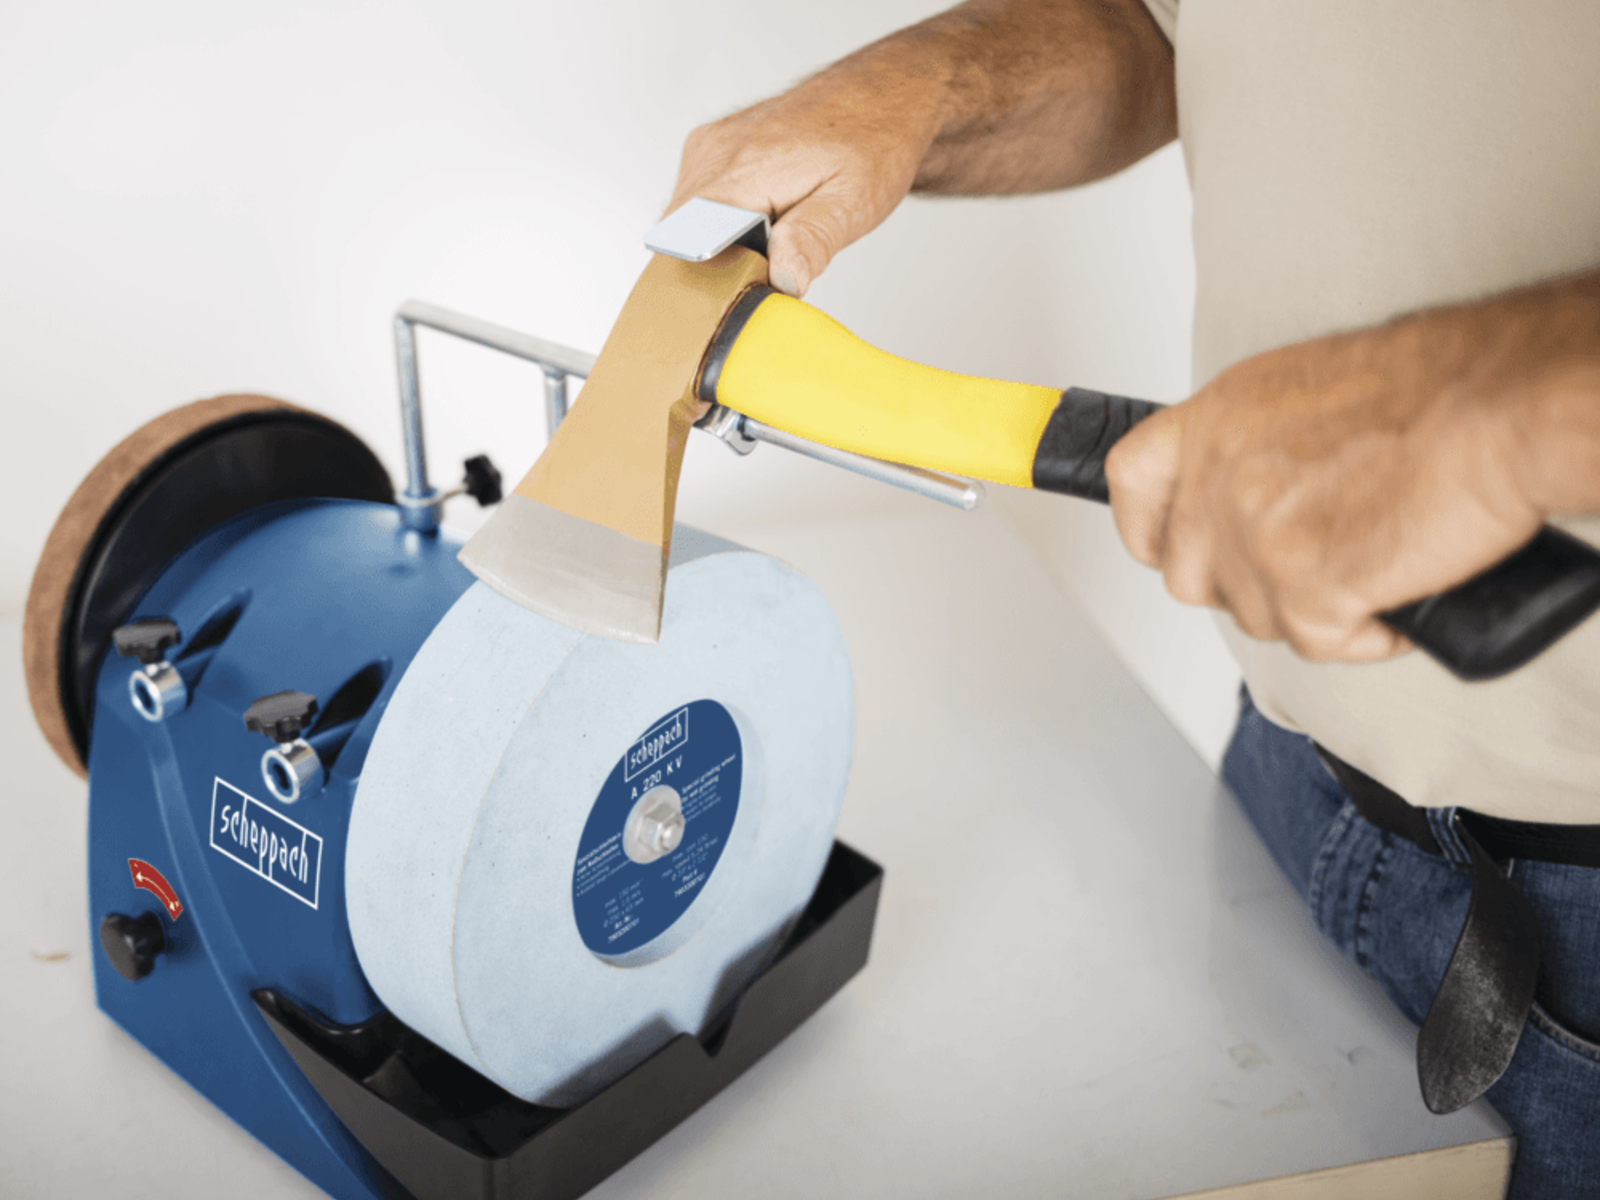
There is a different grinding unit for each grinding situation, in order to set the correct angle and to also be able to hold it while grinding. A V 40 support on which the tool with its bent blade can be moved forwards and backwards manually is sufficient for an axe for example. In contrast, more complex and rigid brackets are required for a scissors or a blade in order to ensure perfect grinding.
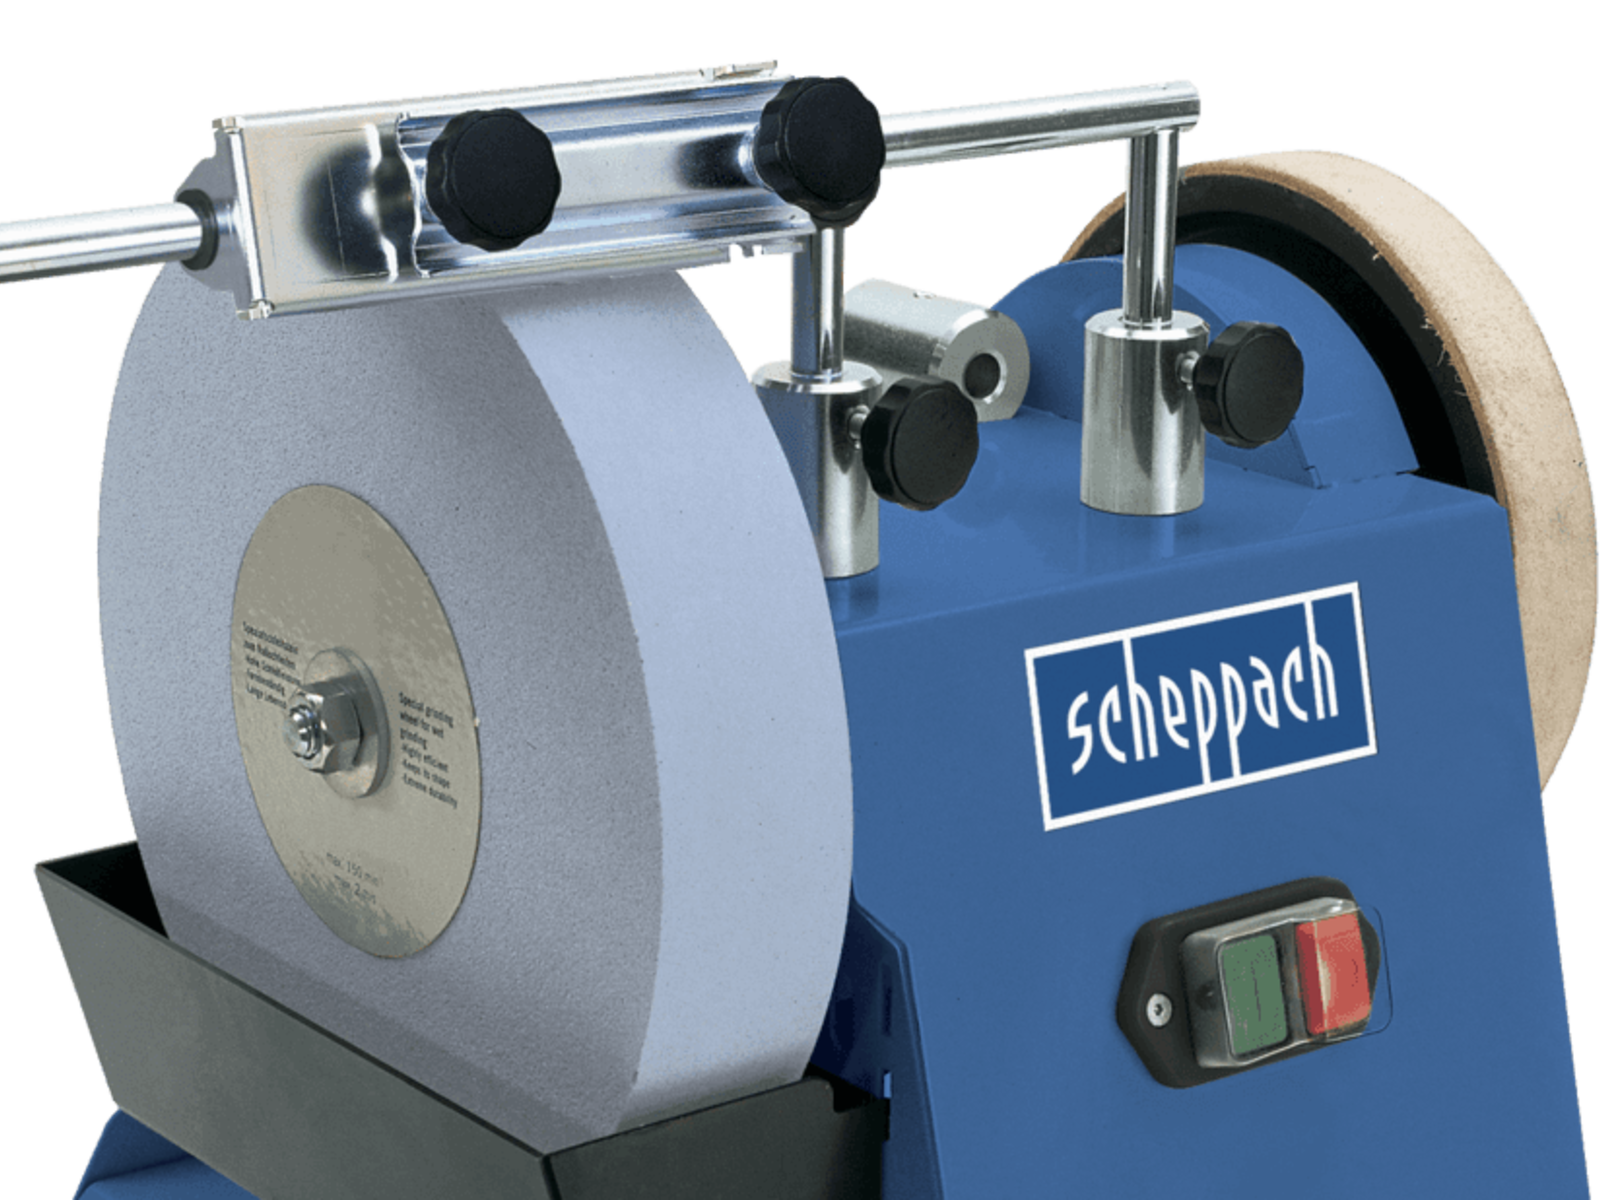
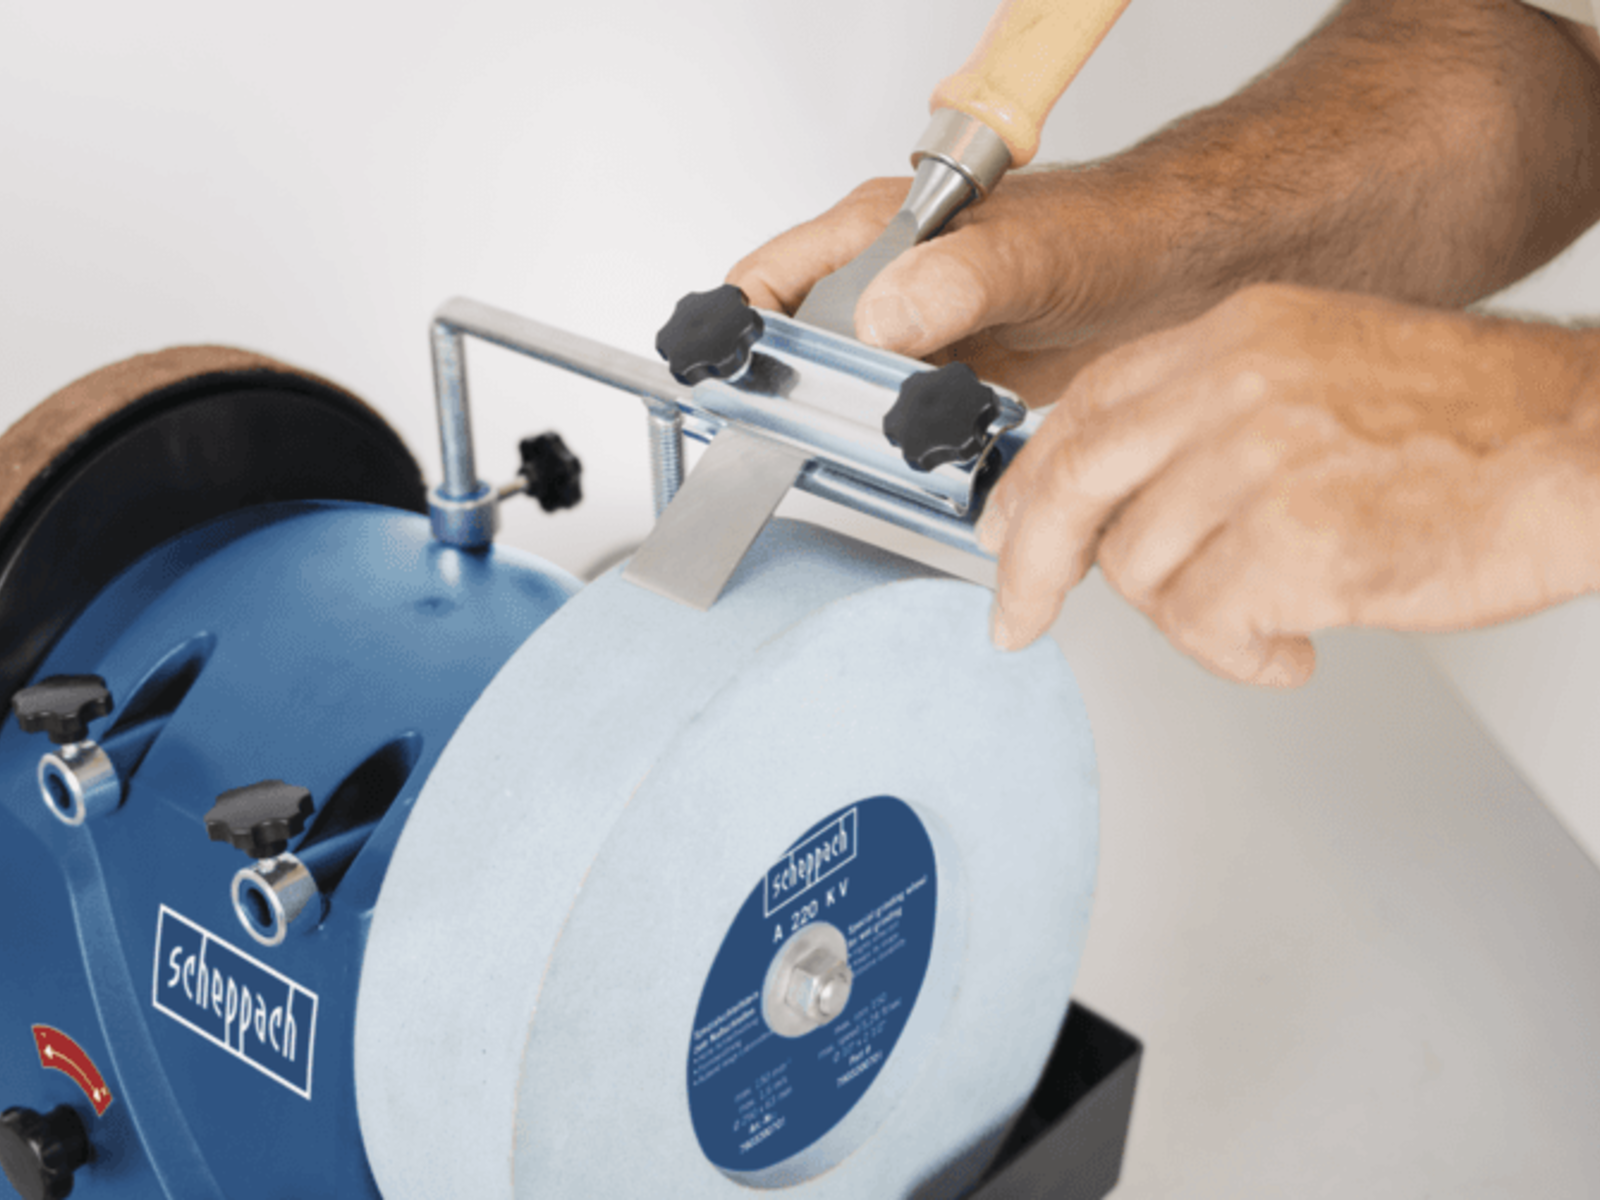
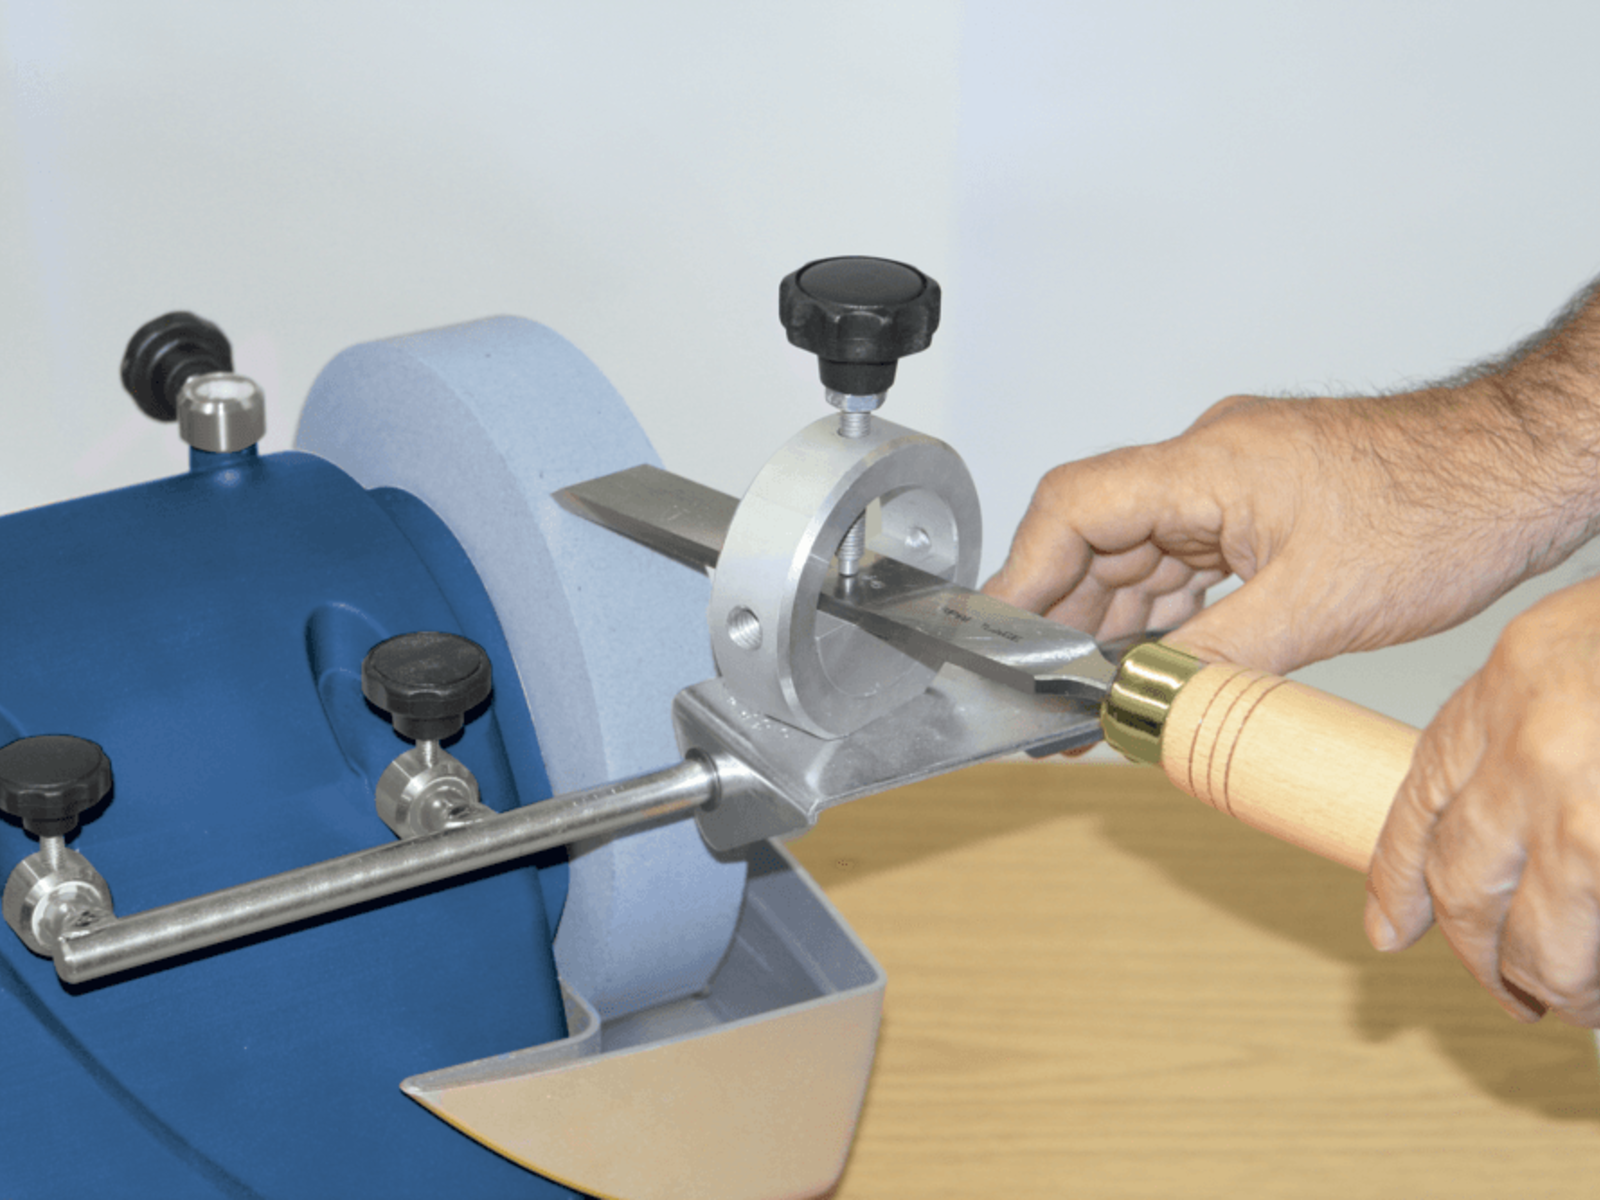
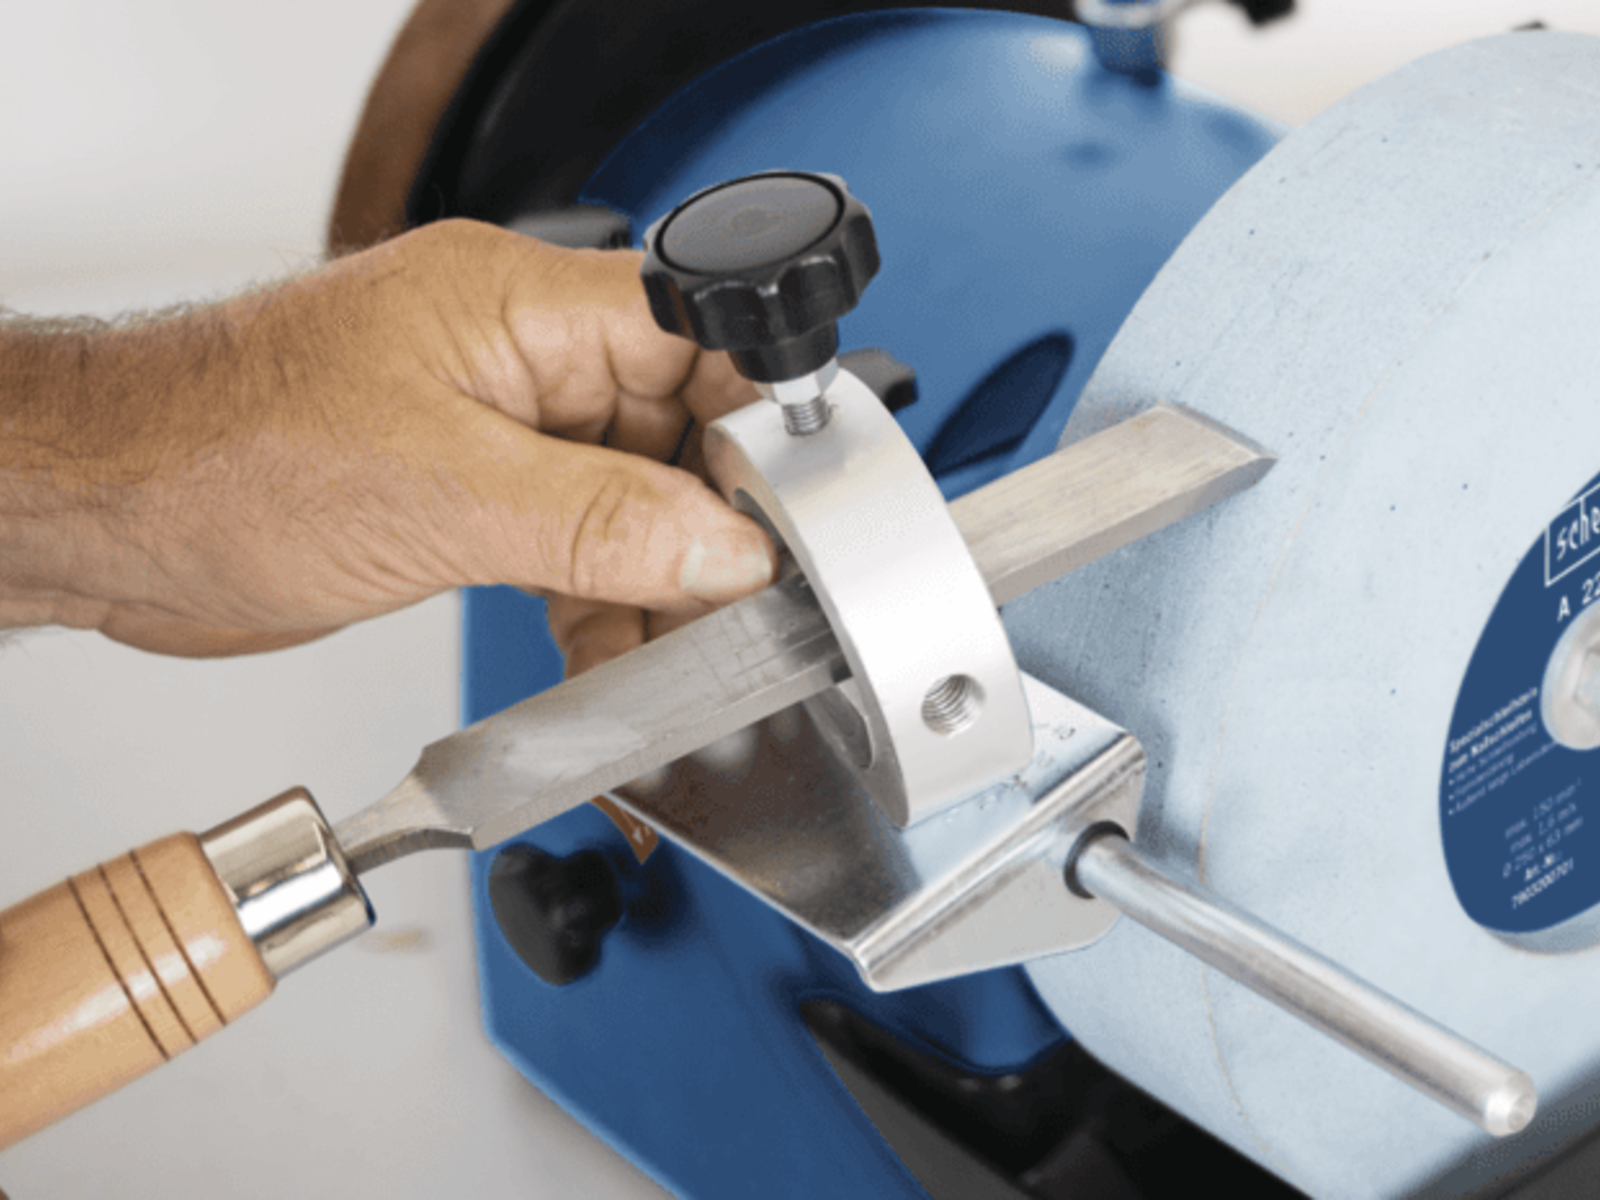
1. Universal unit V 100 can be used to grind planing blades for example. To do this, it is inserted into the unit until it reaches the side stop.
2. The planing blade is affixed using the two rotary knob screws so that it protrudes by 50-60 mm. The blade's parallelism to the disc can be adjusted by adjusting the screws.
3. You can use the following trick to check whether the blade is correctly parallel: Remove the bracket including the blade from the rod and mark the blade cutting edge with a noticeable felt-tip pen across the entire width.
4. Place the bracket and the blade back onto the rod and position the blade cutting edge in the middle on the stopped stone. The blade is only in the correct position in the bracket once the coloured line is transferred continuously onto the stone.
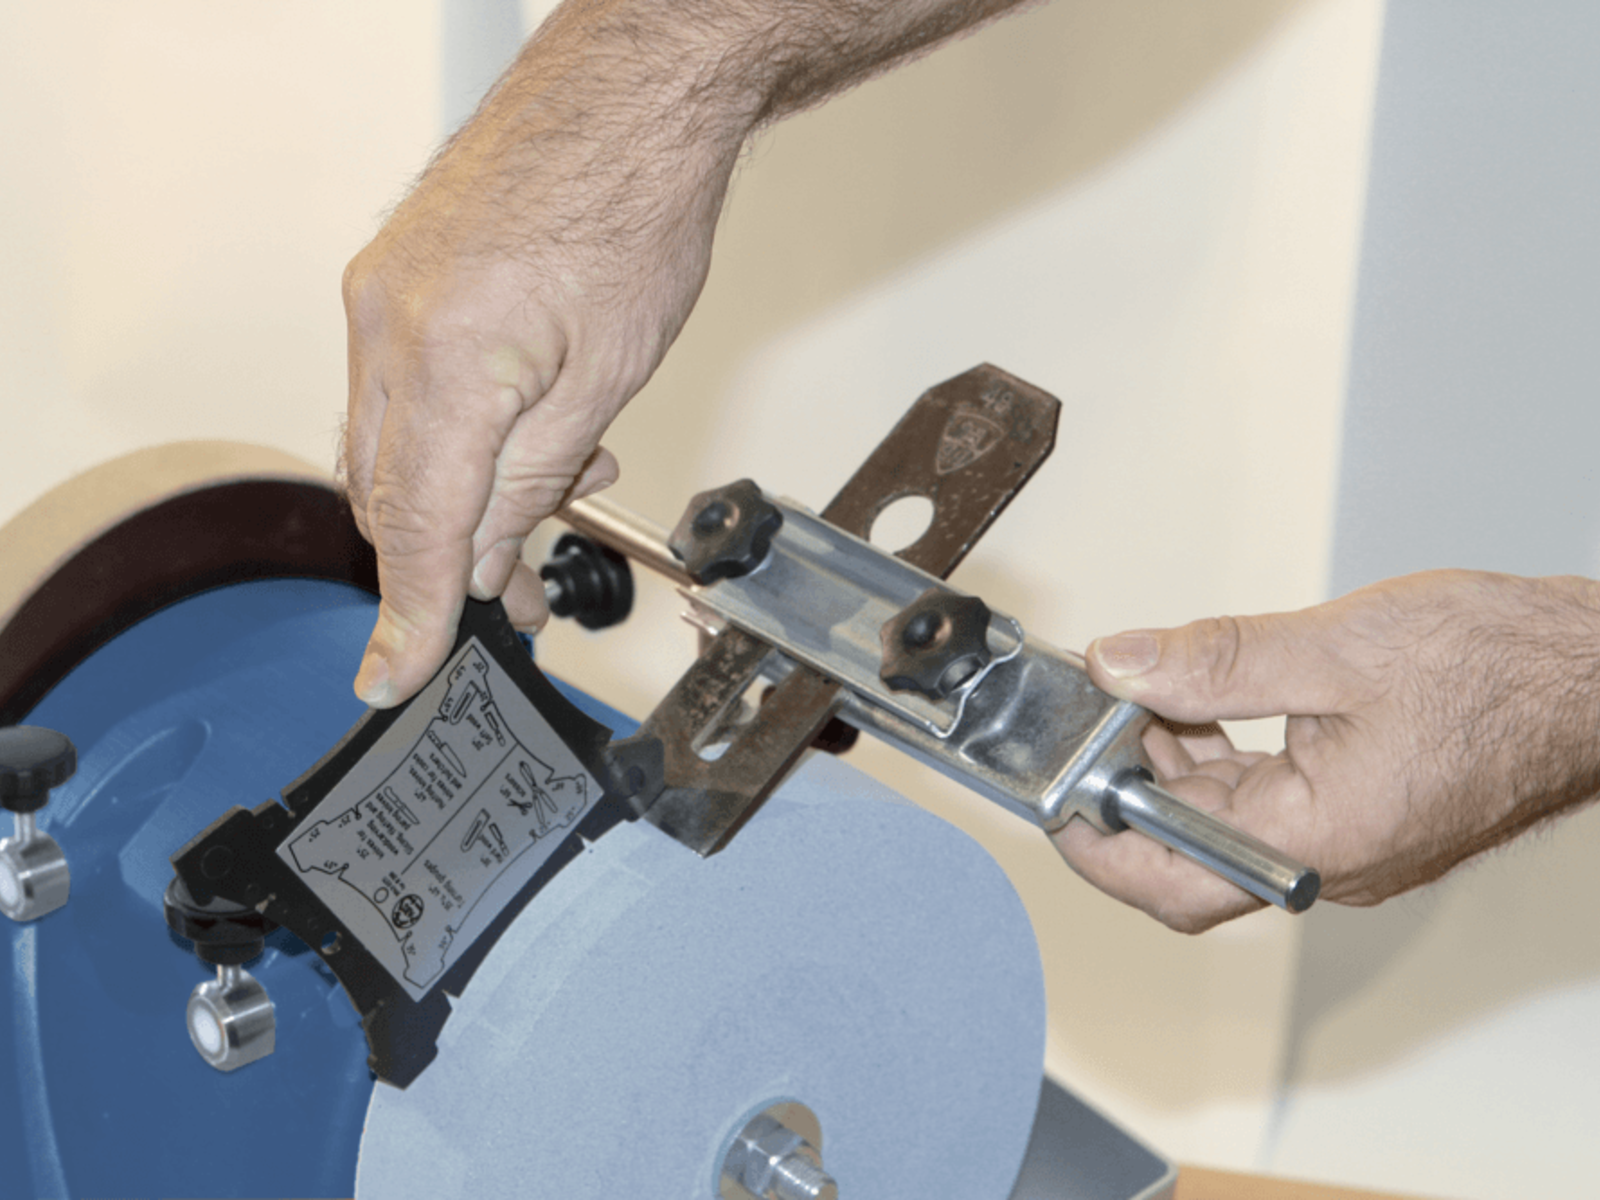
The correct angle is the most important thing for correct grinding. If the angle is set incorrectly, the grinding result is poor. How to handle the angle gauge is therefore described here.
1. The angle gauge supplied is used to adjust the inclination. To do this, compare the bevel’s angle with the angle gauge's notches. Now hold this at the required angle on the tool’s tip. Changing the universal support’s height causes the front end of the angle gauge to impact the grindstone straight. The angle gauge must always be flush with the tool tip.
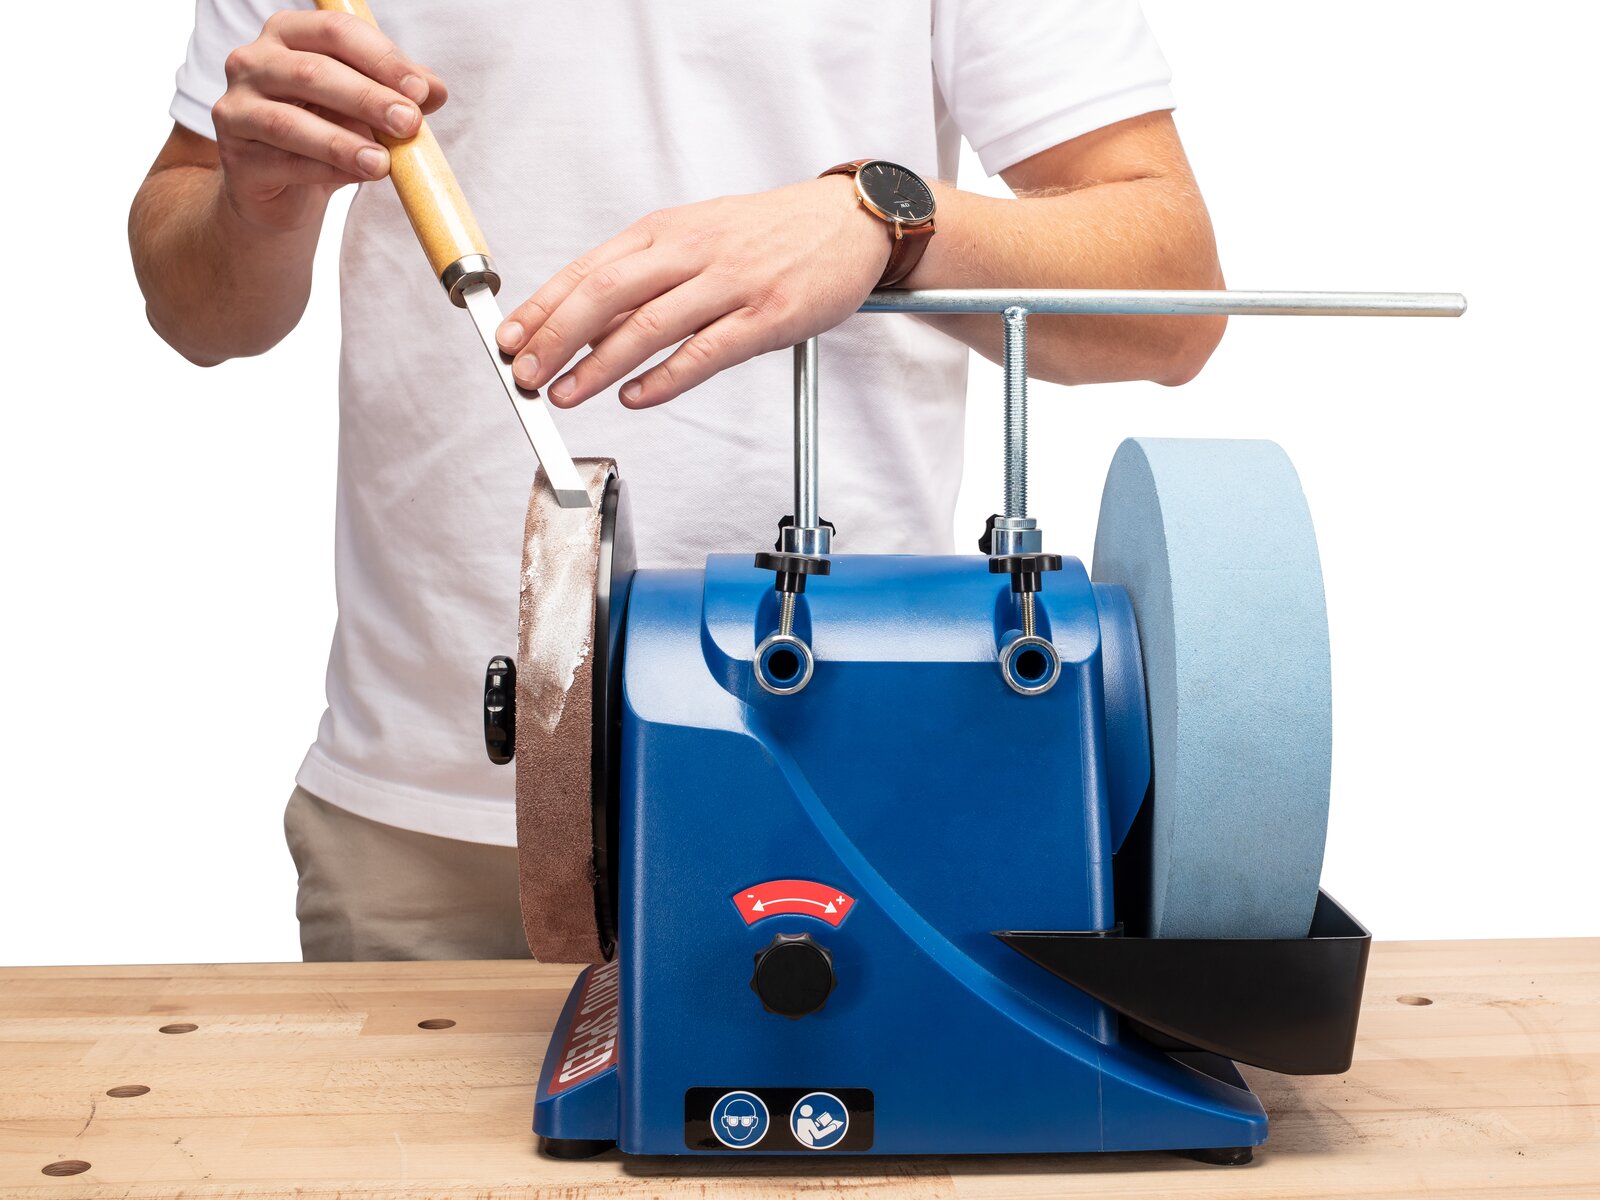
2. Preparation complete. Now you can grind. Use both hands and apply slight pressure to move the bracket forwards and backwards along the rod. Never allow the blade to stop, in order to ensure that the grindstone is worn evenly.
3. To check the grind, you can turn the unit complete with blade and examine the grind after the first grinding processes.
4. The unit has a recess in the middle for other straight blades with handles such as chisels. Grinding is performed in the same way as with the planing blade, where the very narrow cutting edge should be moved backwards and forwards very quickly so that no groove is formed in the grindstone.
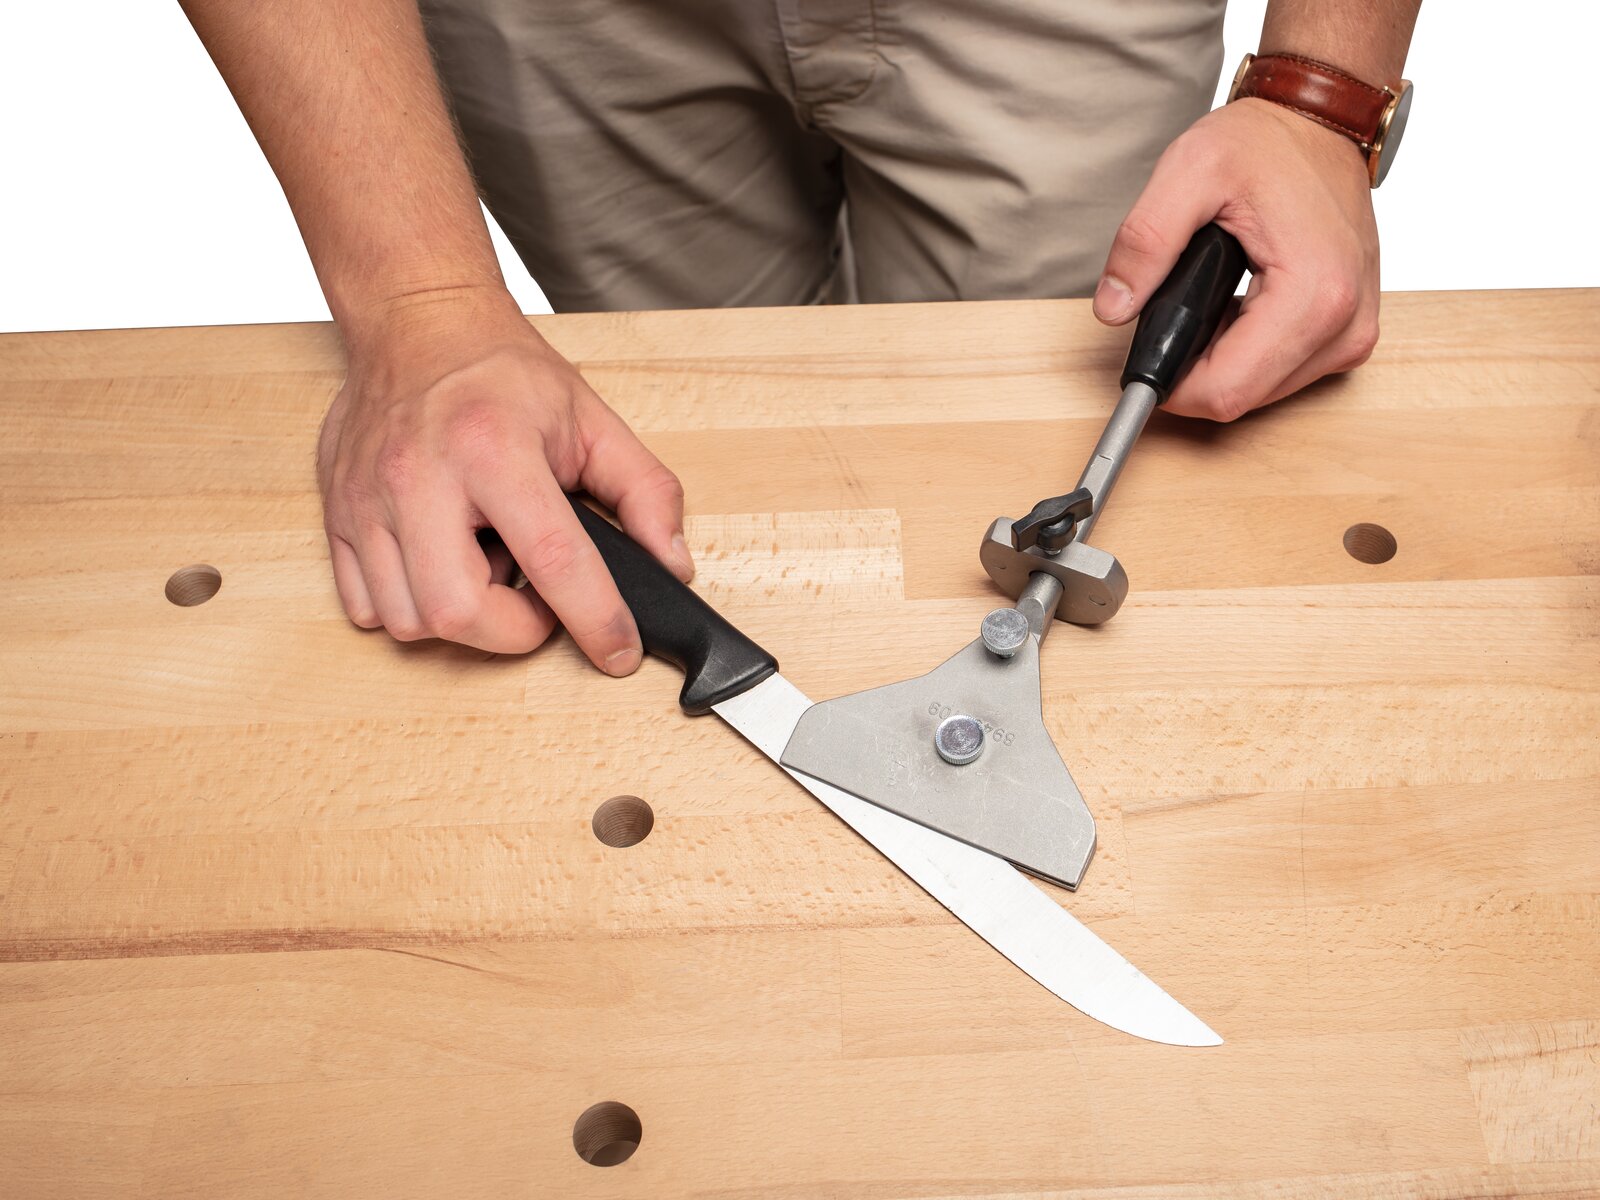
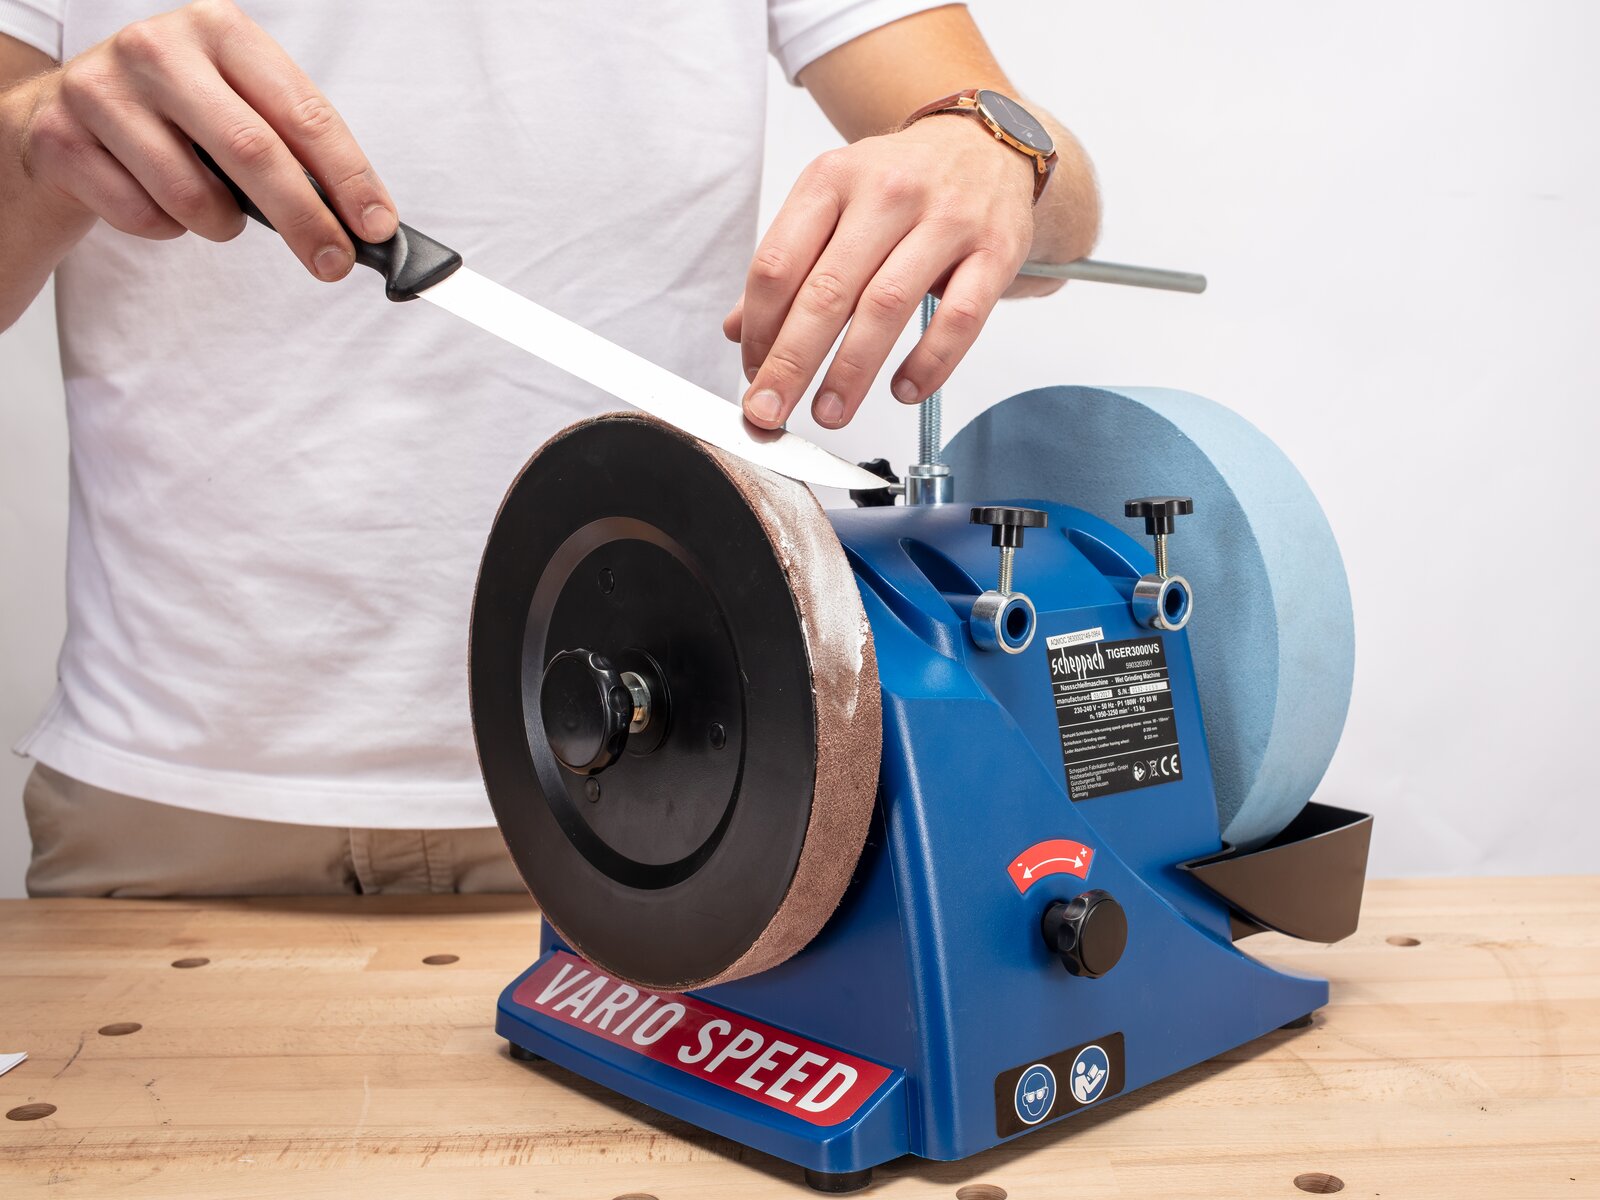
It’s not just professional chefs who value sharp cutting edges when cooking. When used daily, knives become blunt over time and only correct grinding at the correct angle can give them back their old sharpness.
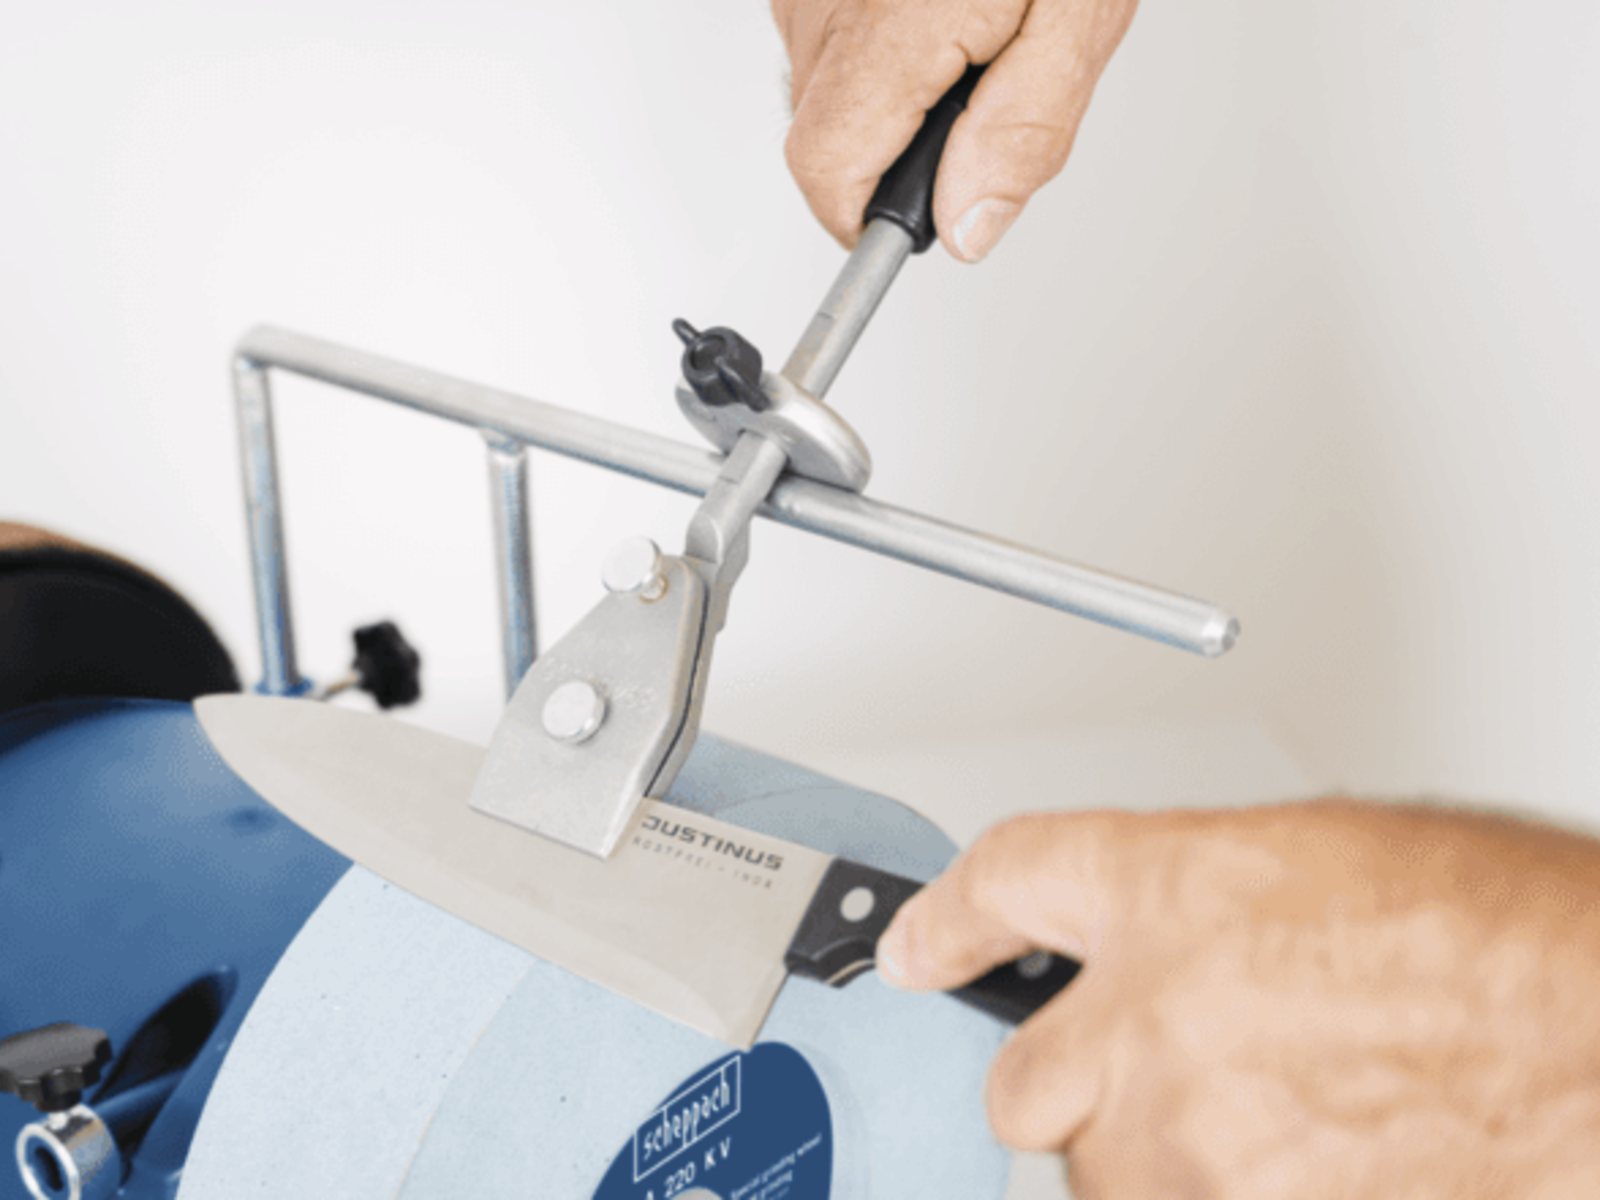
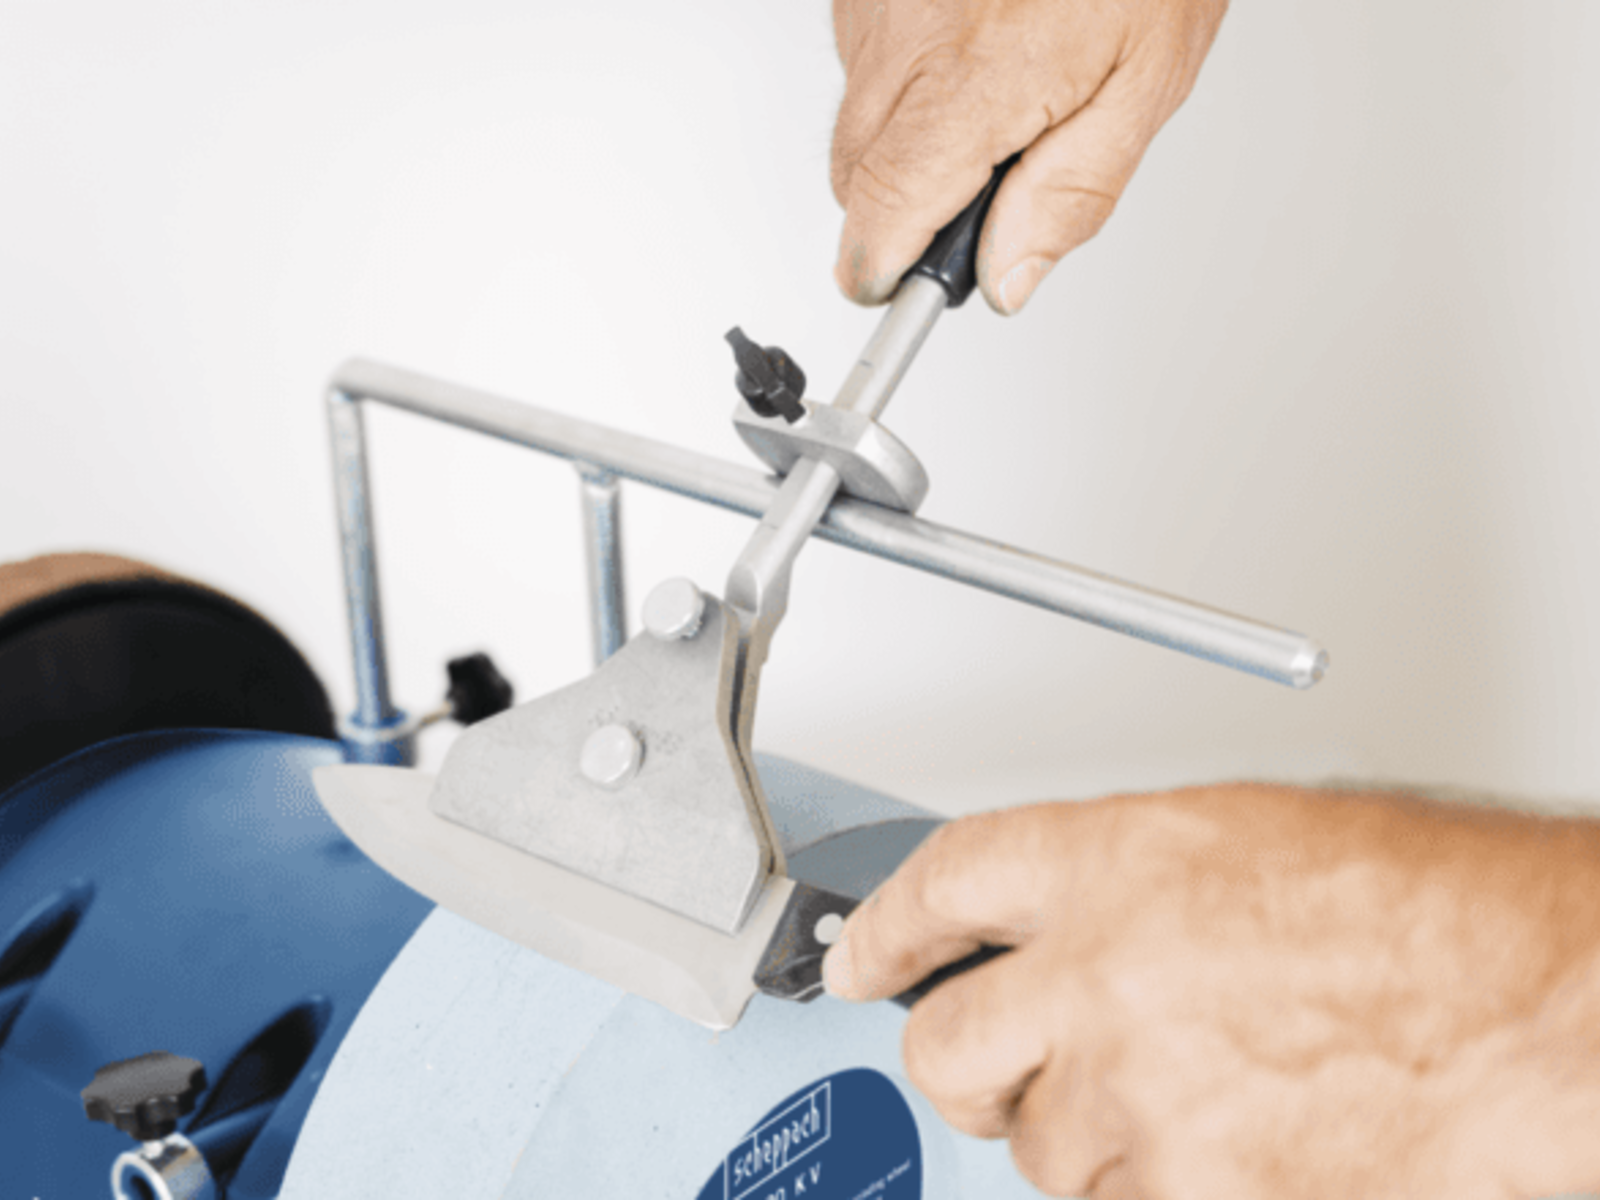
1. Choose the large or the small clamping unit depending on the blade length. Insert the blade up to the stop point and use the screws to clamp it tight.
2. Set the blade holder so that the blade cutting edge is touching the stone at the correct angle (use the angle gauge as described above). The holding ring touches the motion rod.
3. You grind blades in a rollover, i.e. from both sides, alternating; the cutting edge is moved over the grindstone in a swinging motion.
Like knives, there are scissors in every household. Both are used frequently. It’s therefore inevitable that they have to be sharpened from time to time.
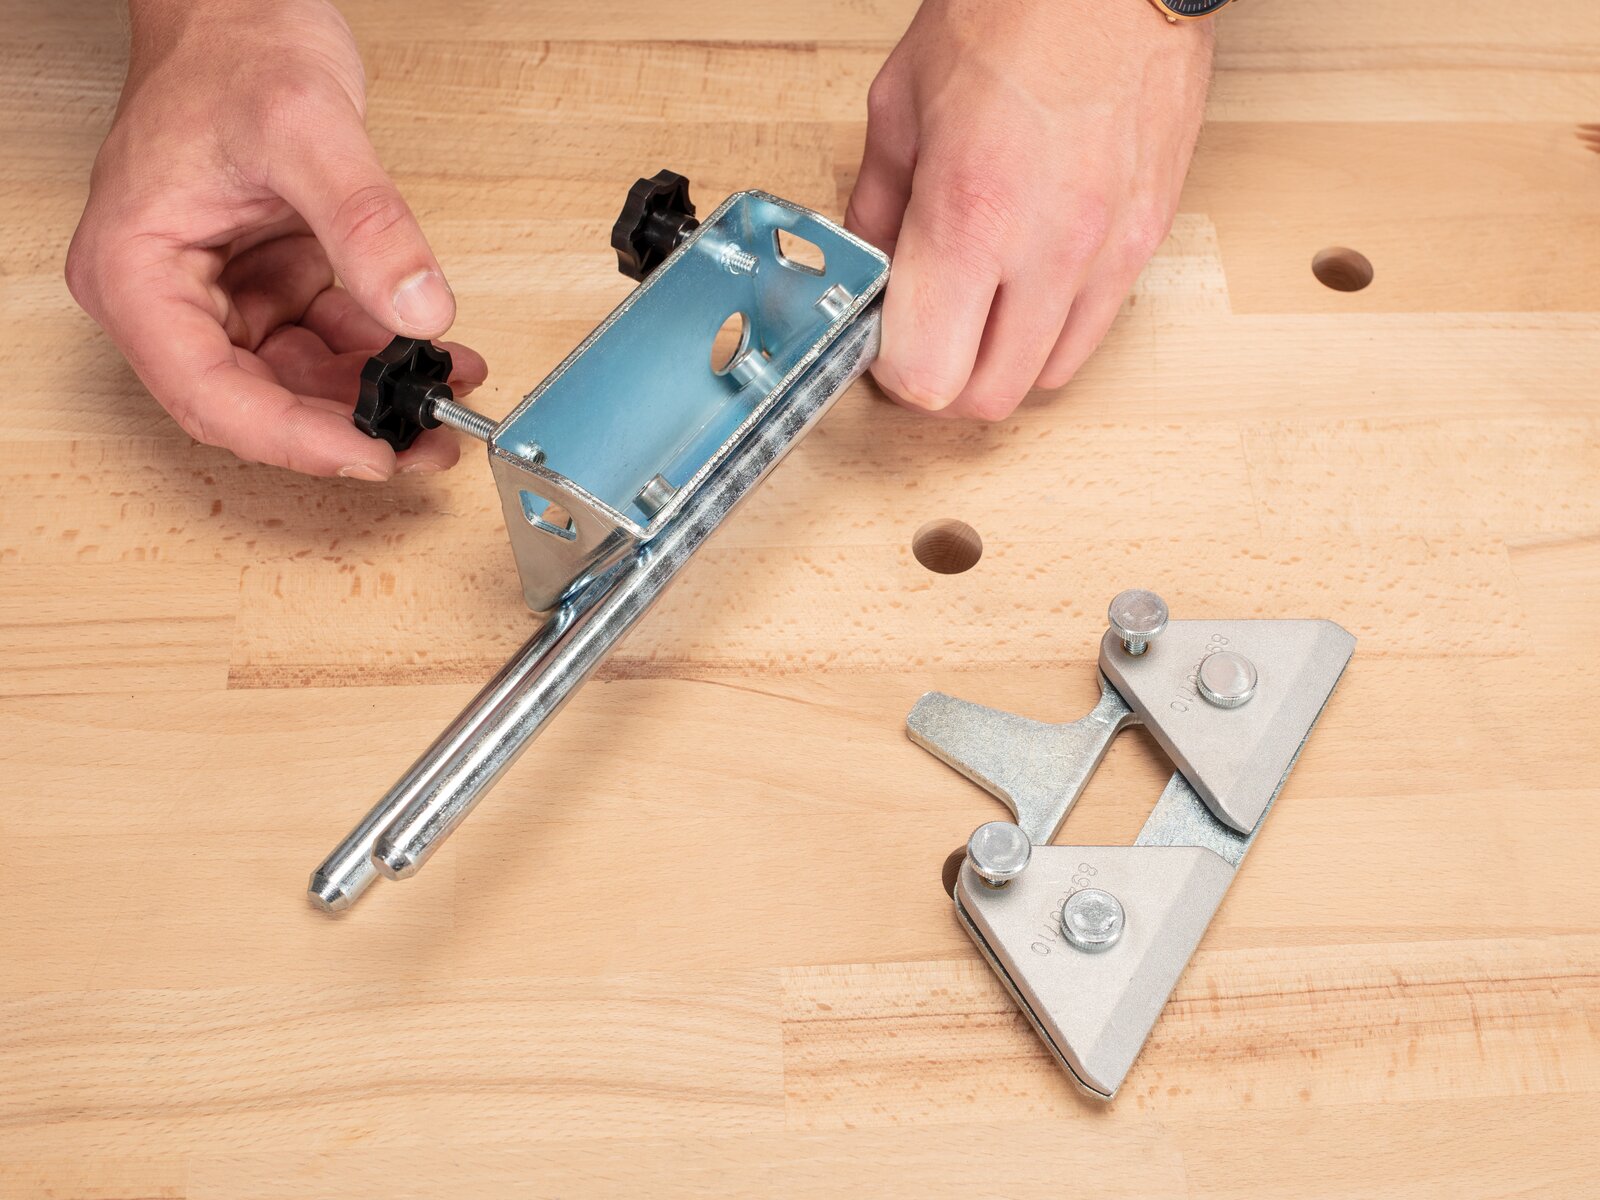
1. The universal bracket is retrofitted to grind scissors. First, remove the clamping plate and attach two support rods and the scissors bracket.
2. The rods have their own four hexagon socket screws that are used to attach them to the bracket. The bracket with the two pressure plates is required later.
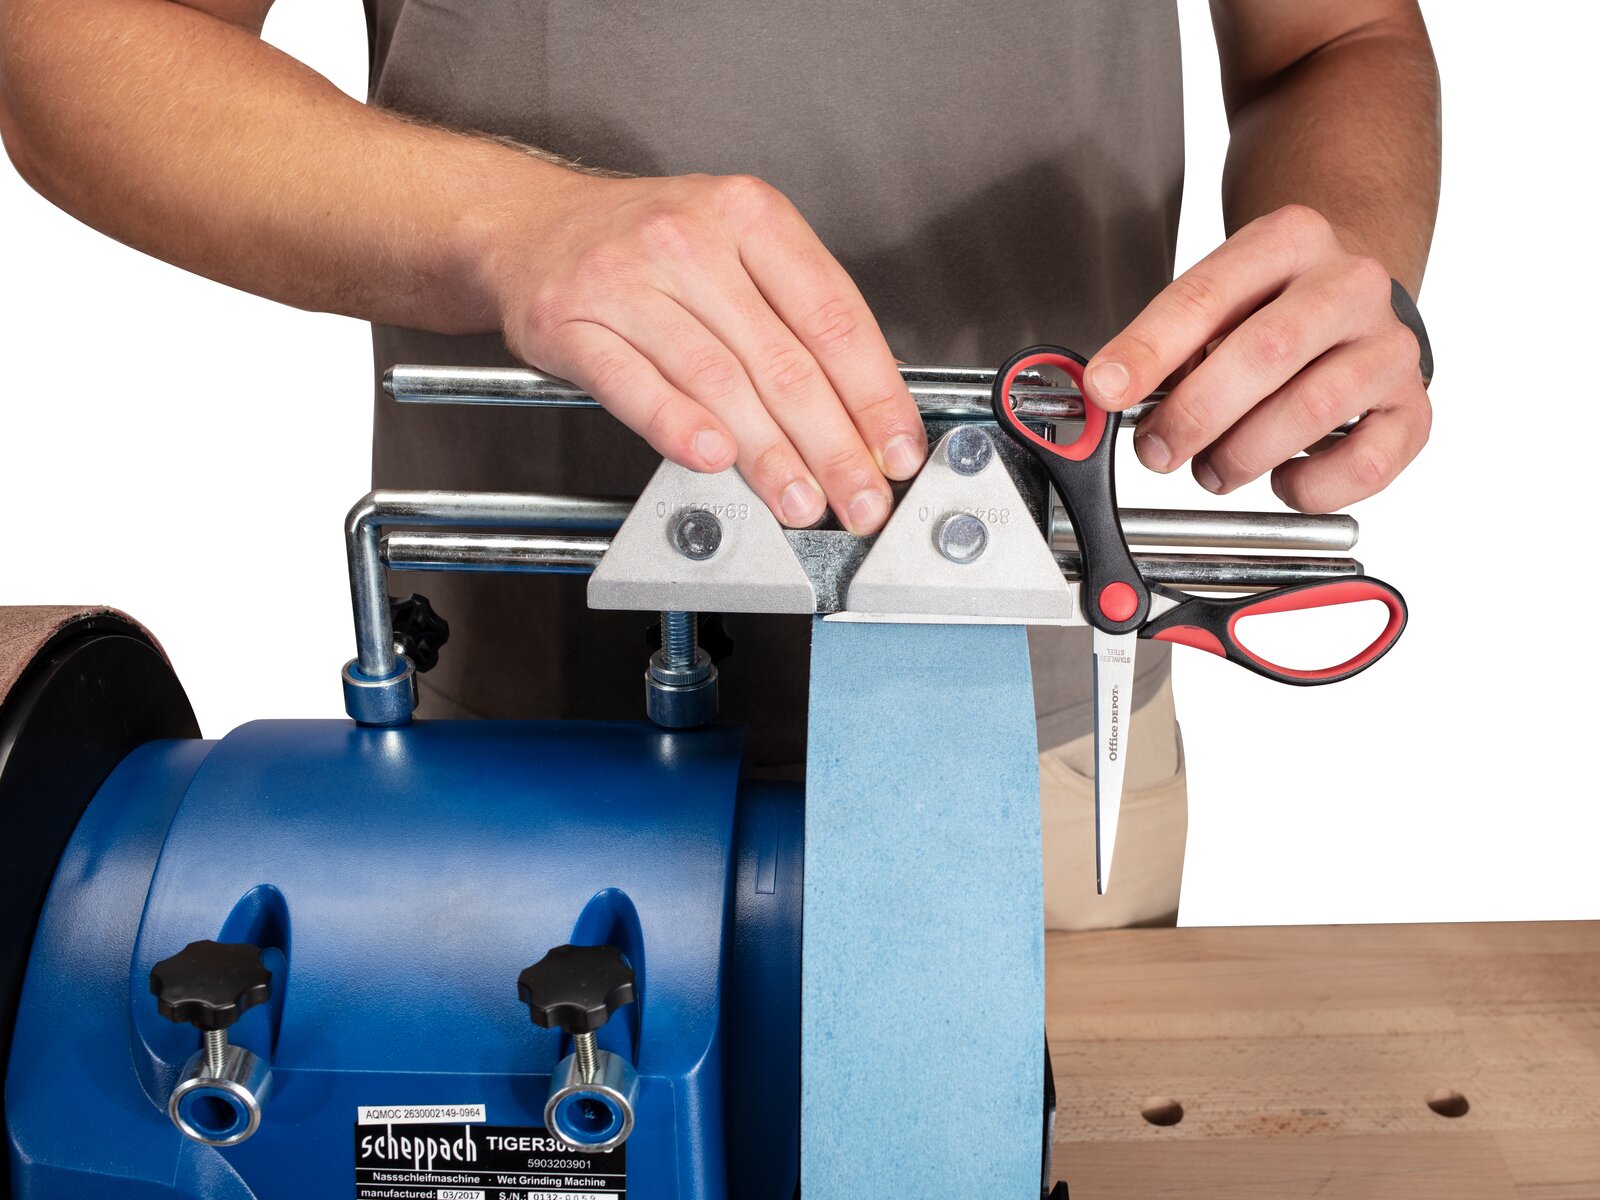
3. Now feed the refitted grinding unit onto the universal bracket's cross bar until it reaches the rear hole openings that are close to the clamping screws.
4. Use the removed clamping plate and the angle gauge to set an angle of around 60 degrees. This corresponds to the standard grinding angle for scissors.
5. The scissors are clamped so that they protrude out of the bracket by around three millimetres in parallel. Both cutting edges are ground one after the other by moving forwards and backwards.
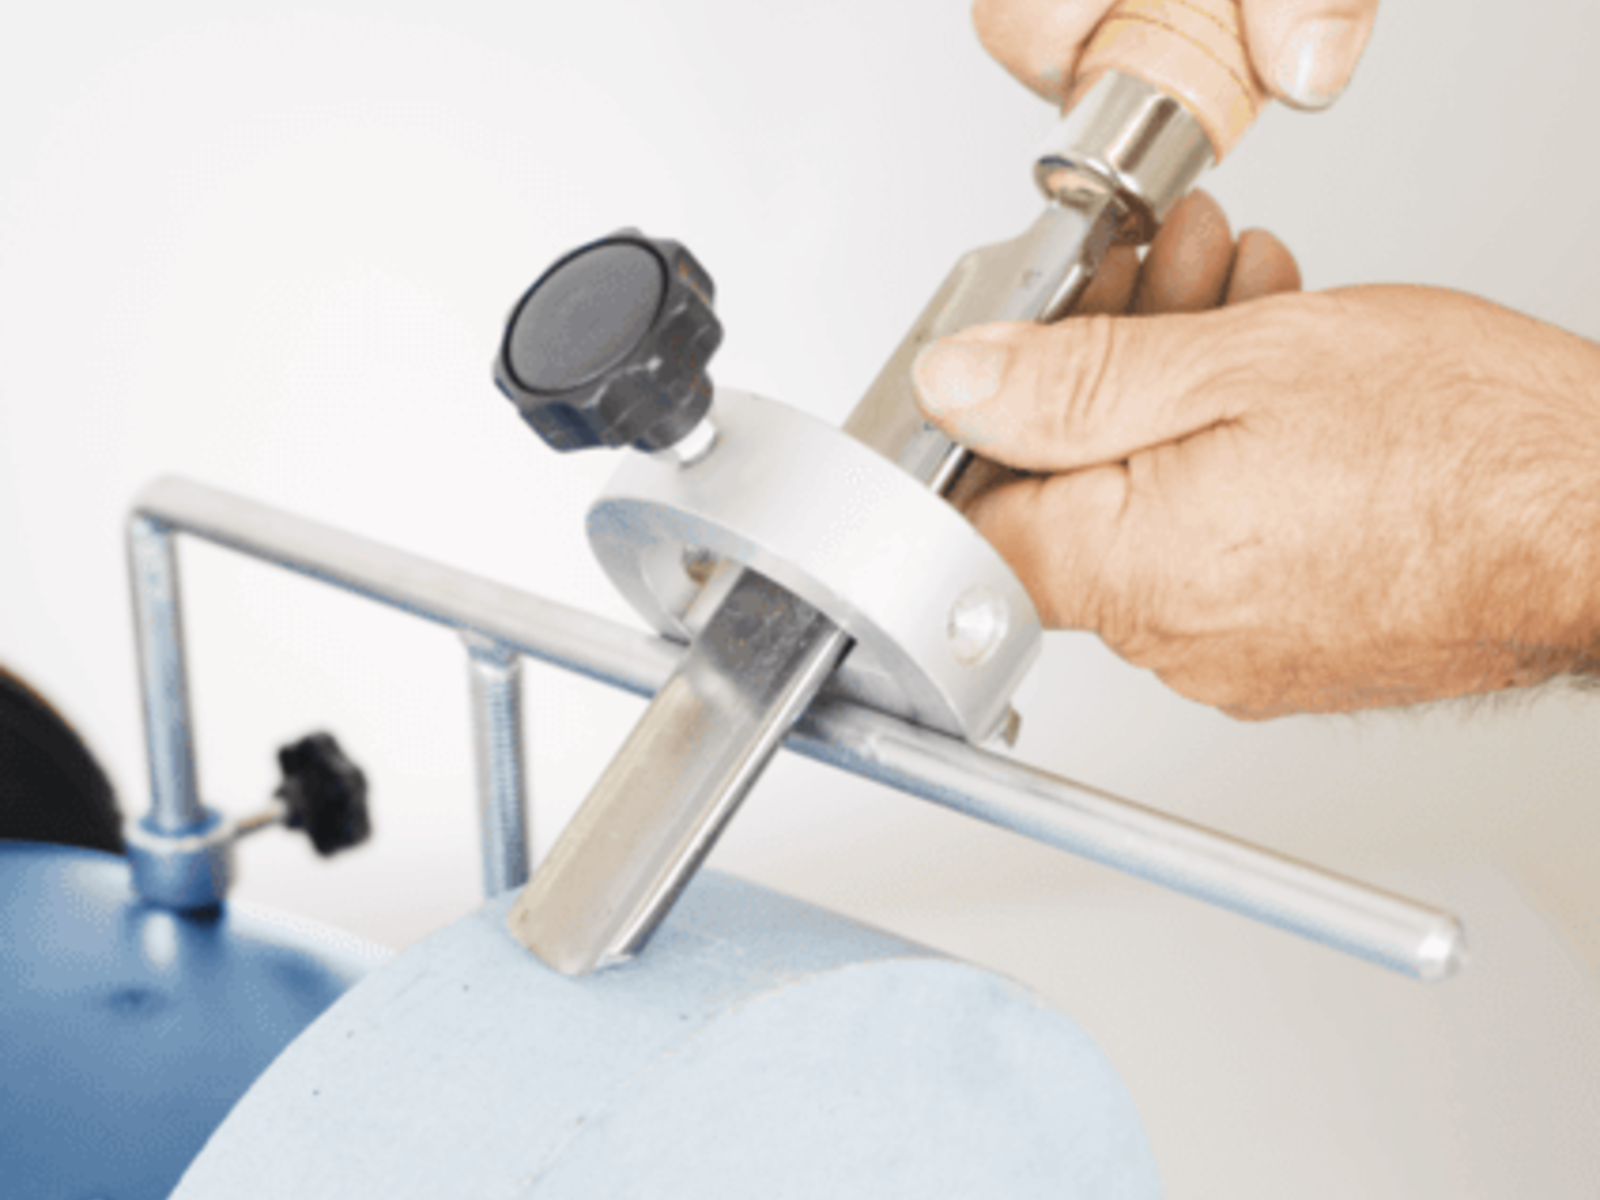
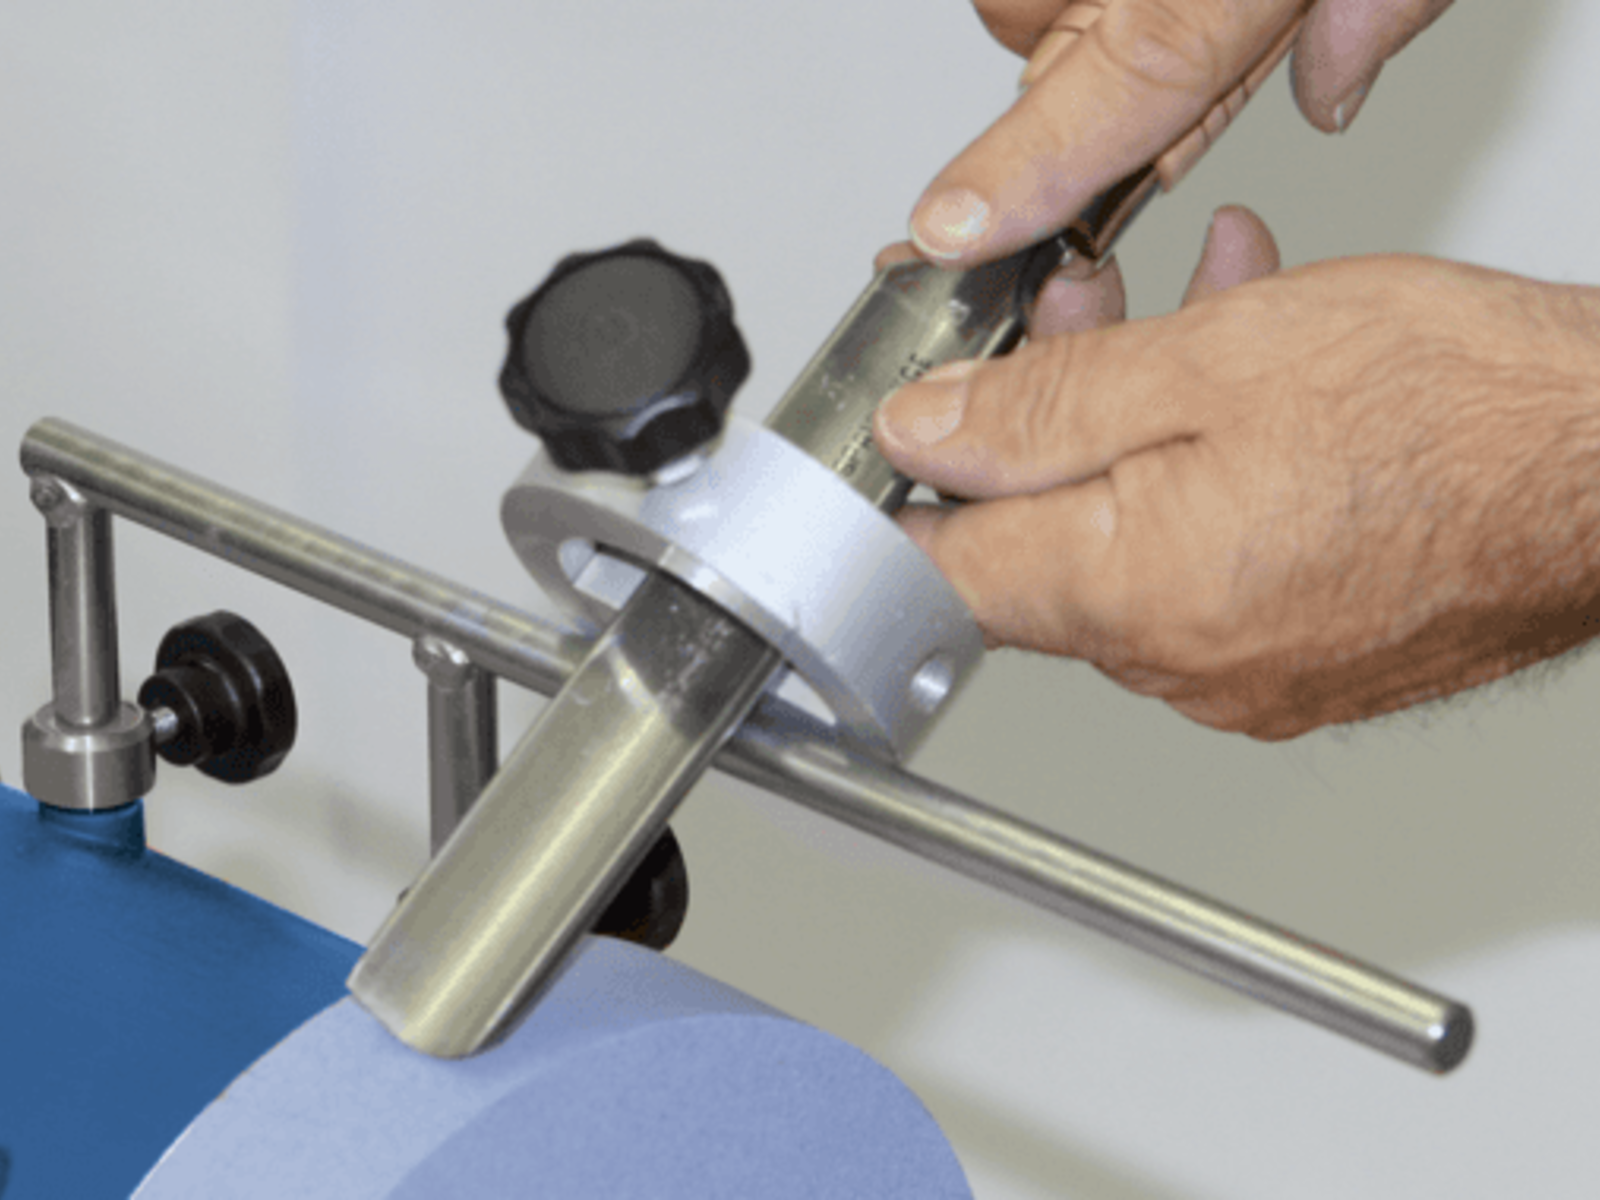
1. After clamping, the round bar protrudes by approximately 60 mm. Grinding then takes place in the grindstone’s running direction.
2. The gouge's back should come into contact with the grinding disc in the opposite direction to the running direction. To do this, the ring must be clamped at the right point.
3. The universal support installed above performs grinding under pressure and by turning sideways until the edges. More pressure is achieved by grinding in the disc running direction as shown in the first illustration.
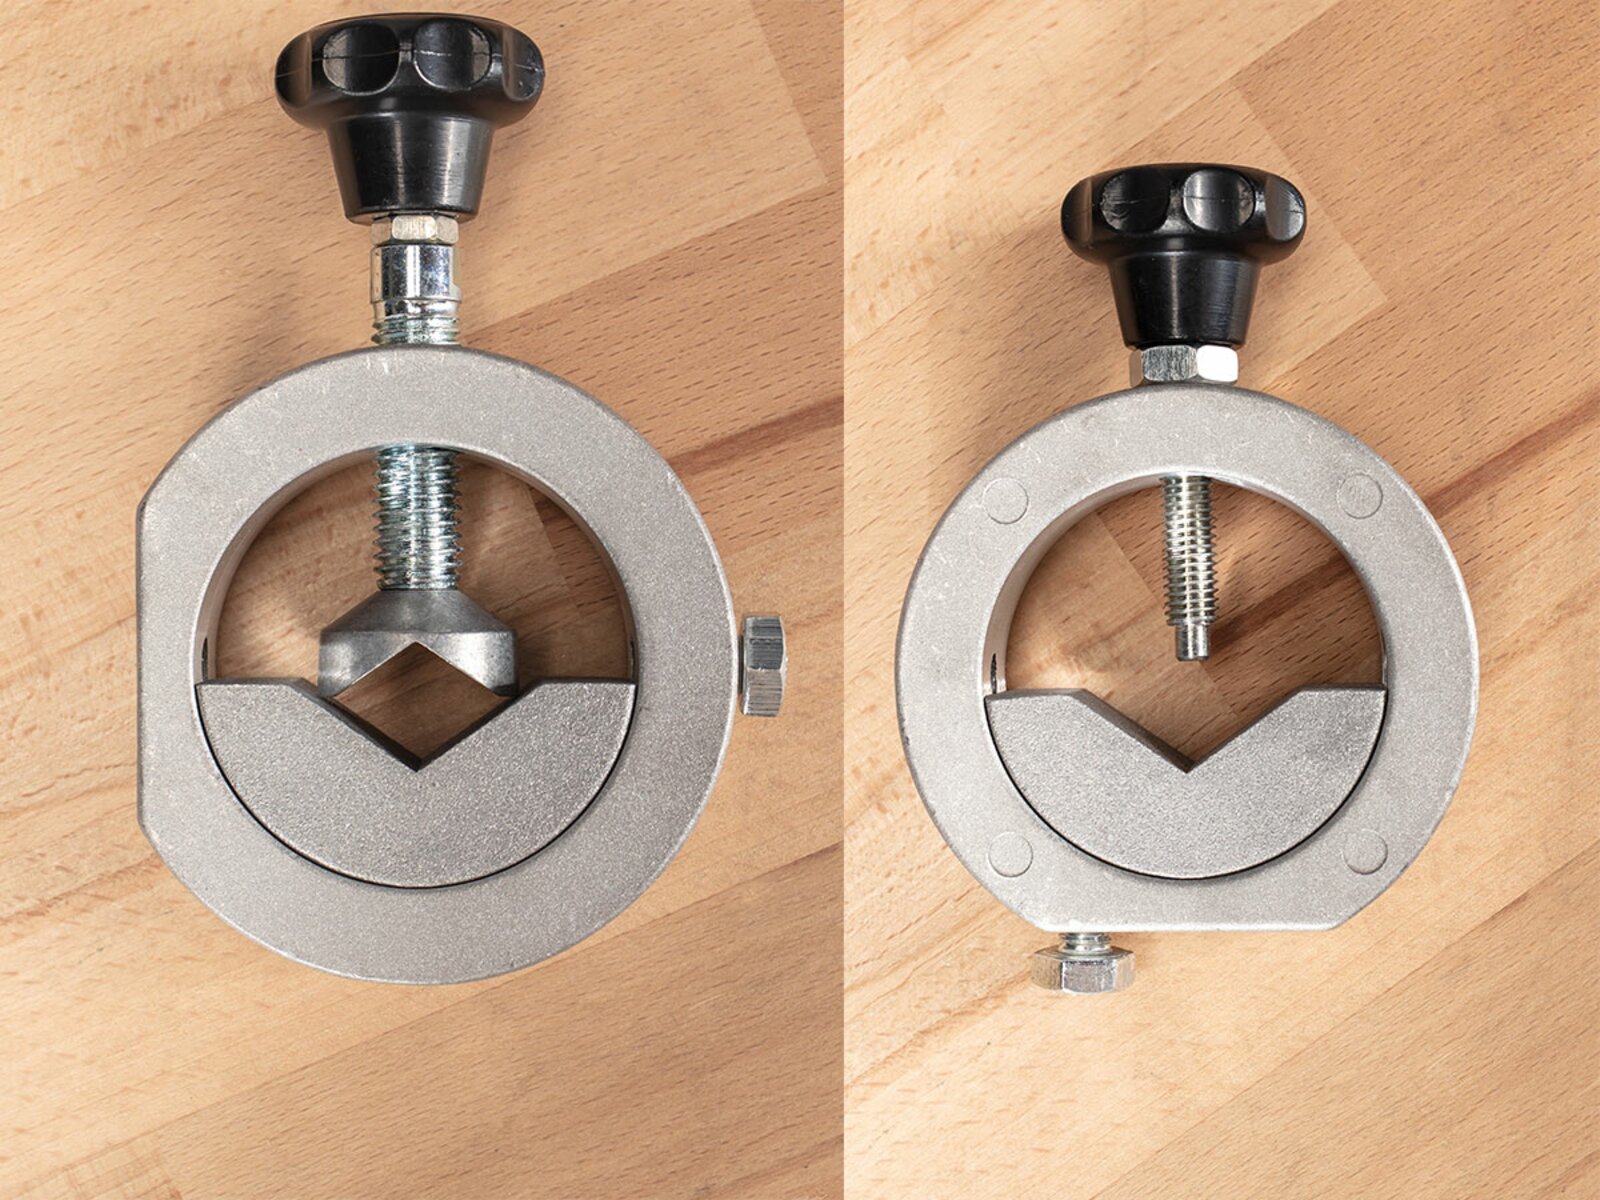
The same bracket as for hollow bars can also be used to sharpen angled bars after adjusting the bracket slightly for this and attaching the universal support to the machine on the side rather than from the top.
1. The two illustrations show the bracket for the hollow bar on the left and the part modified for the angled bar on the right. The screw and V-support were offset.
2. In this way, the holding ring can be screwed on to the universal unit with the flat side down. This is pushed over the rod that is attached horizontally.
3. Clamp the angled bar and use the scale on the installation plate to set the correct angle or use the blade inclination to determine the tool seating.
4. Grinding takes place in the stone disc’s running direction. An exact grinding angle is guaranteed for a tool that is clamped so tightly. Always move forwards and backwards slowly.
5. Angled bars are always ground from both sides. When changing the side, the angle must be set correctly again.
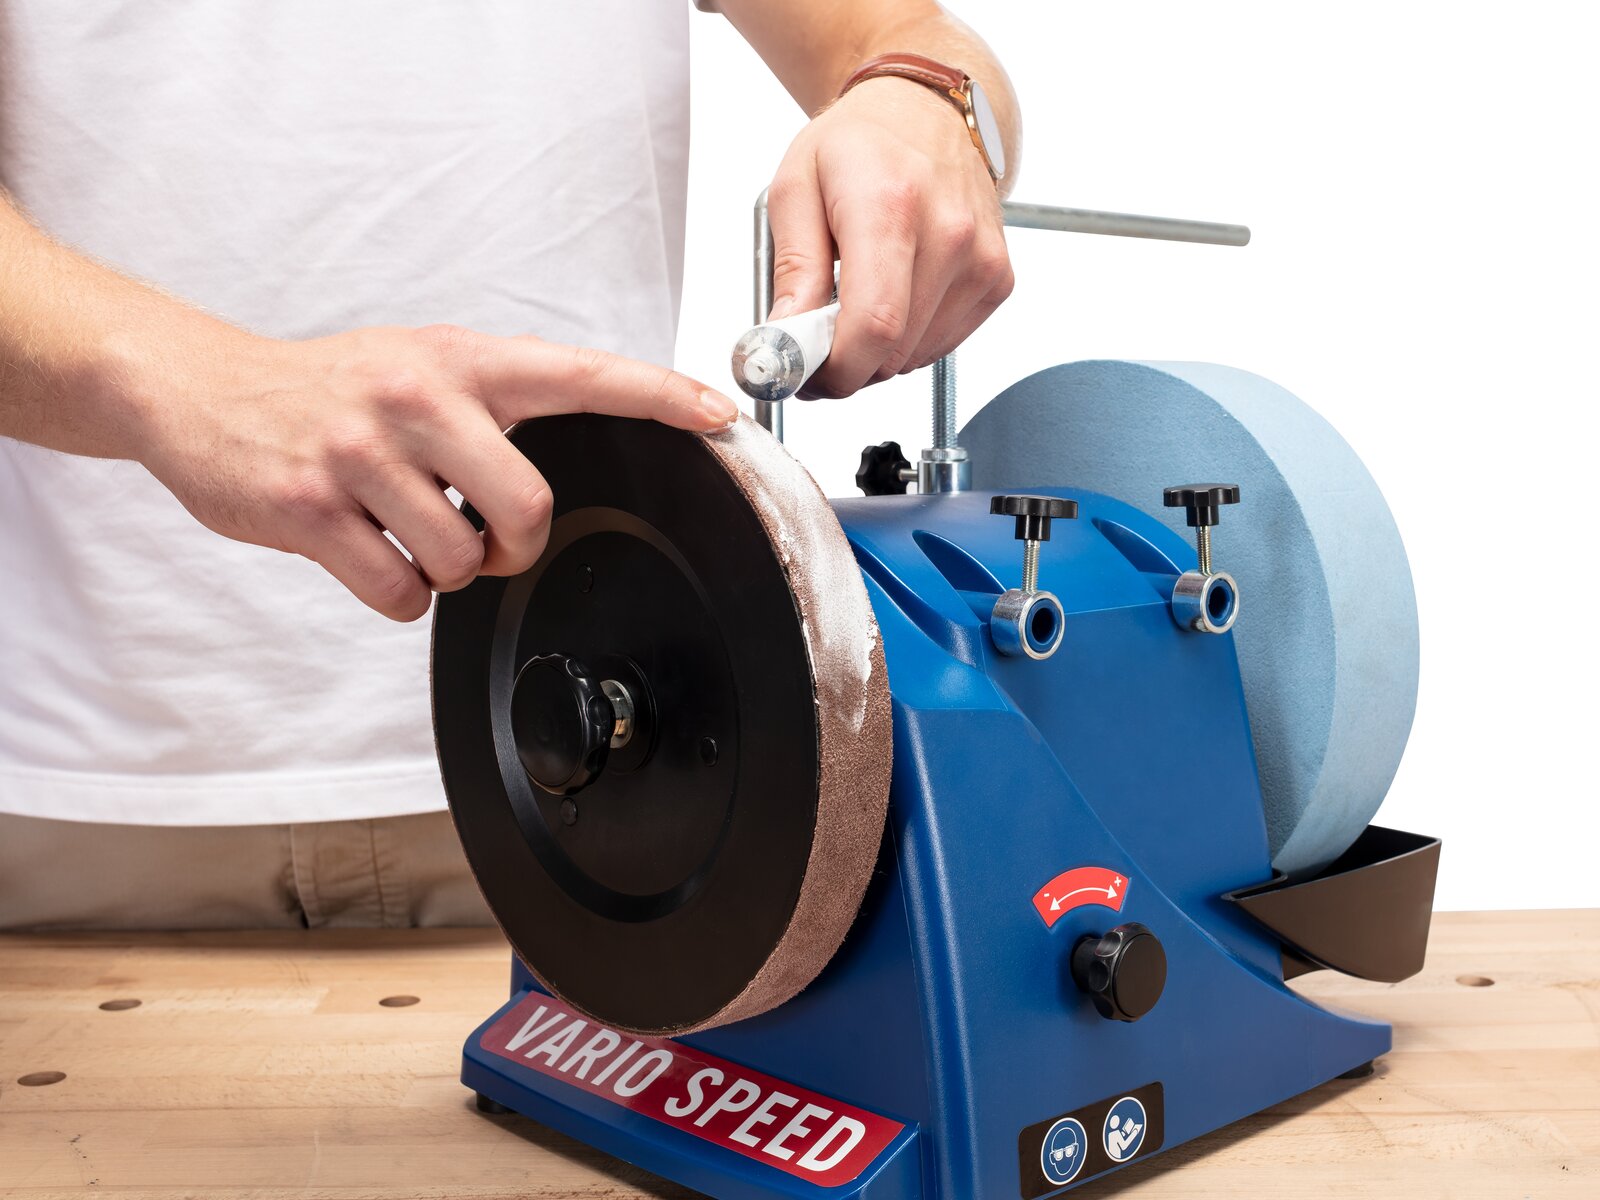
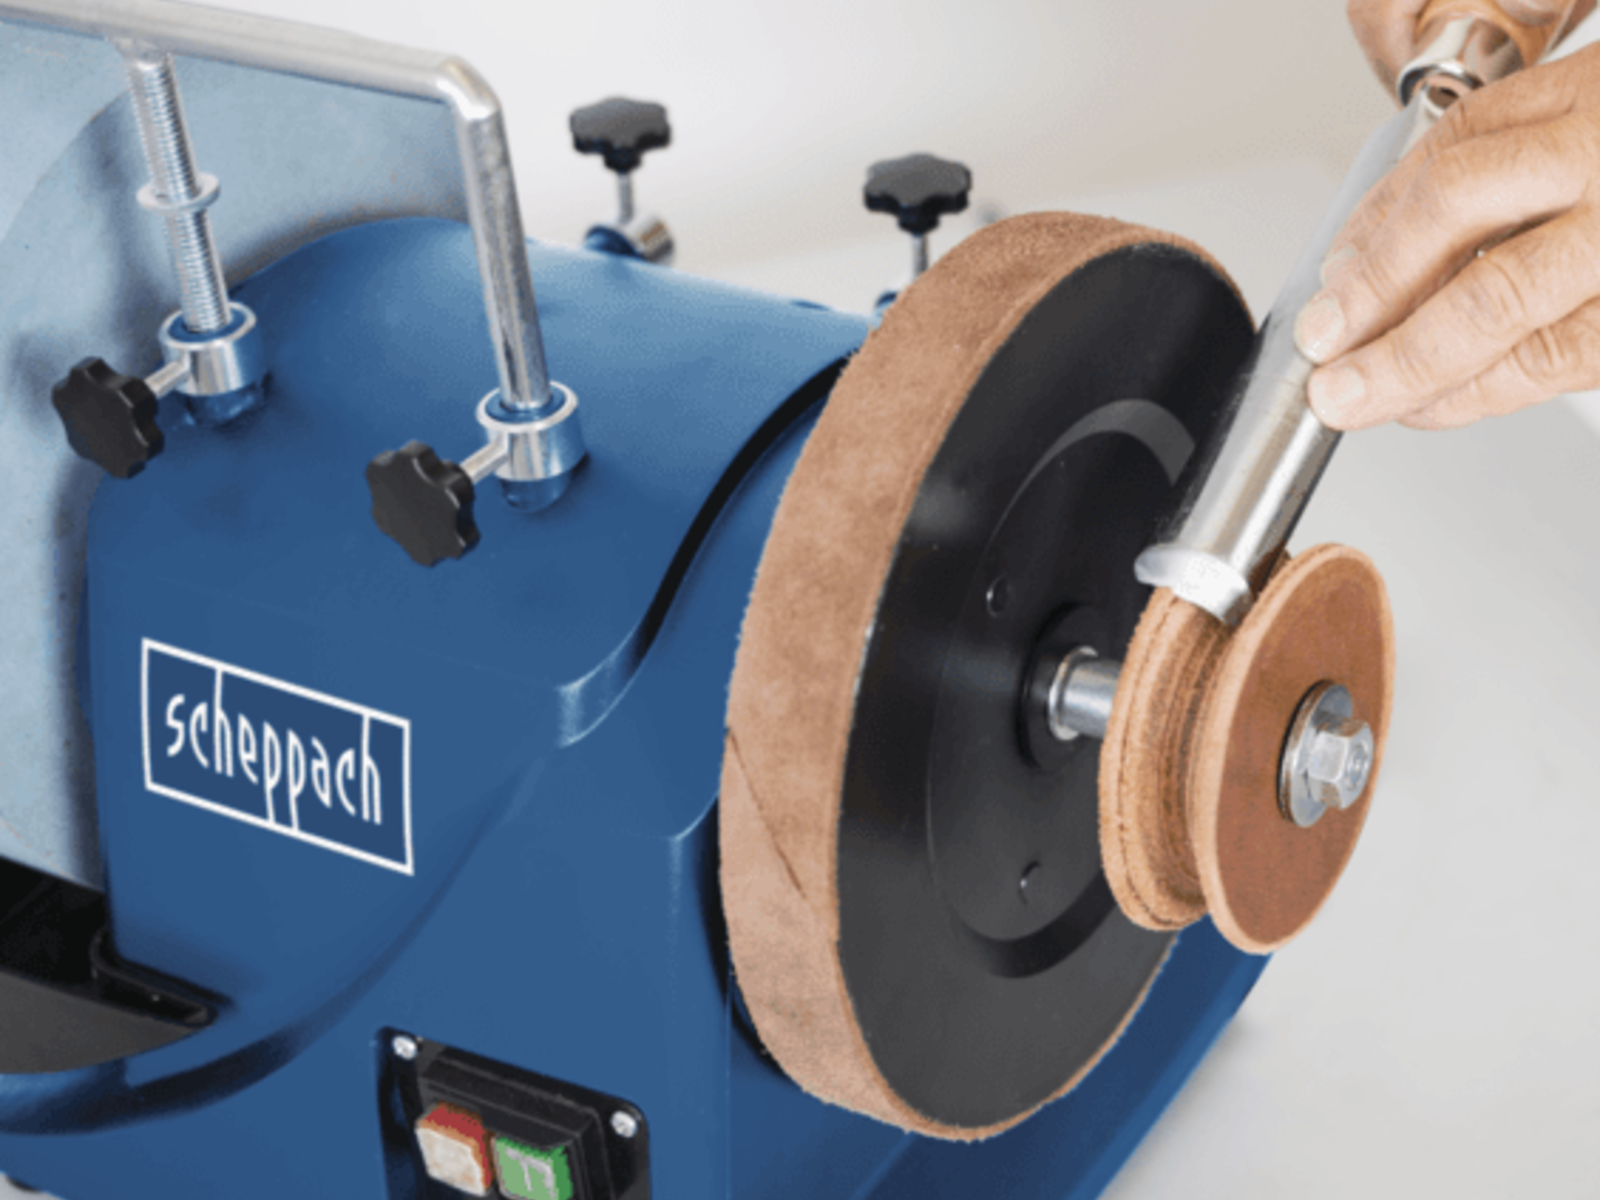
In order to deburr and polish the blade, scissors and tools after grinding, the scheppach Tiger grinding machines have a second disc, a leather honing wheel. Together with the honing compound supplied, the freshly ground tools are deburred and polished on this disc. The leather can be replaced easily once it is worn out. The entire leather disc can even be removed without impairing the machine’s running.
1. You can first apply a little oil to the leather so that it becomes more flexible. Then apply honing compound to the leather disc. However, this is not required for every honing process.
2. Honing always takes place in the disc’s running direction. Either use the corresponding unit as for grinding or proceed manually.
3. All freshly ground tools should be honed. Blades are honed from both sides but you should insert hollow bars at a high angle at the top and only apply very slight pressure.
4. In addition to the large leather honing wheel, there is also a smaller one with a profile. This is simply screwed onto the existing one using an extension bolt if required.
5. When applied in the running direction, tools such as turning gouges or parting tools, or their inner roundings and inner edges can be deburred, honed and polished.
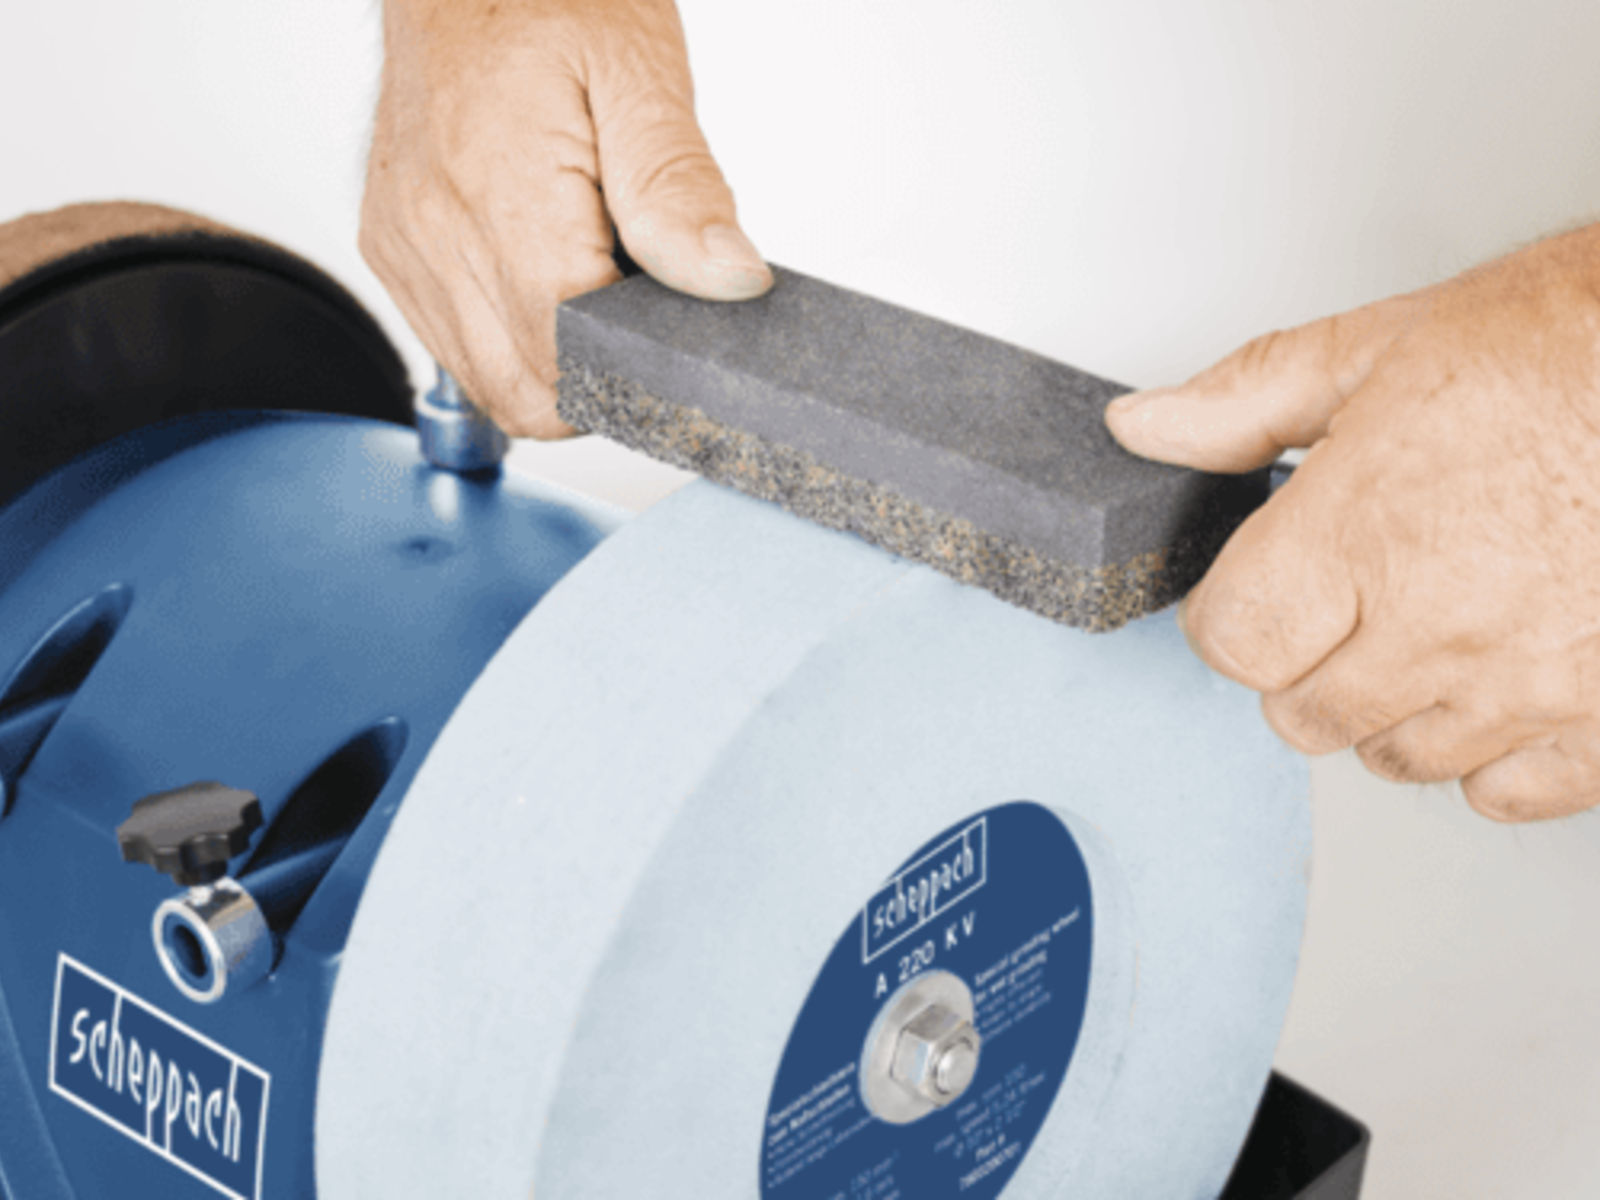
When grinding, surface offsets can always occur, e.g. if a narrow tool is not moved over the stone's entire width when grinding. Trimming unit V 250 exists in order to smooth the stone again, so that you can get the grindstone's perfect surface back again.
1. The trimming unit’s diamond-filled cutting head trims the protrusions cleanly and returns the grindstone to its circular shape so that it runs parallel to the tool support again.
2. You can remove coarse grooves using the coarse side of the stone preparer. Place this on the rod and hold tight while the disc is running with water.
3. If the unevenness in the stone is only minor, use the fine side of the stone preparer. Press on in parallel and strip the stone’s surface slightly.


